DIY iPad Battery Replacement:
Complete Guide + Honest Risk Assessment
iPad battery draining fast or your iPad shutting down unexpectedly? This guide covers the complete DIY replacement process — and honestly explains why iPad battery swaps are trickier than iPhone.
iPad Battery Replacement is Harder Than iPhone
Unlike iPhones, iPad batteries have no pull tabs — they're glued directly to the aluminum back with very strong adhesive. Removal requires isopropyl alcohol soaking and careful plastic prying. Additionally, the entire screen must be removed first, carrying a real risk of glass cracking. This is a medium-to-high difficulty repair.
Tools You'll Need
Replacement Battery (model-specific)
Confirm your iPad model in Settings → General → About
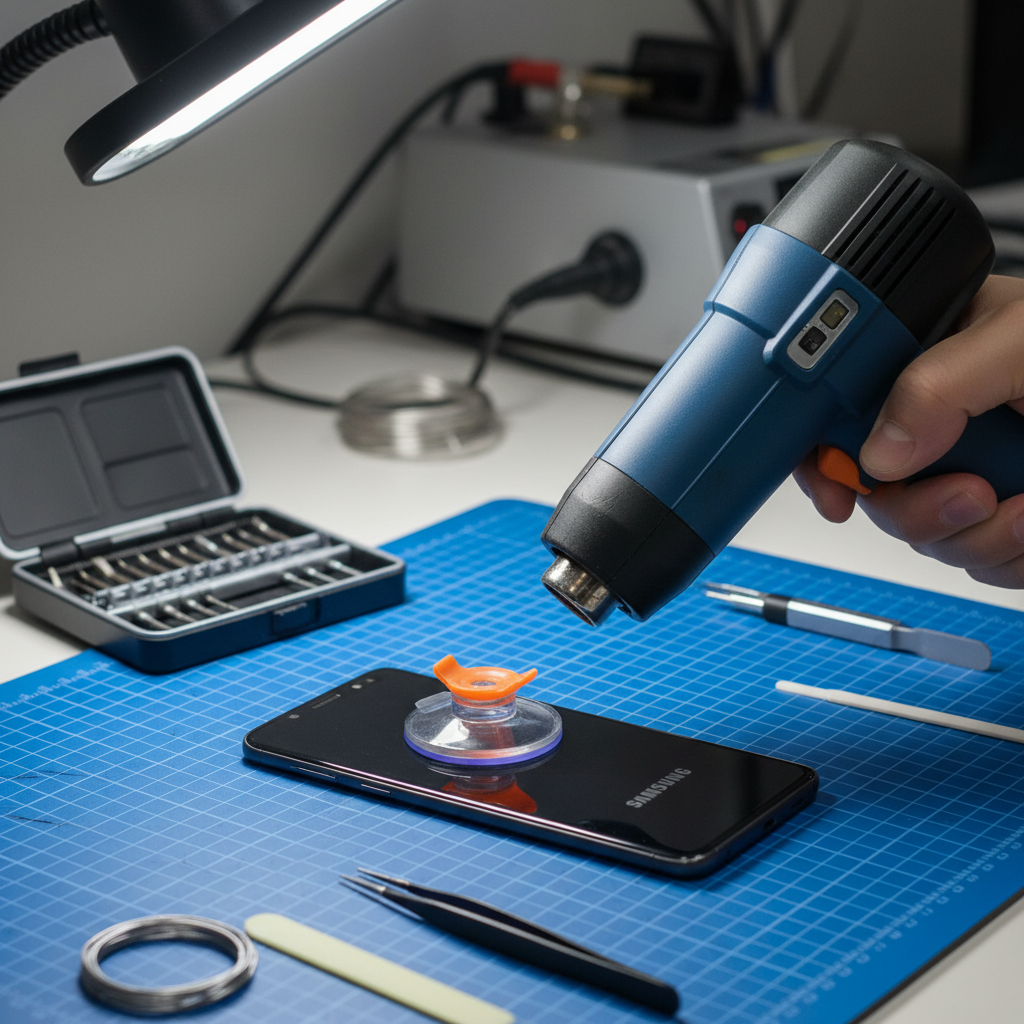
Heat Gun or iOpener Pad
For opening all four screen edges
Plastic Opening Picks (x5+)
More than you think — they break
Suction Cup Handle
To lift the heated screen edge
Isopropyl Alcohol (90%+)
Essential for dissolving battery adhesive
Syringe (optional)
For precise alcohol application under the battery
Plastic Spudger & Card
For prying battery safely — never use metal
New Screen Adhesive Strips
Pre-cut for your iPad model
Step-by-Step iPad Battery Replacement
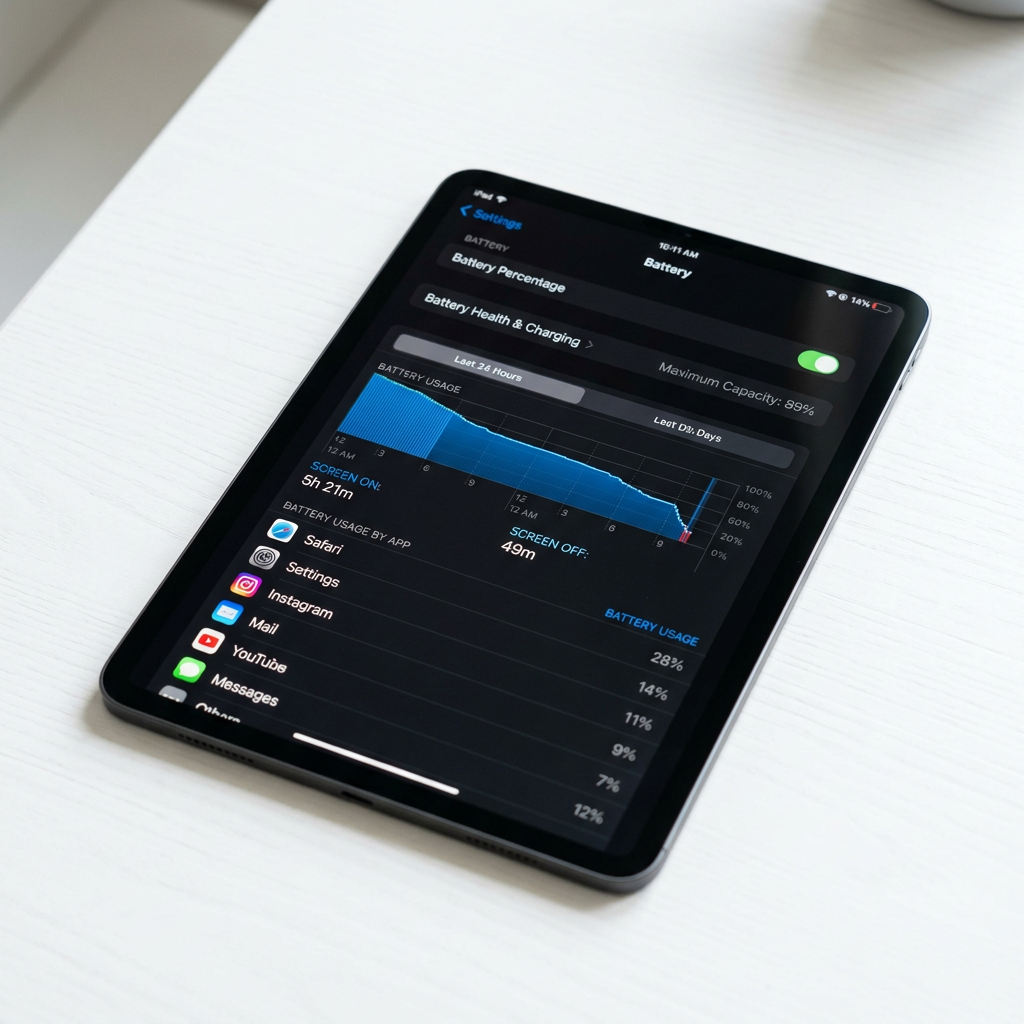
Check Battery Health & Confirm It Needs Replacing
Go to Settings → Battery. Unlike iPhones, older iPads don't show a percentage — you'll need to use a free app like coconutBattery (Mac) or iMazing to check the true battery health. If capacity is under 80% or you're seeing random shutdowns, replacement makes sense.
Unlike iPhones, iPad batteries don't show 'Service Recommended' on older models. Use third-party software to verify actual capacity before committing to a repair.
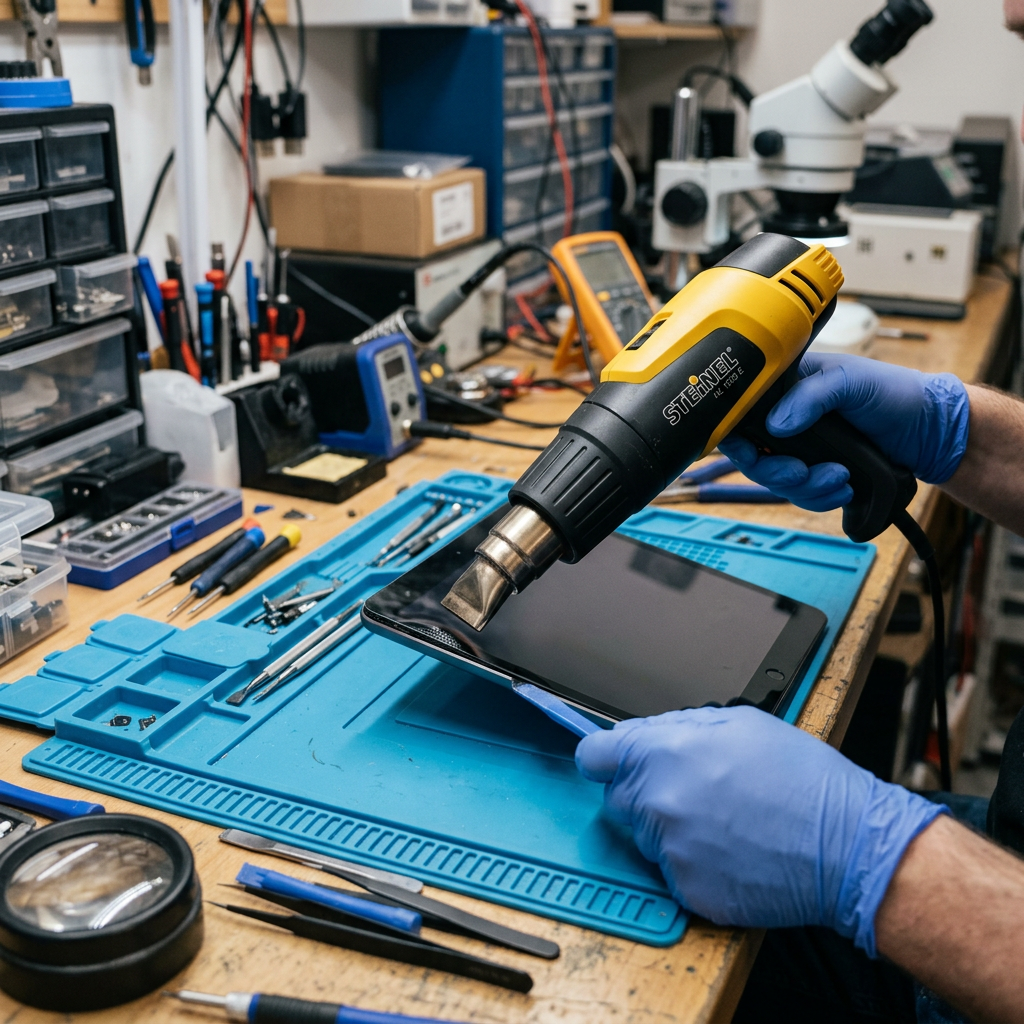
Heat All Four Edges to Soften the Adhesive
iPad battery replacement requires full screen removal — all four edges must be heated. Work around the entire perimeter with an iOpener or heat gun, keeping the temperature under 75°C. This takes patience — rush it and the glass cracks.
iPad screens are significantly harder to open than iPhones. The adhesive is stronger, the glass is larger, and the risk of cracking the screen while opening is HIGH. Many DIY attempts result in a cracked screen on a perfectly functional iPad — turning a $100 repair into a $200+ one.
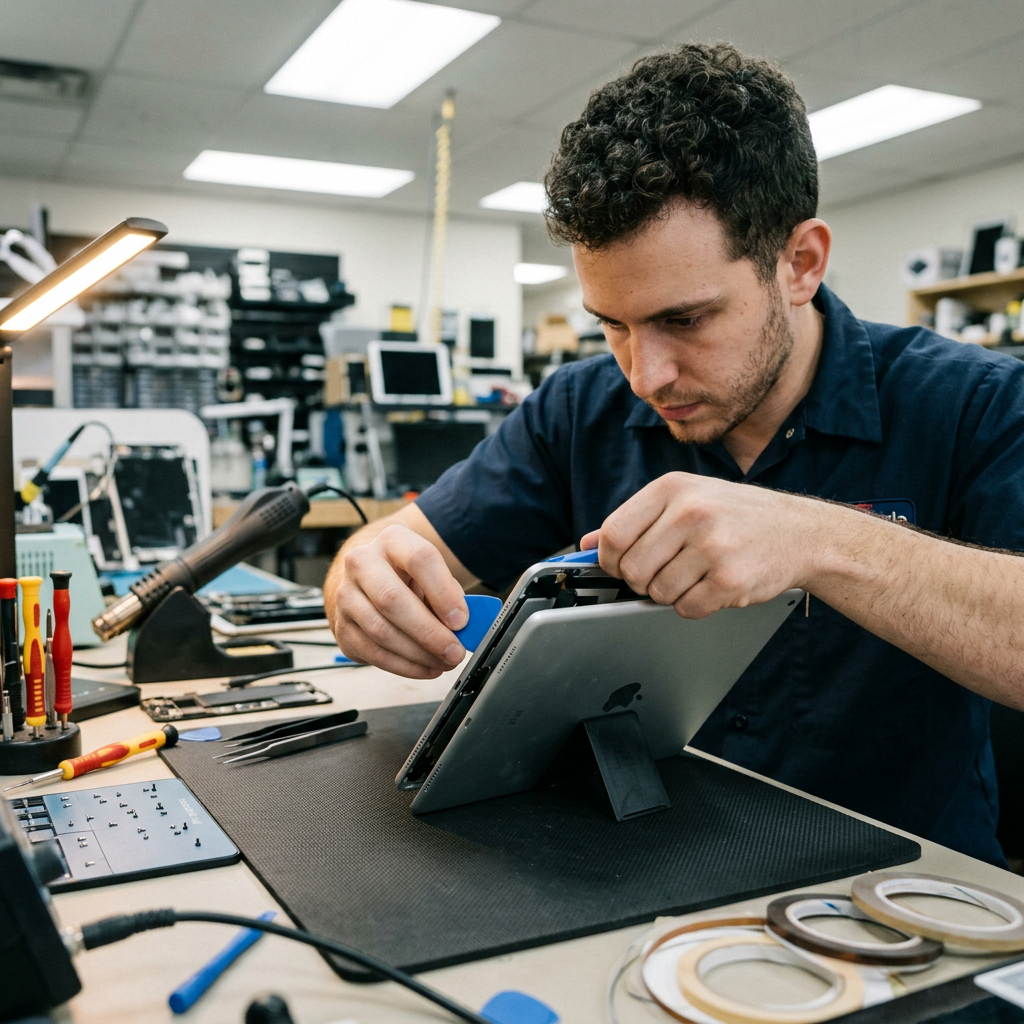
Carefully Open the Screen & Prop It Safely
Once the adhesive softens, insert picks at the bottom edge and slowly work around the perimeter. Open the screen slightly and prop it up at a safe angle — do NOT let it hang by the cables. Place a book or box under the screen to support it.
The digitizer cable on iPads with home buttons is very short. If you open the screen too wide, it will sever the cable immediately. Support the screen carefully as soon as it's open.
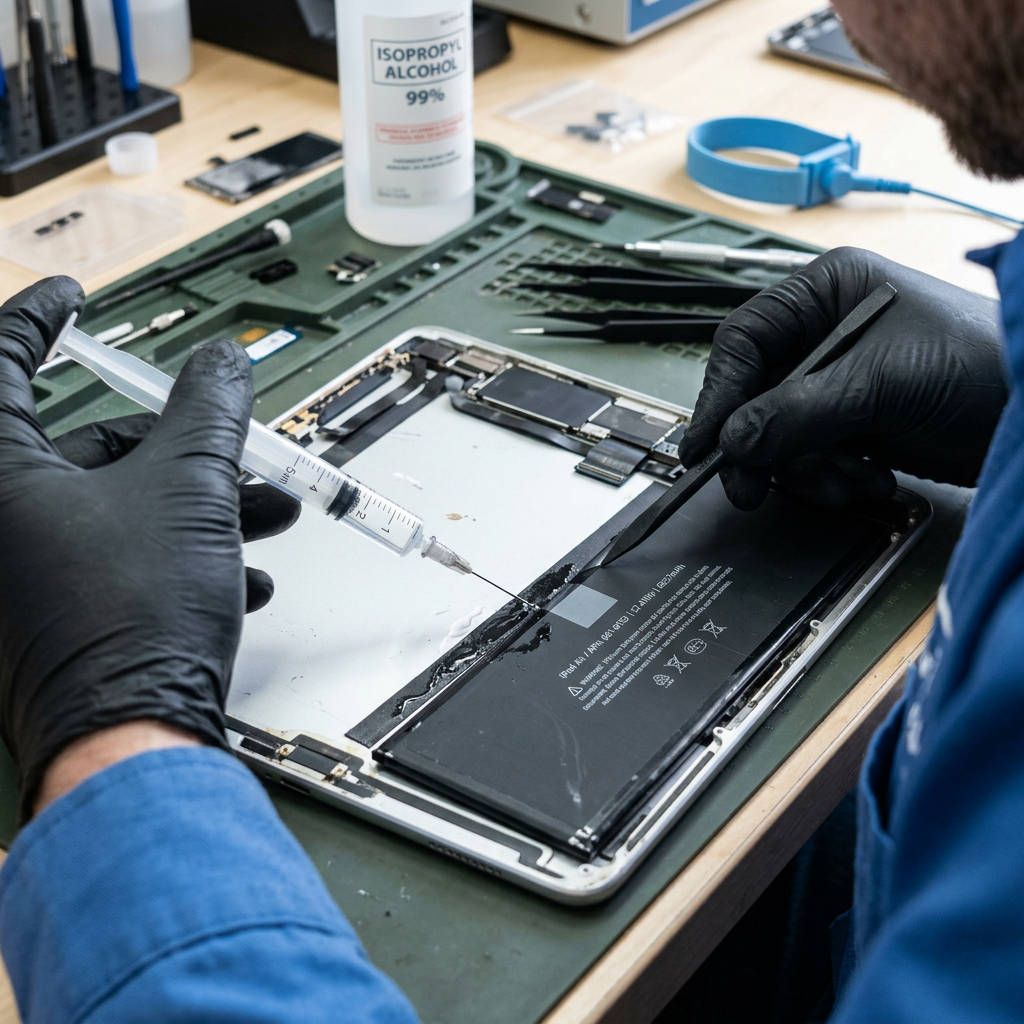
Disconnect Battery & Remove It Using Solvent
Disconnect the battery connector. iPad batteries do NOT have pull tabs like iPhones — they are glued directly to the back case with very strong adhesive. You must apply isopropyl alcohol (90%+) around the edges of the battery and wait 5–10 minutes for the adhesive to soften before gently prying.
Never use a metal pry tool directly on the battery — puncturing an iPad battery causes a chemical fire. Always use a flat plastic card or spudger and work slowly. Some technicians use a heat mat under the iPad to soften the adhesive from below.
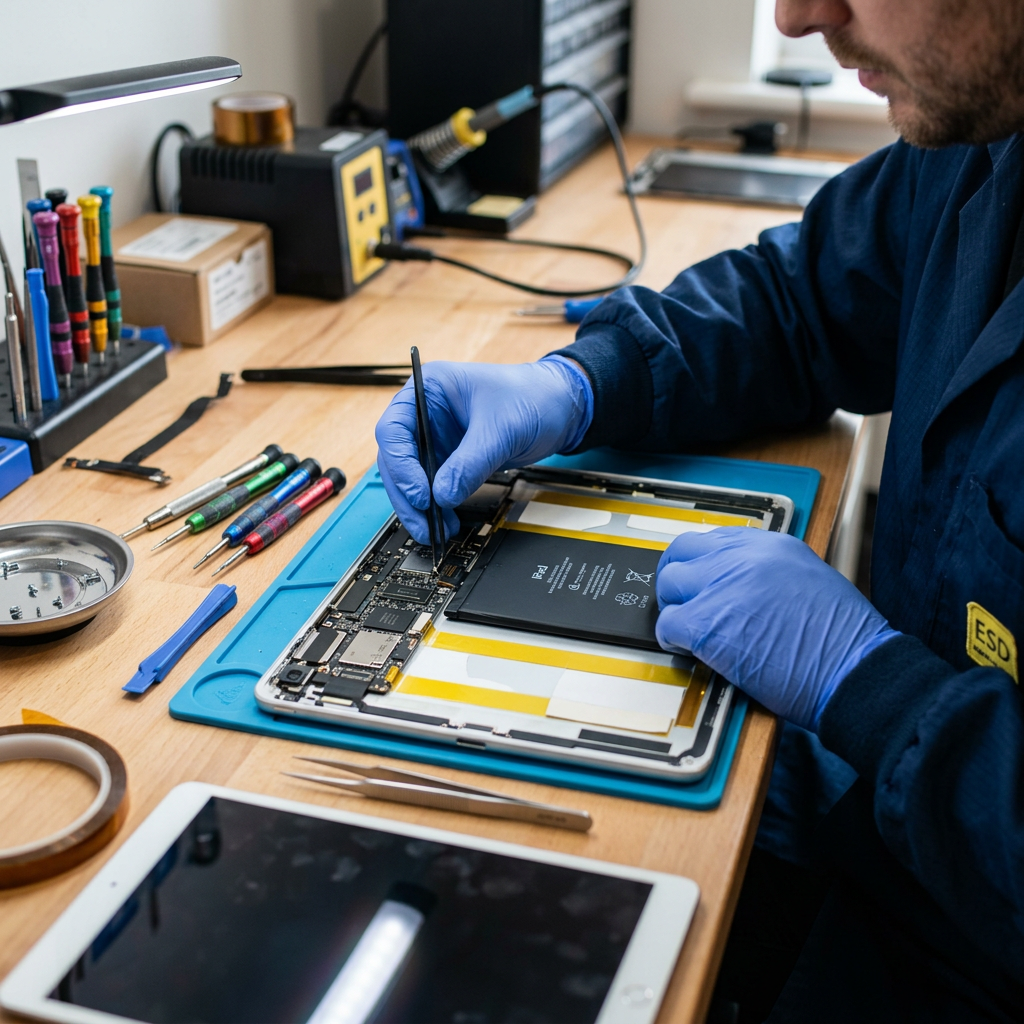
Install New Battery, Re-seal Screen
Apply new adhesive to the battery's back and press it in place. Reconnect the battery connector. Test the iPad powers on and charges before applying new screen adhesive. Re-seal the screen by pressing it in from the top edge downward, then firm pressure around the perimeter.
If the home button flex cable was stretched during opening, it may not seat properly on reassembly — check home button function and Touch ID before final sealing.
Cost Comparison by iPad Model
| iPad Model | DIY Battery Cost | RepairRama Pro |
|---|---|---|
| iPad (6th–10th Gen) | $20–45 (battery) | $79–99 + 90-day warranty |
| iPad mini (4th–6th Gen) | $25–50 (battery) | $79–109 + 90-day warranty |
| iPad Air (3rd–5th Gen) | $30–60 (battery) | $99–129 + 90-day warranty |
| iPad Pro 11" / 12.9" | Not recommended | $119–159 + 90-day warranty |
Skip the Risk — We Replace iPad Batteries Daily
Same-day service, quality batteries, and a 90-day warranty. Bring your iPad in — we'll have it running like new.
Also see: Tablet Repair Services → | iPad Repair Prices → | iPad Screen Guide → | iPad Charging Port Guide →
More Repair Guides
DIY iPad Battery Replacement:
Complete Guide + Honest Risk Assessment
iPad battery draining fast or your iPad shutting down unexpectedly? This guide covers the complete DIY replacement process — and honestly explains why iPad battery swaps are trickier than iPhone.
iPad Battery Replacement is Harder Than iPhone
Unlike iPhones, iPad batteries have no pull tabs — they're glued directly to the aluminum back with very strong adhesive. Removal requires isopropyl alcohol soaking and careful plastic prying. Additionally, the entire screen must be removed first, carrying a real risk of glass cracking. This is a medium-to-high difficulty repair.
Tools You'll Need
Replacement Battery (model-specific)
Confirm your iPad model in Settings → General → About
Heat Gun or iOpener Pad
For opening all four screen edges
Plastic Opening Picks (x5+)
More than you think — they break
Suction Cup Handle
To lift the heated screen edge
Isopropyl Alcohol (90%+)
Essential for dissolving battery adhesive
Syringe (optional)
For precise alcohol application under the battery
Plastic Spudger & Card
For prying battery safely — never use metal
New Screen Adhesive Strips
Pre-cut for your iPad model
Step-by-Step iPad Battery Replacement
Check Battery Health & Confirm It Needs Replacing
Go to Settings → Battery. Unlike iPhones, older iPads don't show a percentage — you'll need to use a free app like coconutBattery (Mac) or iMazing to check the true battery health. If capacity is under 80% or you're seeing random shutdowns, replacement makes sense.
Unlike iPhones, iPad batteries don't show 'Service Recommended' on older models. Use third-party software to verify actual capacity before committing to a repair.
Heat All Four Edges to Soften the Adhesive
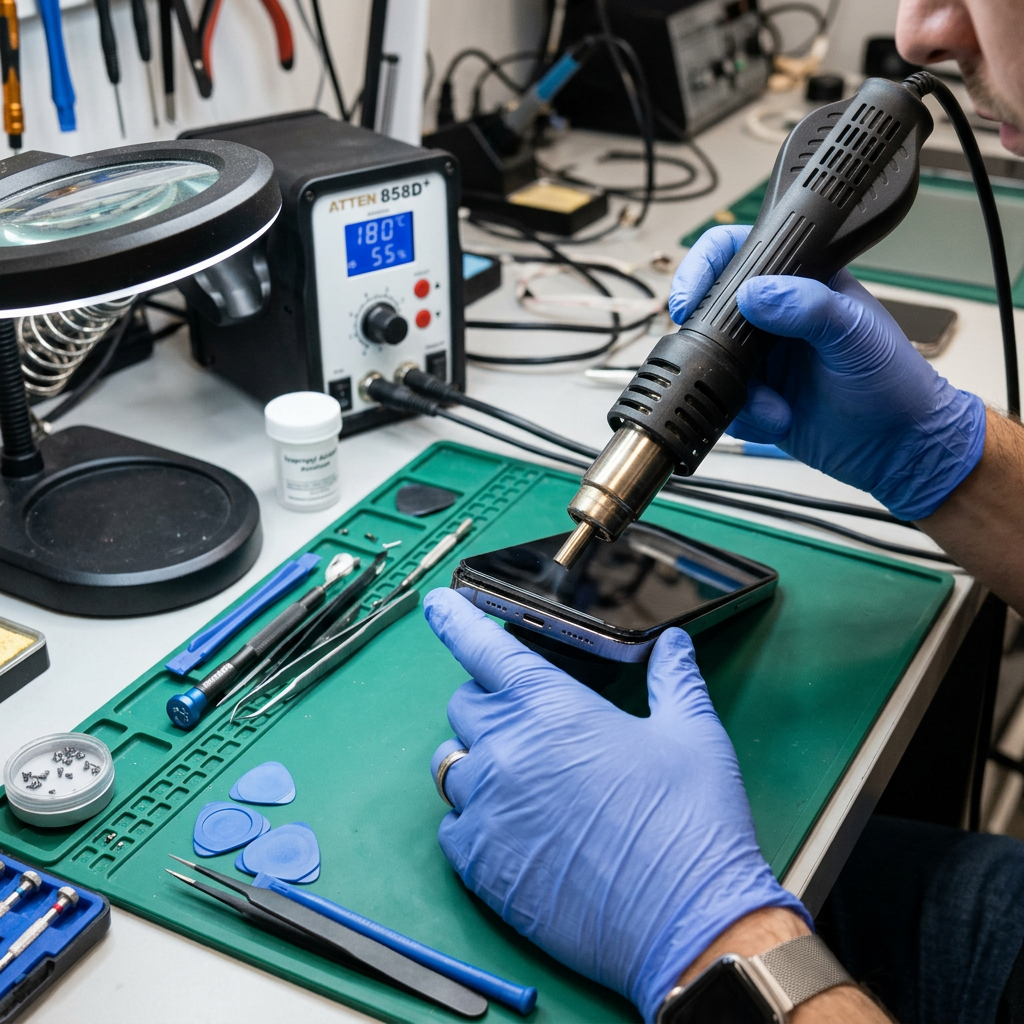
iPad battery replacement requires full screen removal — all four edges must be heated. Work around the entire perimeter with an iOpener or heat gun, keeping the temperature under 75°C. This takes patience — rush it and the glass cracks.
iPad screens are significantly harder to open than iPhones. The adhesive is stronger, the glass is larger, and the risk of cracking the screen while opening is HIGH. Many DIY attempts result in a cracked screen on a perfectly functional iPad — turning a $100 repair into a $200+ one.
Carefully Open the Screen & Prop It Safely
Once the adhesive softens, insert picks at the bottom edge and slowly work around the perimeter. Open the screen slightly and prop it up at a safe angle — do NOT let it hang by the cables. Place a book or box under the screen to support it.
The digitizer cable on iPads with home buttons is very short. If you open the screen too wide, it will sever the cable immediately. Support the screen carefully as soon as it's open.
Disconnect Battery & Remove It Using Solvent
Disconnect the battery connector. iPad batteries do NOT have pull tabs like iPhones — they are glued directly to the back case with very strong adhesive. You must apply isopropyl alcohol (90%+) around the edges of the battery and wait 5–10 minutes for the adhesive to soften before gently prying.
Never use a metal pry tool directly on the battery — puncturing an iPad battery causes a chemical fire. Always use a flat plastic card or spudger and work slowly. Some technicians use a heat mat under the iPad to soften the adhesive from below.
Install New Battery, Re-seal Screen
Apply new adhesive to the battery's back and press it in place. Reconnect the battery connector. Test the iPad powers on and charges before applying new screen adhesive. Re-seal the screen by pressing it in from the top edge downward, then firm pressure around the perimeter.
If the home button flex cable was stretched during opening, it may not seat properly on reassembly — check home button function and Touch ID before final sealing.
Cost Comparison by iPad Model
| iPad Model | DIY Battery Cost | RepairRama Pro |
|---|---|---|
| iPad (6th–10th Gen) | $20–45 (battery) | $79–99 + 90-day warranty |
| iPad mini (4th–6th Gen) | $25–50 (battery) | $79–109 + 90-day warranty |
| iPad Air (3rd–5th Gen) | $30–60 (battery) | $99–129 + 90-day warranty |
| iPad Pro 11" / 12.9" | Not recommended | $119–159 + 90-day warranty |
Skip the Risk — We Replace iPad Batteries Daily
Same-day service, quality batteries, and a 90-day warranty. Bring your iPad in — we'll have it running like new.
Also see: Tablet Repair Services → | iPad Repair Prices → | iPad Screen Guide → | iPad Charging Port Guide →