DIY Samsung Galaxy Screen Repair:
Step-by-Step Guide + Honest Risk Breakdown
Cracked Samsung Galaxy screen? Before you buy a kit, this guide explains how Samsung screen repair actually works — including why it's harder than iPhone, the back glass problem, and OLED handling risks you need to know about.
Samsung is NOT Like iPhone
Samsung Galaxy phones open from the back, not the front. The back glass must be removed first — and it almost always cracks during removal. Budget for a replacement back glass before you start, or the repair will look worse than the original crack.
Tools You'll Need
Replacement Screen Assembly
AMOLED/OLED — model specific. Get quality grade, not cheap.
Replacement Back Glass (recommended)
Back glass almost always cracks on removal
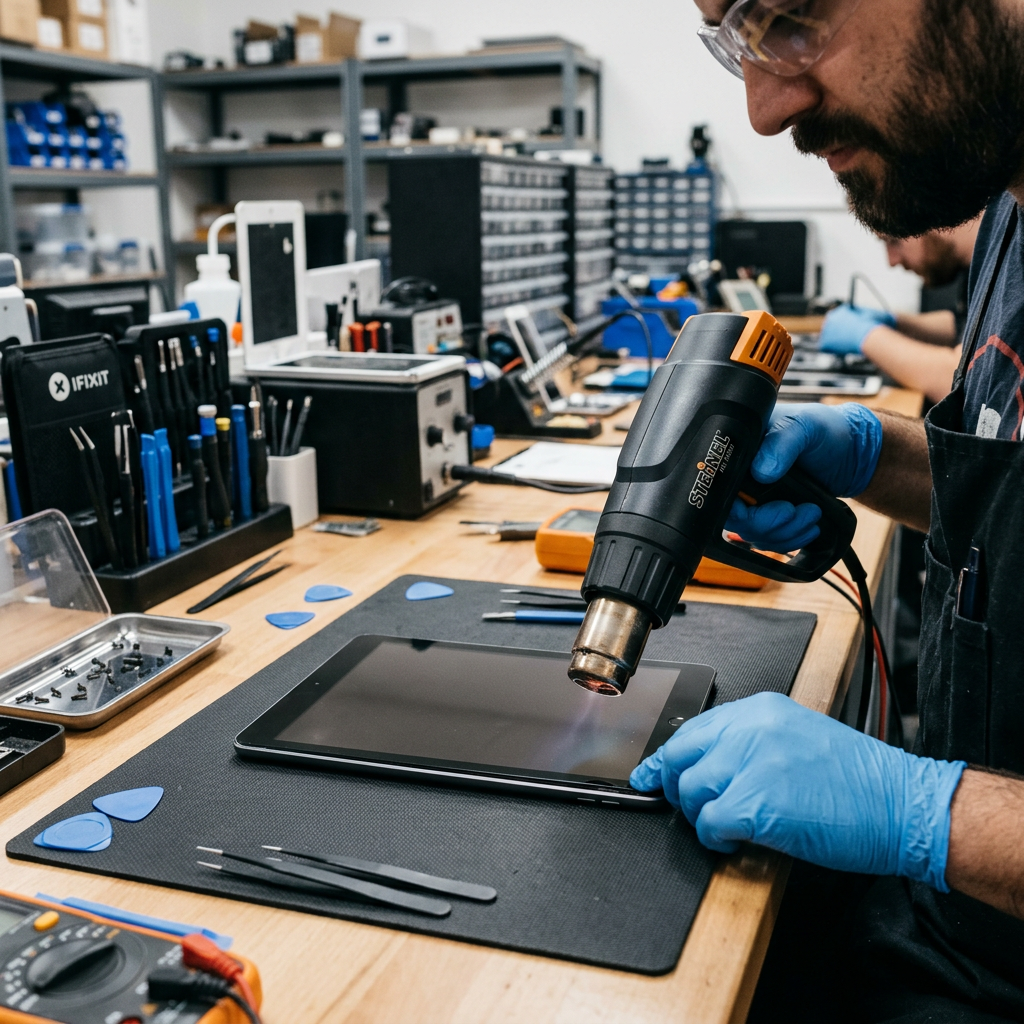
Heat Gun or iOpener
For back glass AND front display removal
Suction Cup Handle
For lifting the back glass
Plastic Opening Picks
Thin, flexible — Samsung adhesive is very strong
Phillips Screwdriver
For midframe bracket screws (8–12 screws)
Plastic Spudger & Tweezers
For display connectors
New Back & Screen Adhesive
Pre-cut for your model
Step-by-Step Samsung Screen Repair
These steps apply to Galaxy S and A series. Galaxy Z Fold and Z Flip foldable repairs are not DIY-able and should always go to a professional.
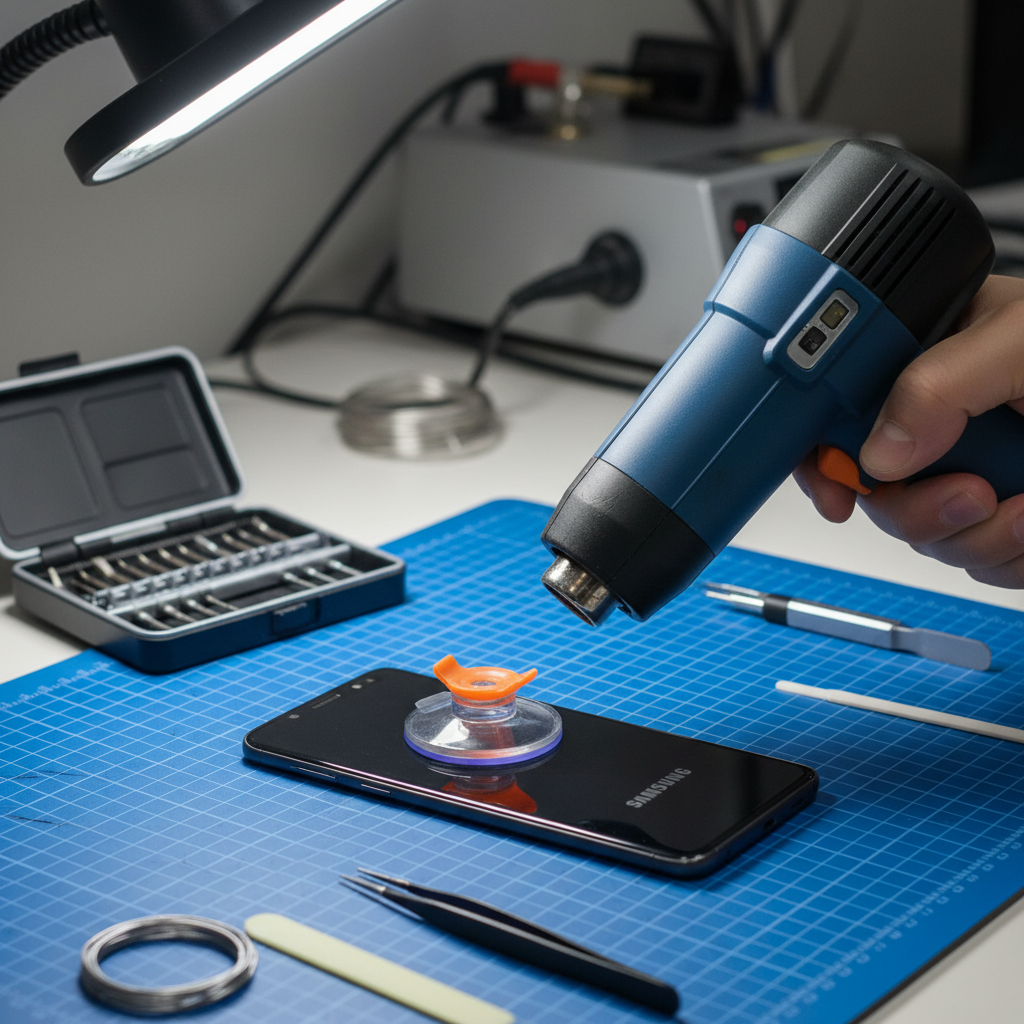
Remove the Back Cover First (Samsung is Different!)
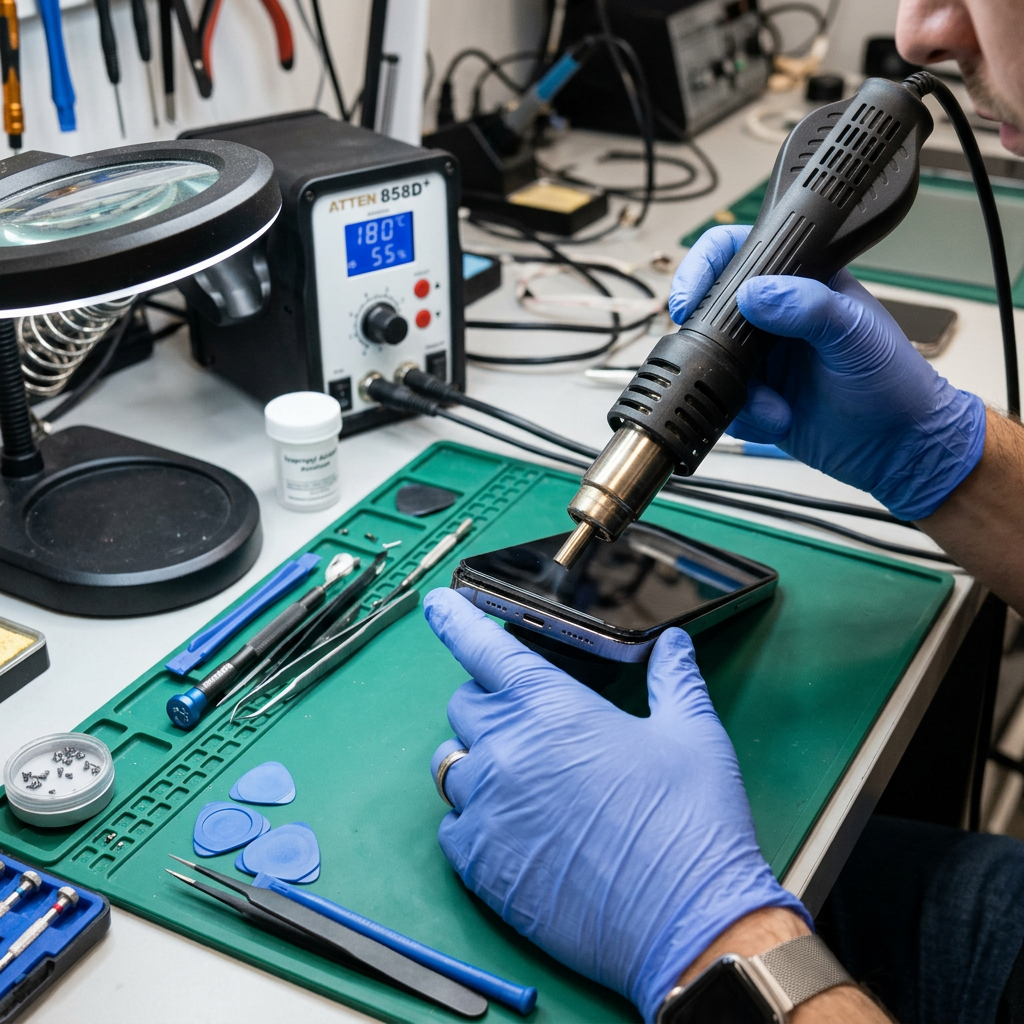
Unlike iPhones which open from the front, Samsung Galaxy phones open from the back. Heat the back cover edges with a heat gun, use a suction cup and picks to separate the back glass, then disconnect the battery. This gives you access to the display assembly from inside.
Samsung uses extremely strong adhesive on the back glass — especially on S-series and Note models. The back glass WILL crack during removal if you rush or don't heat enough. Order a replacement back glass kit before starting, as damage is likely.
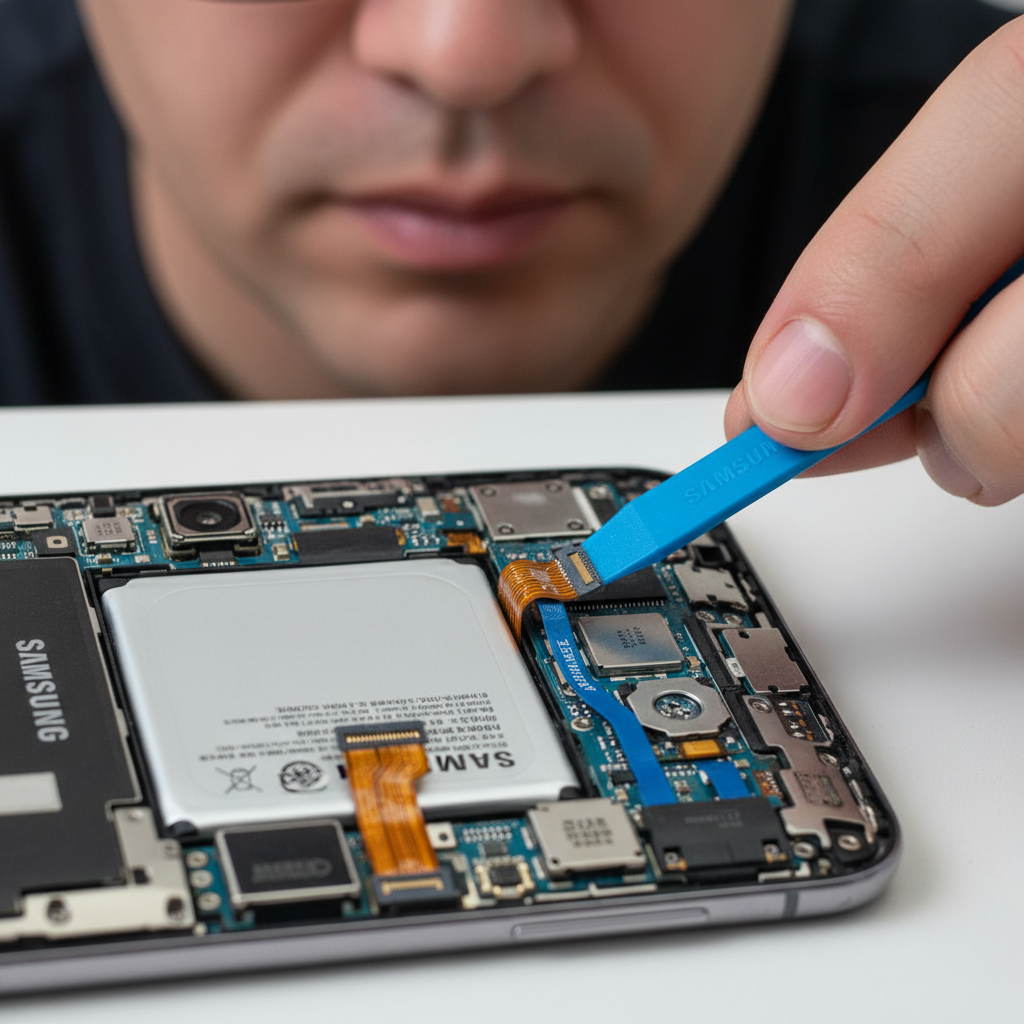
Disconnect the Battery Before Anything Else
After opening the back, locate and disconnect the battery connector immediately. Samsung Galaxy batteries are held with adhesive pull tabs (similar to iPhone) on most models. Disconnect the connector first — do not remove the battery yet, just isolate it electrically.
Samsung batteries hold significant charge. Accidental shorts during the repair can damage the logic board. Always disconnect the battery connector before touching any other component.
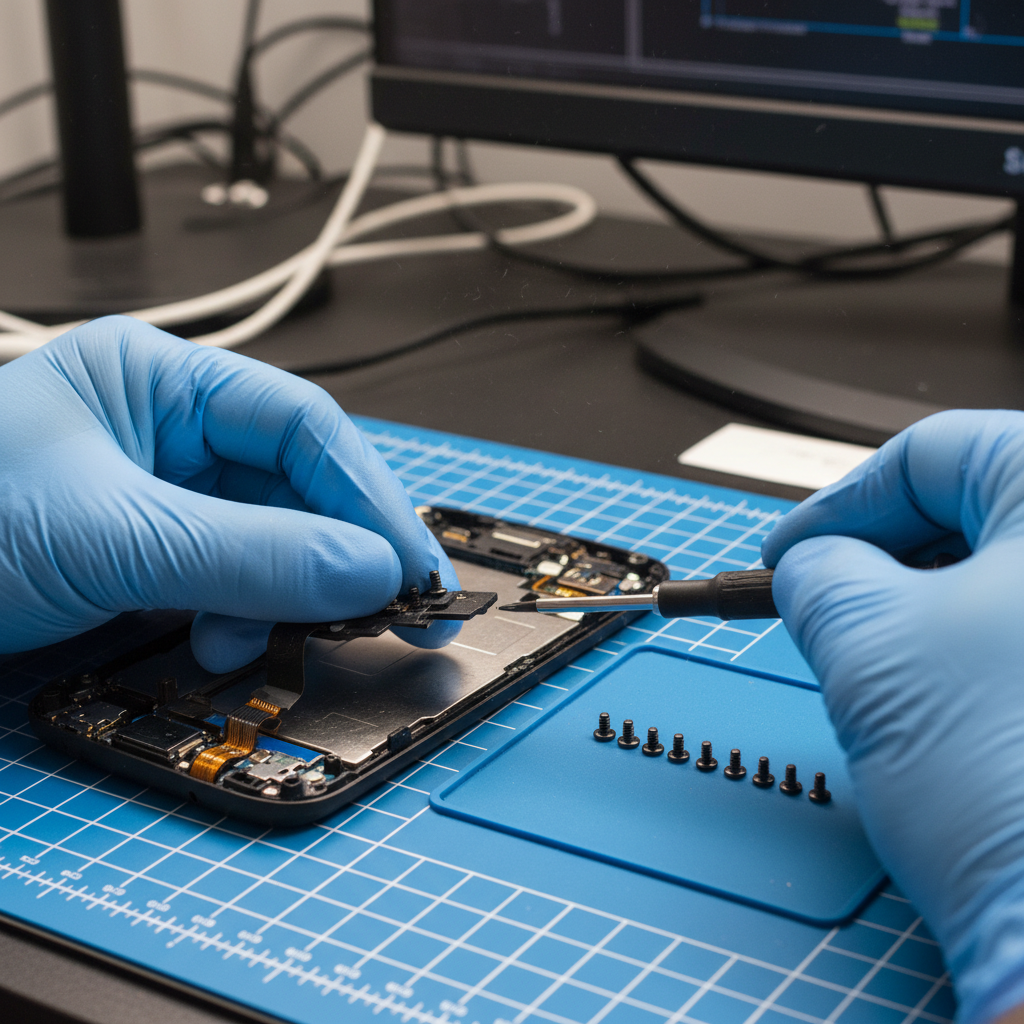
Remove Internal Brackets & Disconnect Display Cables
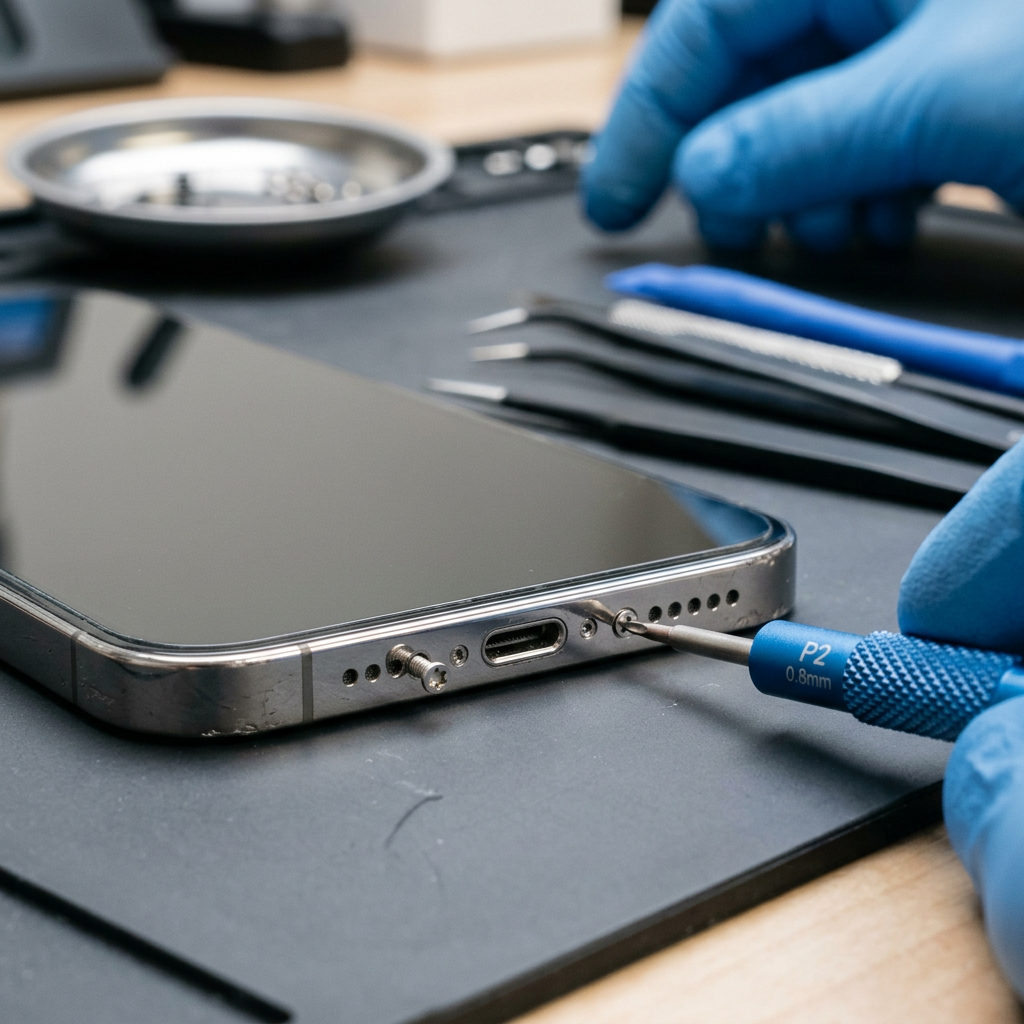
Remove the midframe bracket screws (usually 8–12 screws on Galaxy S and A series). On some models, the midframe must be fully removed before you can access the display connectors. Disconnect the display flex cables using a spudger.
Galaxy A-series and budget models often have the display cable under the motherboard — requiring more disassembly than expected. Galaxy S-series is more straightforward but requires removing more screws.
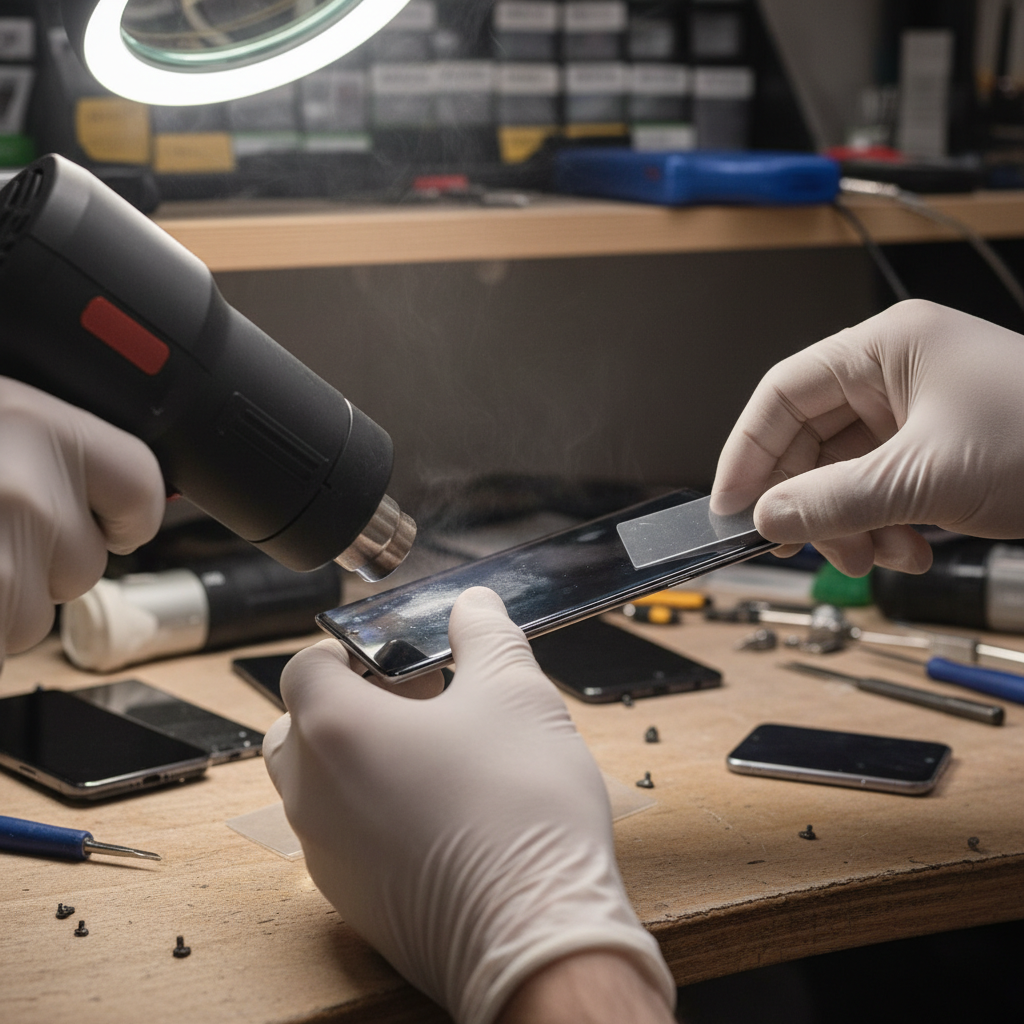
Heat the Front & Separate the OLED Display
Samsung OLED screens are bonded with very strong adhesive on the front. Heat the display from the front and carefully use a thin pick or playing card to separate it from the frame. OLED panels are fragile — any flex or pressure can crack the display even if the glass is intact.
Samsung OLED panels are the most fragile display type. Excessive flex, bending, or point pressure will instantly crack the organic display layer — even if the outer glass looks fine. Work very slowly and keep the panel flat at all times.
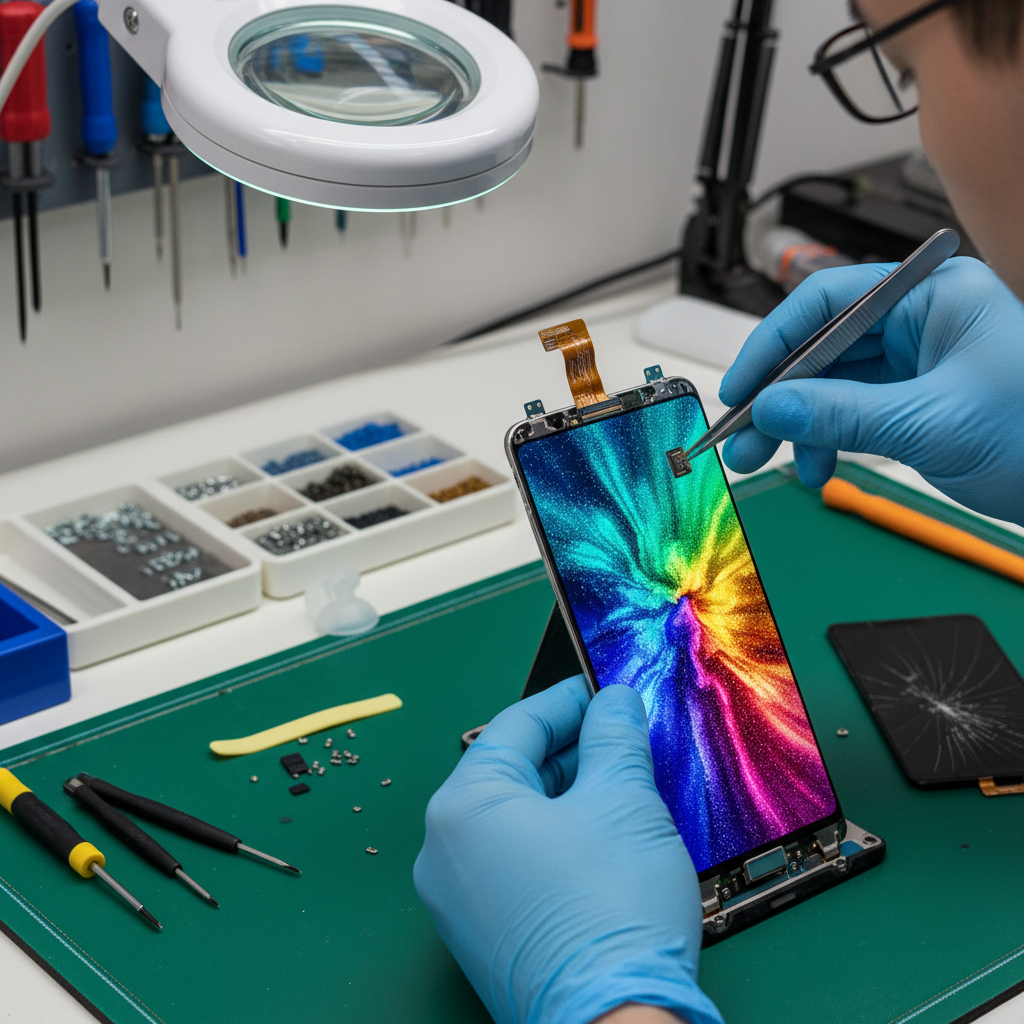
Install New Screen & Reassemble
Place the new display assembly, connect the display cable, reconnect the battery, and test before final assembly. Check touch response, color accuracy, and front camera. If all good, re-adhere the new screen to the frame and reassemble the back cover with new adhesive.
Third-party Samsung screens often don't match original OLED color accuracy or brightness. For Galaxy S and Z series, always ask for original or high-tier AMOLED replacements — cheap panels look noticeably different.
DIY vs. Professional Repair
🔧 DIY Pros
- Save $50–120 on labor
- Satisfaction of repairing your own device
- Can be done at home for budget Galaxy A models
⚠️ DIY Cons
- Back glass almost always cracks on removal — add that to your parts cost
- Samsung OLED panels crack from slight flex during handling
- Curved-edge screens (S series, Z series) are nearly impossible to DIY
- Third-party screens have noticeably worse color vs. original AMOLED
- Samsung foldables (Z Fold, Z Flip) — absolutely not a DIY repair
- Water resistance is lost even with new adhesive
- Many steps differ significantly between Galaxy models
🏆 Professional at RepairRama
- 90-day warranty — all Samsung models
- Quality AMOLED screens — true color matching
- Back glass preserved or replaced professionally
- Water resistance re-sealed properly
- Galaxy Z Fold & Z Flip — we handle it
- Same-day service for most models
- Free diagnostic before any charges
Cost Comparison by Samsung Model
| Samsung Model | DIY Kit Cost | RepairRama Pro |
|---|---|---|
| Galaxy A Series (A14, A54, etc.) | $35–65 (screen) | $79–109 + 90-day warranty |
| Galaxy S Series (S22, S23, S24) | $80–140 (screen) | $129–179 + 90-day warranty |
| Galaxy S Ultra Series | $120–200 (screen) | $159–229 + 90-day warranty |
| Galaxy Z Fold / Z Flip | Not recommended | $199–349 + 90-day warranty |
Samsung Screen Repair Done Right
We repair all Galaxy models — A series, S series, Note, and Z Fold/Flip — same day with quality AMOLED screens and a 90-day warranty.
Also see: Samsung Repair Services → | Samsung Screen Repair Prices → | iPhone Screen Guide → | iPad Screen Guide →
More Repair Guides
DIY Samsung Galaxy Screen Repair:
Step-by-Step Guide + Honest Risk Breakdown
Cracked Samsung Galaxy screen? Before you buy a kit, this guide explains how Samsung screen repair actually works — including why it's harder than iPhone, the back glass problem, and OLED handling risks you need to know about.
Samsung is NOT Like iPhone
Samsung Galaxy phones open from the back, not the front. The back glass must be removed first — and it almost always cracks during removal. Budget for a replacement back glass before you start, or the repair will look worse than the original crack.
Tools You'll Need
Replacement Screen Assembly
AMOLED/OLED — model specific. Get quality grade, not cheap.
Replacement Back Glass (recommended)
Back glass almost always cracks on removal
Heat Gun or iOpener
For back glass AND front display removal
Suction Cup Handle
For lifting the back glass
Plastic Opening Picks
Thin, flexible — Samsung adhesive is very strong
Phillips Screwdriver
For midframe bracket screws (8–12 screws)
Plastic Spudger & Tweezers
For display connectors
New Back & Screen Adhesive
Pre-cut for your model
Step-by-Step Samsung Screen Repair
These steps apply to Galaxy S and A series. Galaxy Z Fold and Z Flip foldable repairs are not DIY-able and should always go to a professional.
Remove the Back Cover First (Samsung is Different!)
Unlike iPhones which open from the front, Samsung Galaxy phones open from the back. Heat the back cover edges with a heat gun, use a suction cup and picks to separate the back glass, then disconnect the battery. This gives you access to the display assembly from inside.
Samsung uses extremely strong adhesive on the back glass — especially on S-series and Note models. The back glass WILL crack during removal if you rush or don't heat enough. Order a replacement back glass kit before starting, as damage is likely.
Disconnect the Battery Before Anything Else
After opening the back, locate and disconnect the battery connector immediately. Samsung Galaxy batteries are held with adhesive pull tabs (similar to iPhone) on most models. Disconnect the connector first — do not remove the battery yet, just isolate it electrically.
Samsung batteries hold significant charge. Accidental shorts during the repair can damage the logic board. Always disconnect the battery connector before touching any other component.
Remove Internal Brackets & Disconnect Display Cables
Remove the midframe bracket screws (usually 8–12 screws on Galaxy S and A series). On some models, the midframe must be fully removed before you can access the display connectors. Disconnect the display flex cables using a spudger.
Galaxy A-series and budget models often have the display cable under the motherboard — requiring more disassembly than expected. Galaxy S-series is more straightforward but requires removing more screws.
Heat the Front & Separate the OLED Display
Samsung OLED screens are bonded with very strong adhesive on the front. Heat the display from the front and carefully use a thin pick or playing card to separate it from the frame. OLED panels are fragile — any flex or pressure can crack the display even if the glass is intact.
Samsung OLED panels are the most fragile display type. Excessive flex, bending, or point pressure will instantly crack the organic display layer — even if the outer glass looks fine. Work very slowly and keep the panel flat at all times.
Install New Screen & Reassemble
Place the new display assembly, connect the display cable, reconnect the battery, and test before final assembly. Check touch response, color accuracy, and front camera. If all good, re-adhere the new screen to the frame and reassemble the back cover with new adhesive.
Third-party Samsung screens often don't match original OLED color accuracy or brightness. For Galaxy S and Z series, always ask for original or high-tier AMOLED replacements — cheap panels look noticeably different.
DIY vs. Professional Repair
🔧 DIY Pros
- Save $50–120 on labor
- Satisfaction of repairing your own device
- Can be done at home for budget Galaxy A models
⚠️ DIY Cons
- Back glass almost always cracks on removal — add that to your parts cost
- Samsung OLED panels crack from slight flex during handling
- Curved-edge screens (S series, Z series) are nearly impossible to DIY
- Third-party screens have noticeably worse color vs. original AMOLED
- Samsung foldables (Z Fold, Z Flip) — absolutely not a DIY repair
- Water resistance is lost even with new adhesive
- Many steps differ significantly between Galaxy models
🏆 Professional at RepairRama
- 90-day warranty — all Samsung models
- Quality AMOLED screens — true color matching
- Back glass preserved or replaced professionally
- Water resistance re-sealed properly
- Galaxy Z Fold & Z Flip — we handle it
- Same-day service for most models
- Free diagnostic before any charges
Cost Comparison by Samsung Model
| Samsung Model | DIY Kit Cost | RepairRama Pro |
|---|---|---|
| Galaxy A Series (A14, A54, etc.) | $35–65 (screen) | $79–109 + 90-day warranty |
| Galaxy S Series (S22, S23, S24) | $80–140 (screen) | $129–179 + 90-day warranty |
| Galaxy S Ultra Series | $120–200 (screen) | $159–229 + 90-day warranty |
| Galaxy Z Fold / Z Flip | Not recommended | $199–349 + 90-day warranty |
Samsung Screen Repair Done Right
We repair all Galaxy models — A series, S series, Note, and Z Fold/Flip — same day with quality AMOLED screens and a 90-day warranty.
Also see: Samsung Repair Services → | Samsung Screen Repair Prices → | iPhone Screen Guide → | iPad Screen Guide →