DIY iPhone Battery Replacement:
Step-by-Step Guide + Safety Warnings
iPhone battery draining fast or shutting down unexpectedly? This guide walks you through everything — tools, safety precautions, step-by-step replacement, and an honest look at whether DIY makes sense for your model.
Tools You'll Need
Replacement Battery
Model-specific — an iPhone 12 battery won't fit an iPhone 13
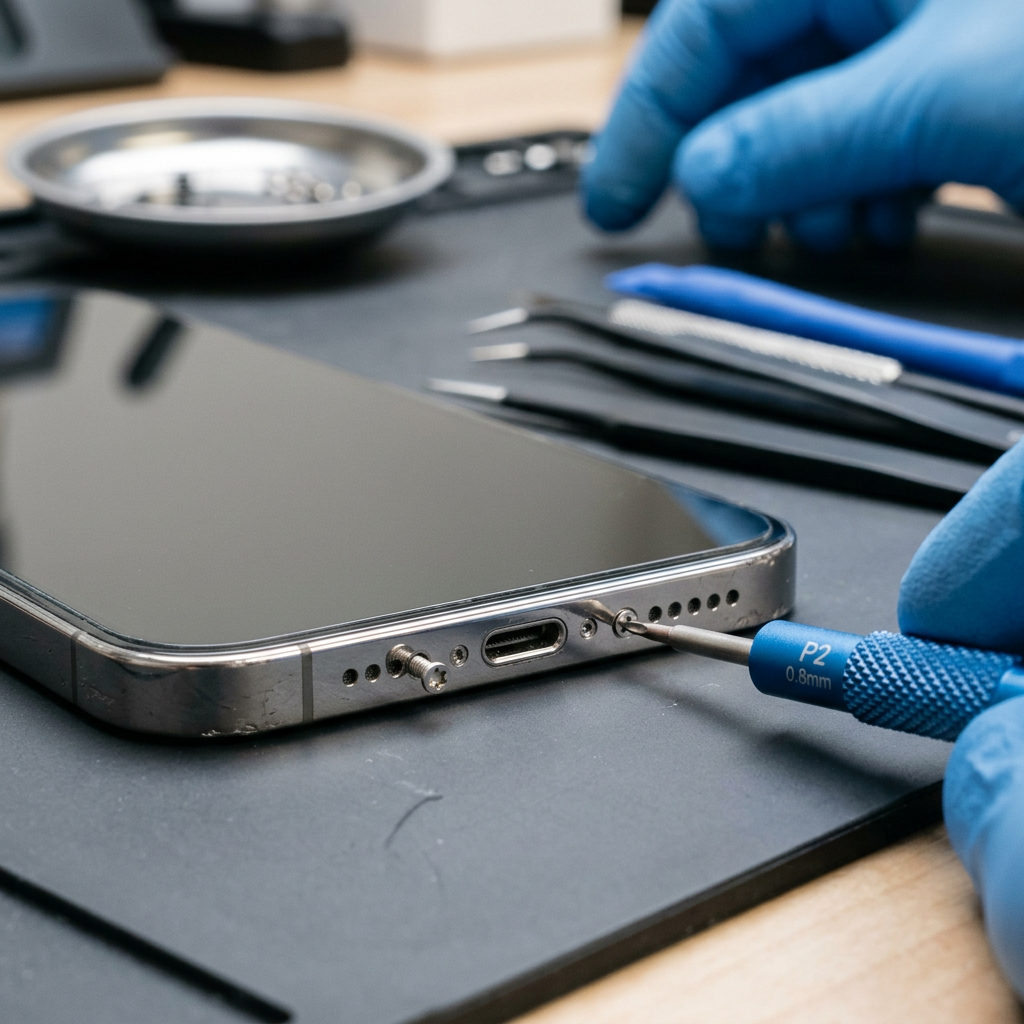
P2 Pentalobe Screwdriver
For the two bottom screws
Phillips #000 Screwdriver
For the battery connector bracket
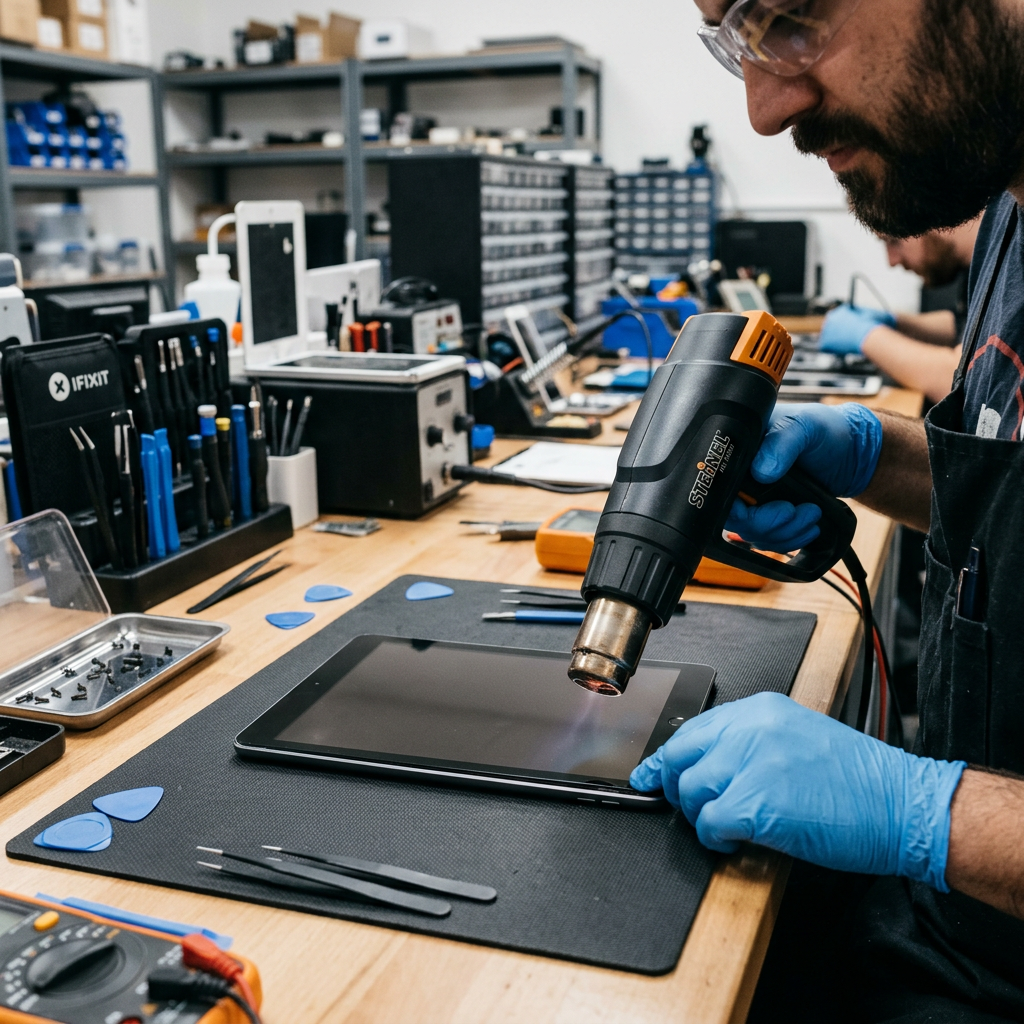
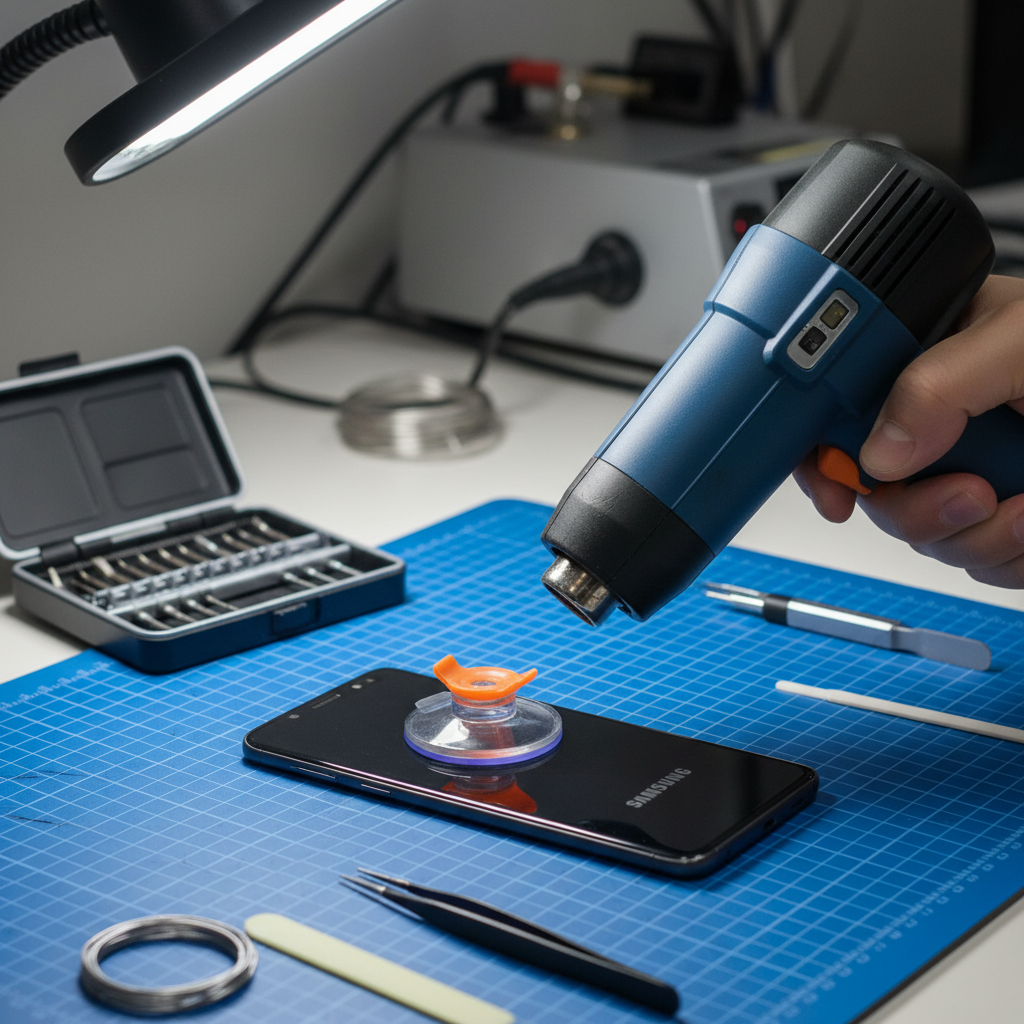
iOpener or Heat Gun
To soften bottom edge adhesive
Suction Cup Handle
To lift the display assembly
Plastic Spudger
To disconnect the battery safely
Isopropyl Alcohol (90%+)
Backup if adhesive pull tabs snap
New Adhesive Strips
Pre-cut for your iPhone model
Step-by-Step Battery Replacement
These steps apply to iPhone 6s through iPhone 13. iPhone 14+ have component pairing — professional repair is recommended.
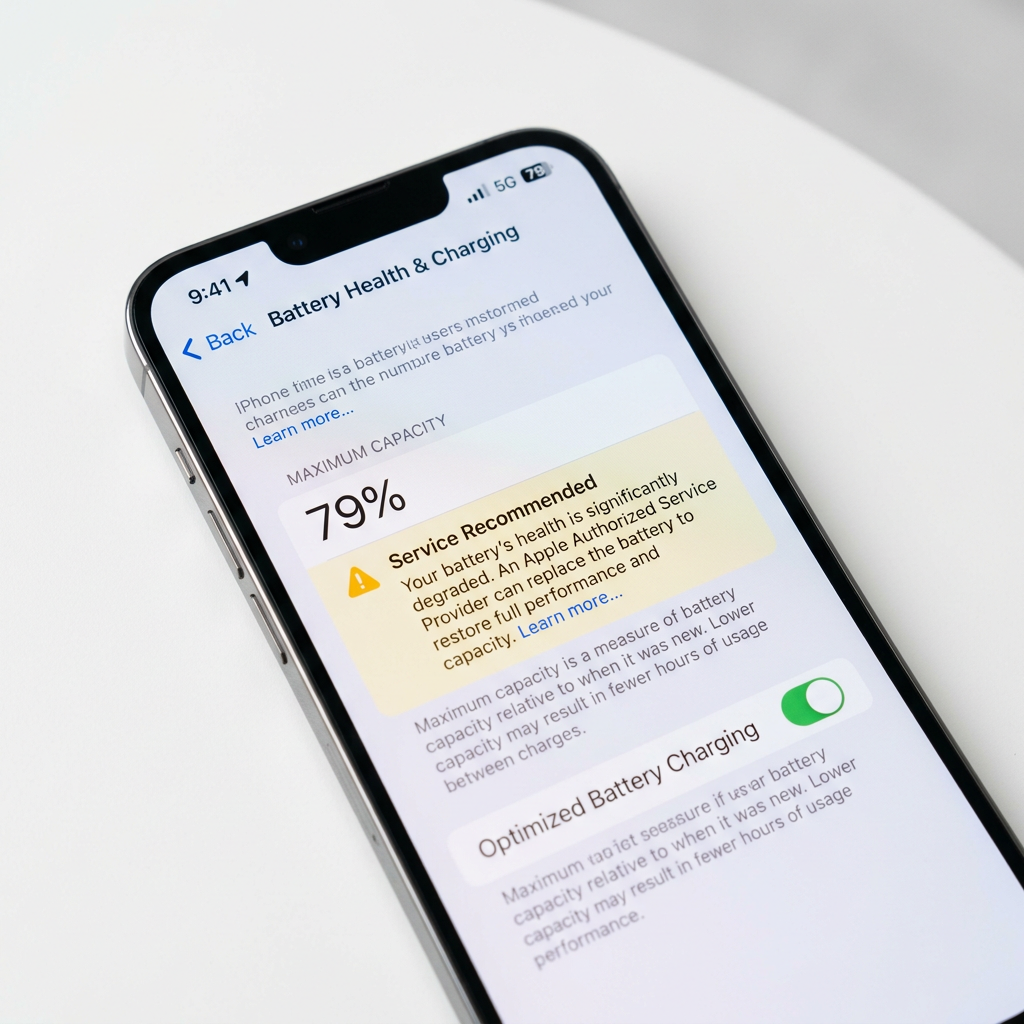
Check Your Battery Health First
Go to Settings → Battery → Battery Health & Charging. If your maximum capacity is below 80% or you see 'Service Recommended,' replacement is worth it. Replacing a battery above 85% capacity is usually unnecessary.
Replacing a battery that doesn't actually need it wastes money and adds unnecessary risk. Always check health first.
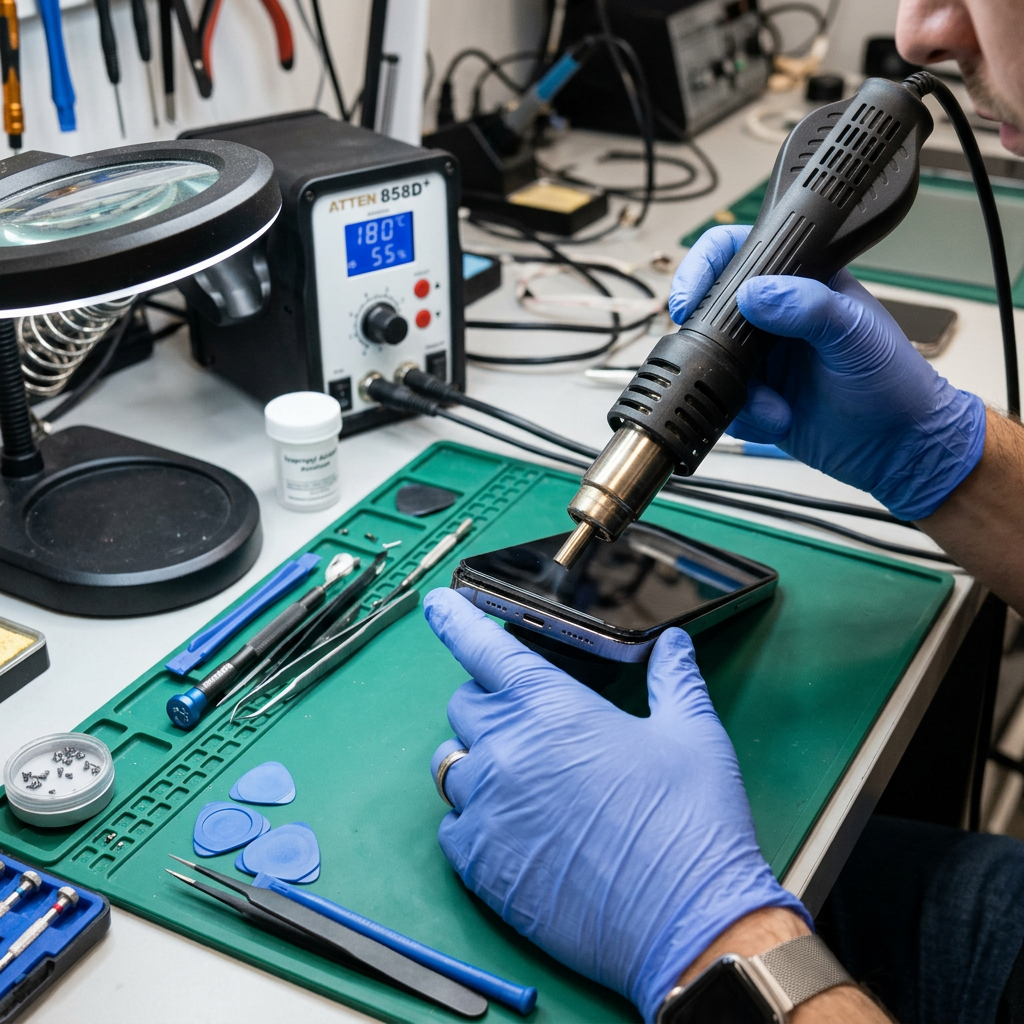
Remove Pentalobe Screws & Heat the Bottom Edge
Power off completely. Remove the two P2 pentalobe screws at the bottom. Apply gentle heat with an iOpener or heat gun to the bottom edge for 60–90 seconds to soften the adhesive. Attach a suction cup and carefully lift the screen open like a book.
The battery itself is heat-sensitive. Too much heat on the back of the phone (not just the bottom edge) can cause the battery to swell or rupture. Lithium batteries can catch fire if overheated.
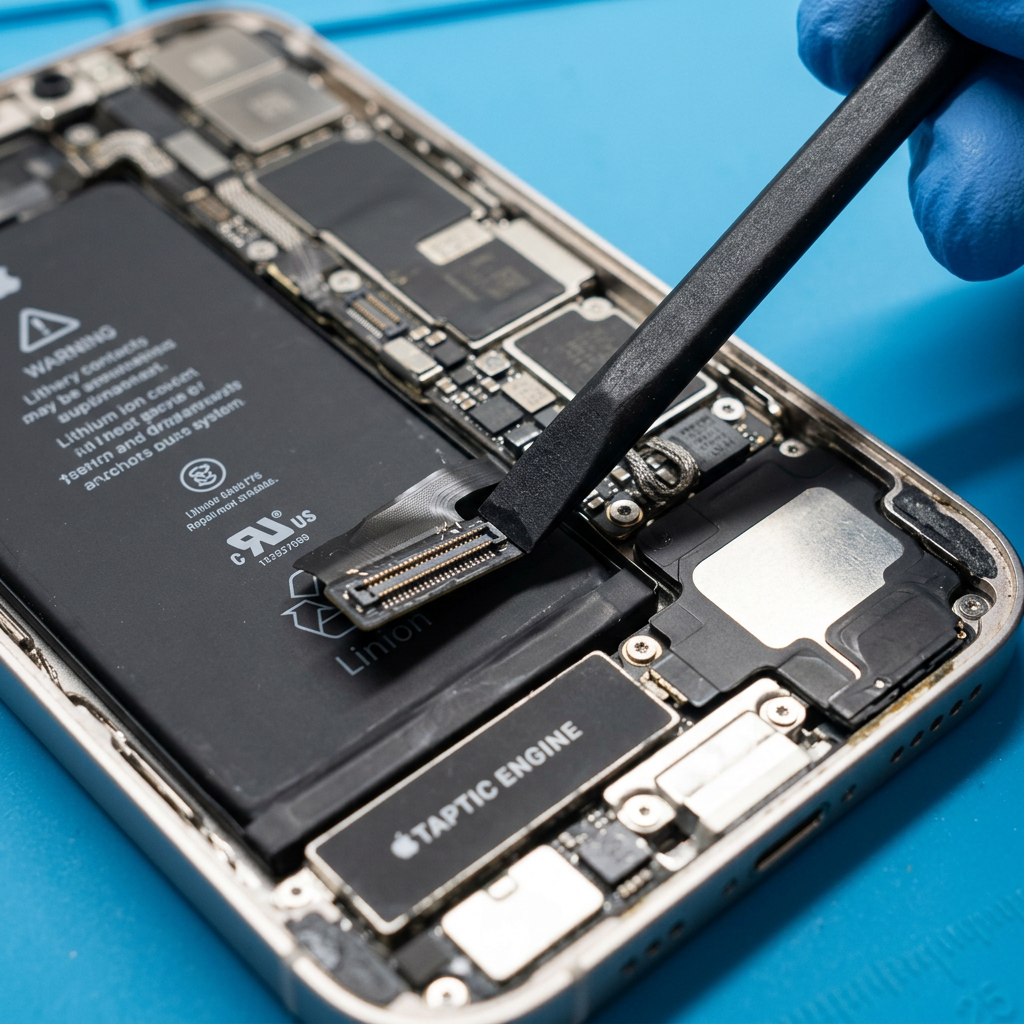
Disconnect the Battery Connector First
Remove the small bracket cover and use a spudger to disconnect the battery connector before touching anything else. This is the single most important step — it prevents short circuits that can permanently damage the logic board.
Do NOT skip disconnecting the battery. Even a brief contact between a tool and a powered connector can fry the logic board instantly — a $200–400+ repair that is not covered under warranty.
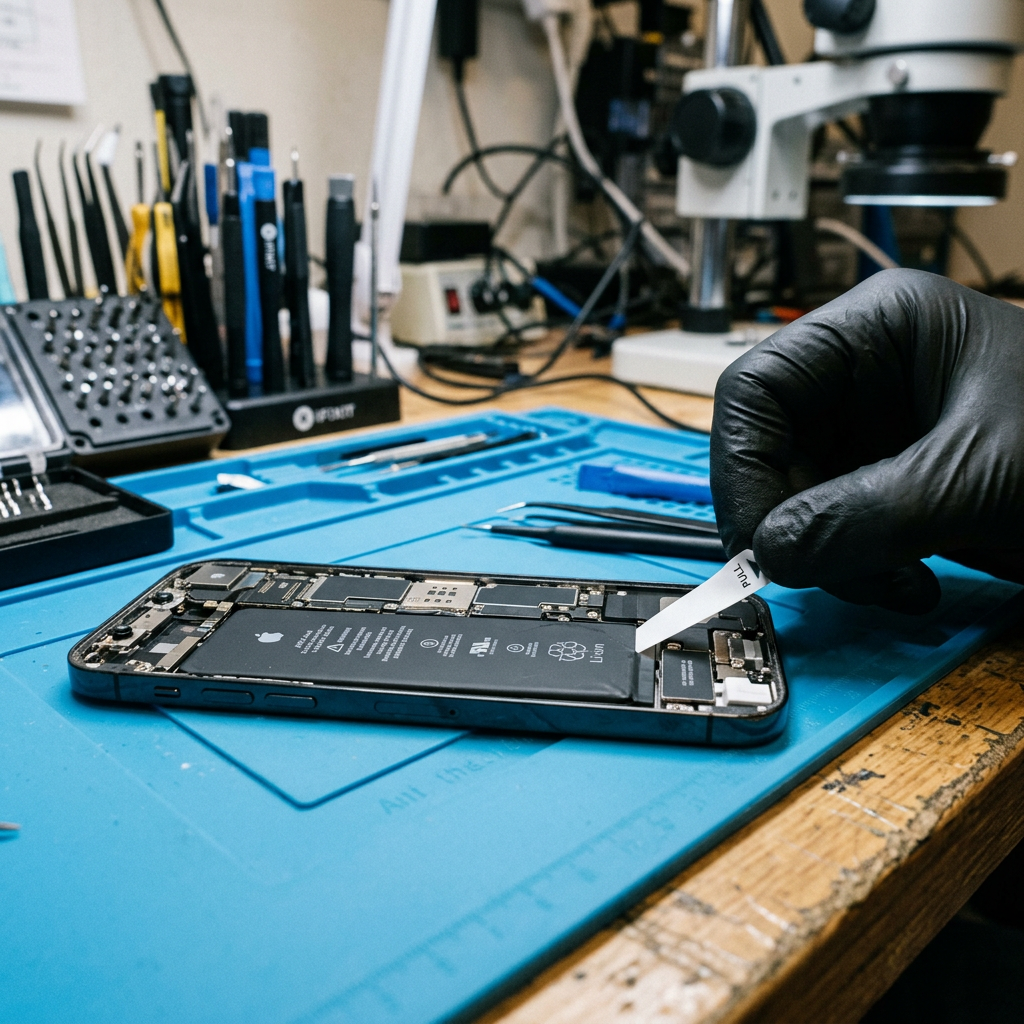
Remove the Adhesive Pull Tabs (Or Use a Solvent)
iPhone batteries are held in by 2–4 adhesive pull tabs under the battery. Slowly pull each tab at a low angle (parallel to the battery, not upward) stretching it out until it releases. If the tab breaks, you'll need isopropyl alcohol or adhesive remover to soak under the battery.
Pulling the tab upward instead of horizontally causes it to snap immediately. Trying to pry the battery out with a metal tool risks puncturing the battery — which can cause a thermal runaway (fire/explosion).
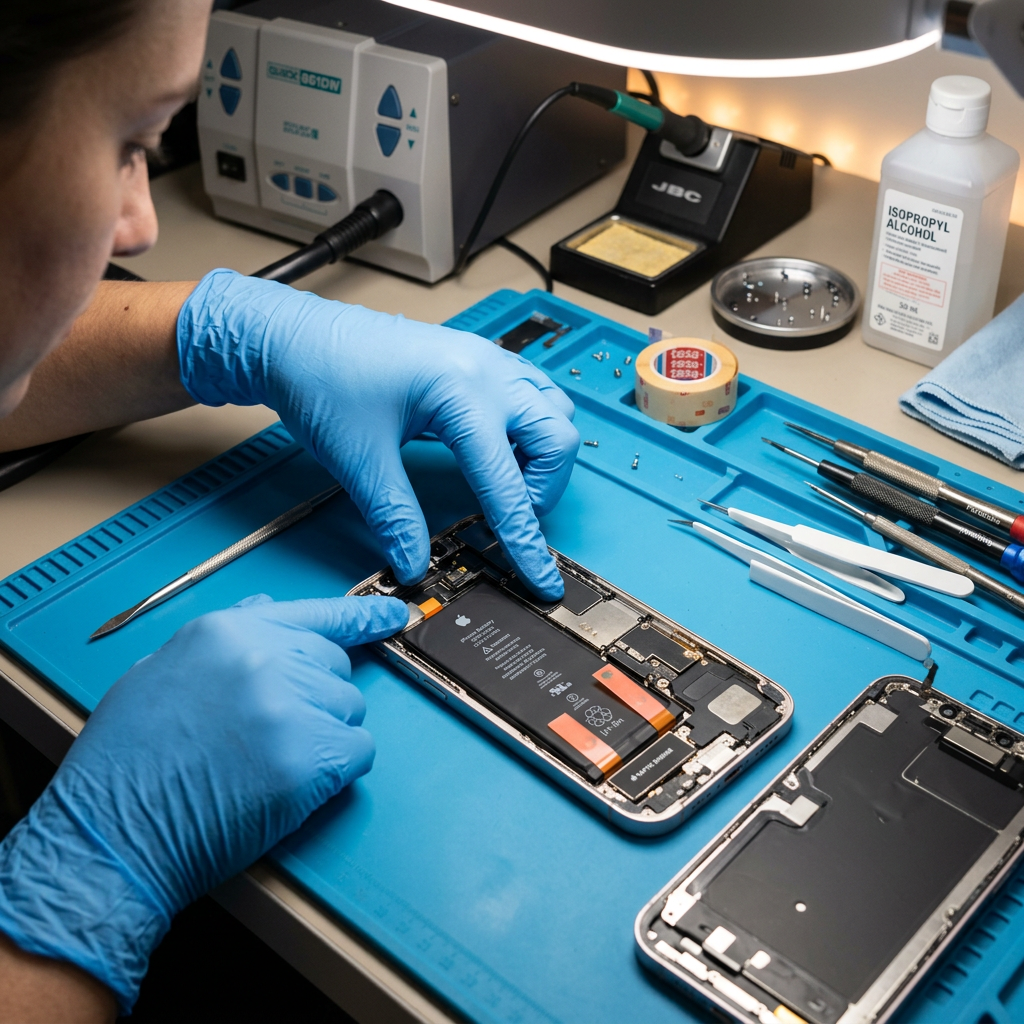
Install New Battery & Reconnect
Peel the backing off the new adhesive strips, position the battery in the same orientation as the old one, and press firmly to adhere. Reconnect the battery connector with a firm press until it clicks. Reconnect the display cable and test before sealing.
On iPhone 14 and newer, replacing the battery triggers a 'non-genuine battery' warning in Settings unless calibrated with Apple's proprietary software. The phone works fine but some users find the warning annoying.
Cost Comparison by iPhone Model
| iPhone Model | DIY Kit Cost | RepairRama Pro |
|---|---|---|
| iPhone 6s / 7 / 8 / SE | $15–30 (kit) | $49–59 + 90-day warranty |
| iPhone X / XR / XS / 11 | $20–40 (kit) | $59–79 + 90-day warranty |
| iPhone 12 / 13 | $25–45 (kit) | $69–89 + 90-day warranty |
| iPhone 14 / 15 | Not recommended (pairing) | $79–99 + 90-day warranty |
Let Us Handle It Safely
Walk in with a dying battery — leave the same day with full charge capacity restored and a 90-day warranty.
Also see: iPhone Repair Services → | Battery Replacement Prices → | iPhone Screen Guide → | Charging Port Guide →
More iPhone Repair Guides
DIY iPhone Battery Replacement:
Step-by-Step Guide + Safety Warnings
iPhone battery draining fast or shutting down unexpectedly? This guide walks you through everything — tools, safety precautions, step-by-step replacement, and an honest look at whether DIY makes sense for your model.
Tools You'll Need
Replacement Battery
Model-specific — an iPhone 12 battery won't fit an iPhone 13
P2 Pentalobe Screwdriver
For the two bottom screws
Phillips #000 Screwdriver
For the battery connector bracket
iOpener or Heat Gun
To soften bottom edge adhesive
Suction Cup Handle
To lift the display assembly
Plastic Spudger
To disconnect the battery safely
Isopropyl Alcohol (90%+)
Backup if adhesive pull tabs snap
New Adhesive Strips
Pre-cut for your iPhone model
Step-by-Step Battery Replacement
These steps apply to iPhone 6s through iPhone 13. iPhone 14+ have component pairing — professional repair is recommended.
Check Your Battery Health First
Go to Settings → Battery → Battery Health & Charging. If your maximum capacity is below 80% or you see 'Service Recommended,' replacement is worth it. Replacing a battery above 85% capacity is usually unnecessary.
Replacing a battery that doesn't actually need it wastes money and adds unnecessary risk. Always check health first.
Remove Pentalobe Screws & Heat the Bottom Edge
Power off completely. Remove the two P2 pentalobe screws at the bottom. Apply gentle heat with an iOpener or heat gun to the bottom edge for 60–90 seconds to soften the adhesive. Attach a suction cup and carefully lift the screen open like a book.
The battery itself is heat-sensitive. Too much heat on the back of the phone (not just the bottom edge) can cause the battery to swell or rupture. Lithium batteries can catch fire if overheated.
Disconnect the Battery Connector First
Remove the small bracket cover and use a spudger to disconnect the battery connector before touching anything else. This is the single most important step — it prevents short circuits that can permanently damage the logic board.
Do NOT skip disconnecting the battery. Even a brief contact between a tool and a powered connector can fry the logic board instantly — a $200–400+ repair that is not covered under warranty.
Remove the Adhesive Pull Tabs (Or Use a Solvent)
iPhone batteries are held in by 2–4 adhesive pull tabs under the battery. Slowly pull each tab at a low angle (parallel to the battery, not upward) stretching it out until it releases. If the tab breaks, you'll need isopropyl alcohol or adhesive remover to soak under the battery.
Pulling the tab upward instead of horizontally causes it to snap immediately. Trying to pry the battery out with a metal tool risks puncturing the battery — which can cause a thermal runaway (fire/explosion).
Install New Battery & Reconnect
Peel the backing off the new adhesive strips, position the battery in the same orientation as the old one, and press firmly to adhere. Reconnect the battery connector with a firm press until it clicks. Reconnect the display cable and test before sealing.
On iPhone 14 and newer, replacing the battery triggers a 'non-genuine battery' warning in Settings unless calibrated with Apple's proprietary software. The phone works fine but some users find the warning annoying.
Cost Comparison by iPhone Model
| iPhone Model | DIY Kit Cost | RepairRama Pro |
|---|---|---|
| iPhone 6s / 7 / 8 / SE | $15–30 (kit) | $49–59 + 90-day warranty |
| iPhone X / XR / XS / 11 | $20–40 (kit) | $59–79 + 90-day warranty |
| iPhone 12 / 13 | $25–45 (kit) | $69–89 + 90-day warranty |
| iPhone 14 / 15 | Not recommended (pairing) | $79–99 + 90-day warranty |
Let Us Handle It Safely
Walk in with a dying battery — leave the same day with full charge capacity restored and a 90-day warranty.
Also see: iPhone Repair Services → | Battery Replacement Prices → | iPhone Screen Guide → | Charging Port Guide →