DIY iPad Screen Repair:
Step-by-Step Guide + Honest Risk Breakdown
Cracked your iPad screen and thinking about fixing it yourself? This guide walks you through every step — the tools you'll need, the process, the real risks, and an honest cost comparison so you can decide whether DIY or professional repair is the right call for you.
What You'll Need (Full Tools List)
Before purchasing anything, make sure you get a kit specifically for your iPad model. A kit for an iPad Air 5 will NOT work on an iPad Pro 11".
Replacement Screen Assembly
Glass + digitizer (touch), LCD panel — model-specific
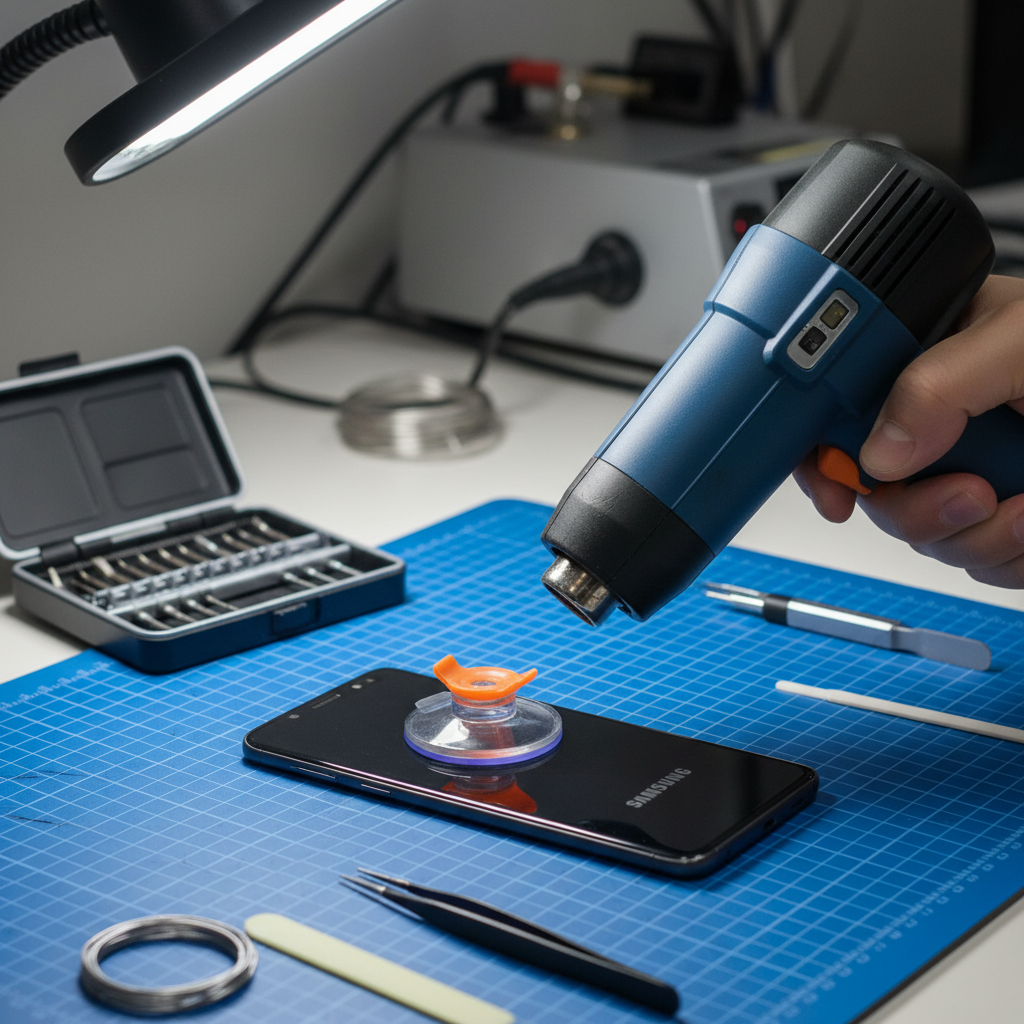
Heat Gun or iOpener Pad
To soften the adhesive without cracking the glass
Plastic Opening Picks (5–10)
For separating the glass from the frame
Suction Cup Handle
To lift the glass once the adhesive softens
Plastic Spudger
For disconnecting ribbon cables safely
Phillips #000 Screwdriver
For home button bracket screws
Tweezers (anti-static)
For small screws and cable connectors
New Adhesive Strips
Pre-cut for your iPad model — critical for re-sealing
Step-by-Step iPad Screen Repair Process
These steps apply to most standard iPad and iPad mini models. iPad Pro repair is significantly more complex and is not recommended as a DIY project.
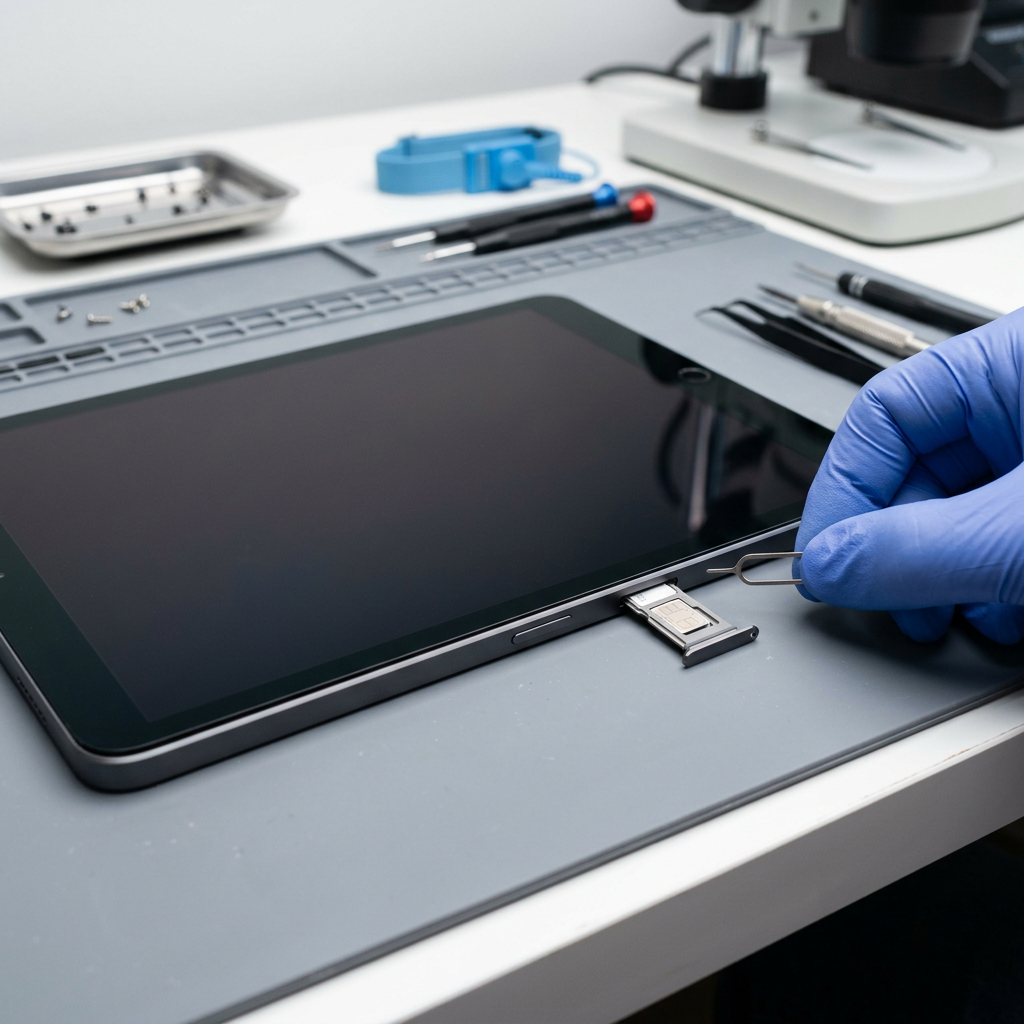
Power Off & Remove the SIM Tray
Hold the power button and slide to power off completely. Use a SIM ejector pin to remove the SIM tray so it doesn't get damaged during heating.
Never attempt the repair with the iPad powered on — you risk short-circuiting the board.
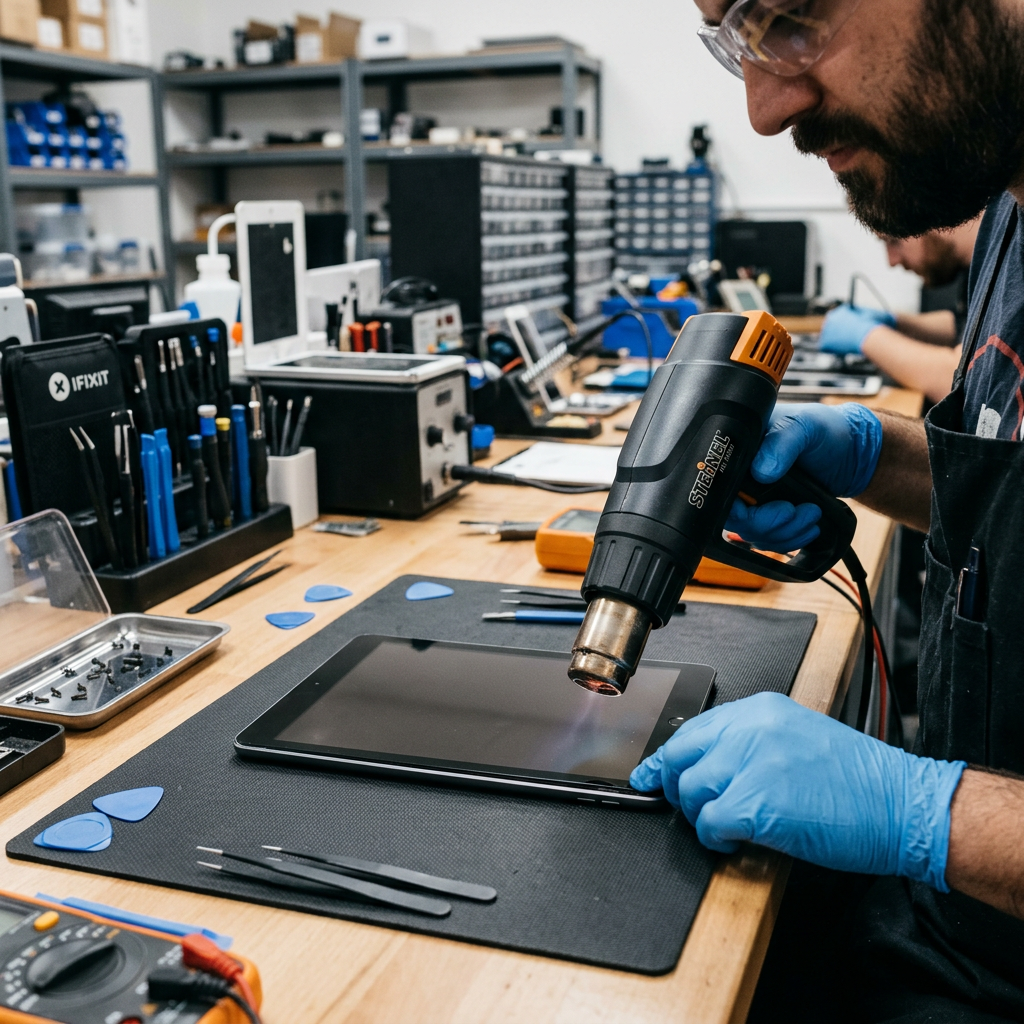
Heat the Adhesive Around the Edges
iPad screens are sealed with strong adhesive. You need a heat gun or iOpener heated pad to warm all four edges for 2–3 minutes at a time. The glass must reach ~75°C to soften the adhesive without cracking.
Too much heat damages the LCD, battery, or logic board. Too little heat means the glass will snap when you try to open it.
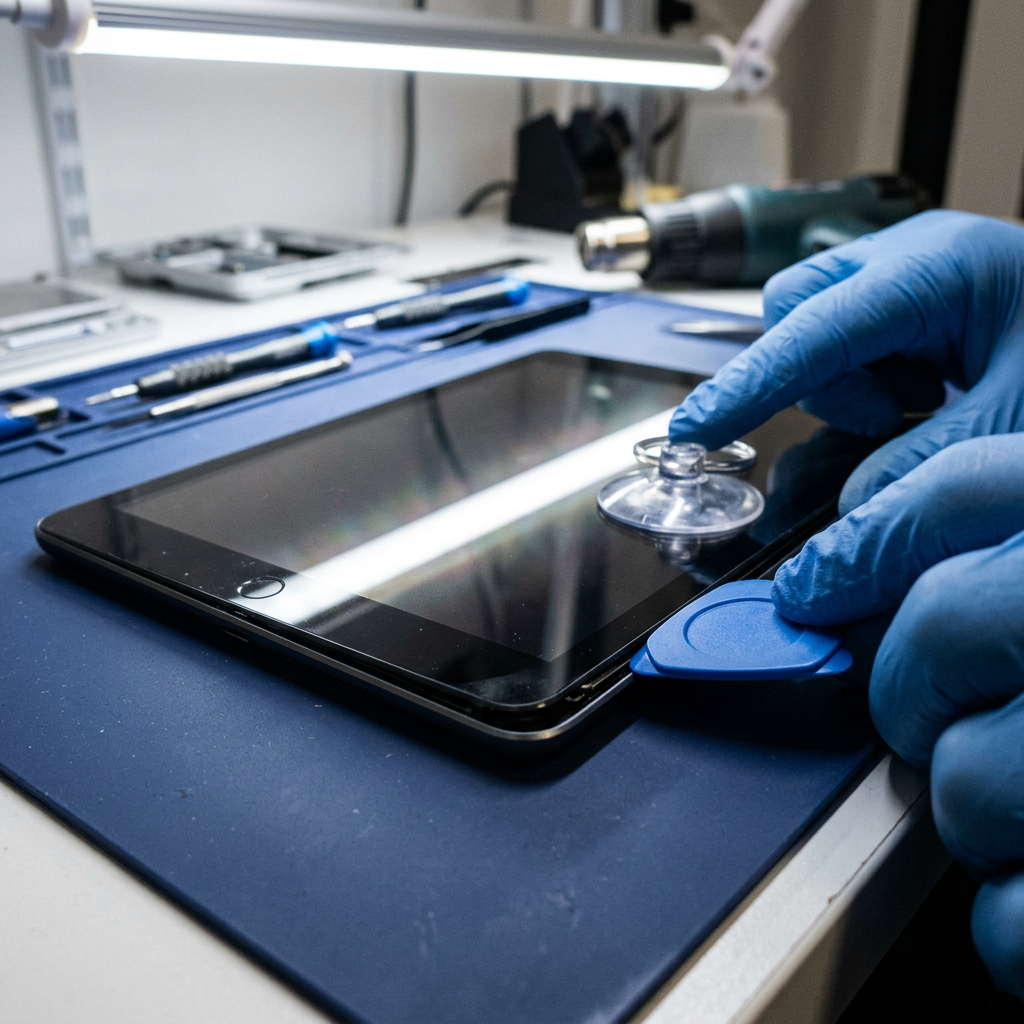
Insert Picks & Slowly Separate the Glass
Carefully slide a thin plastic opening pick under the heated edge. Work slowly around the perimeter — iPad screens are fused tightly and require patience. On iPads with home buttons, be extra careful at the bottom edge.
Forcing the pick or going too deep can sever the digitizer cable or home button ribbon — instant Touch ID failure.
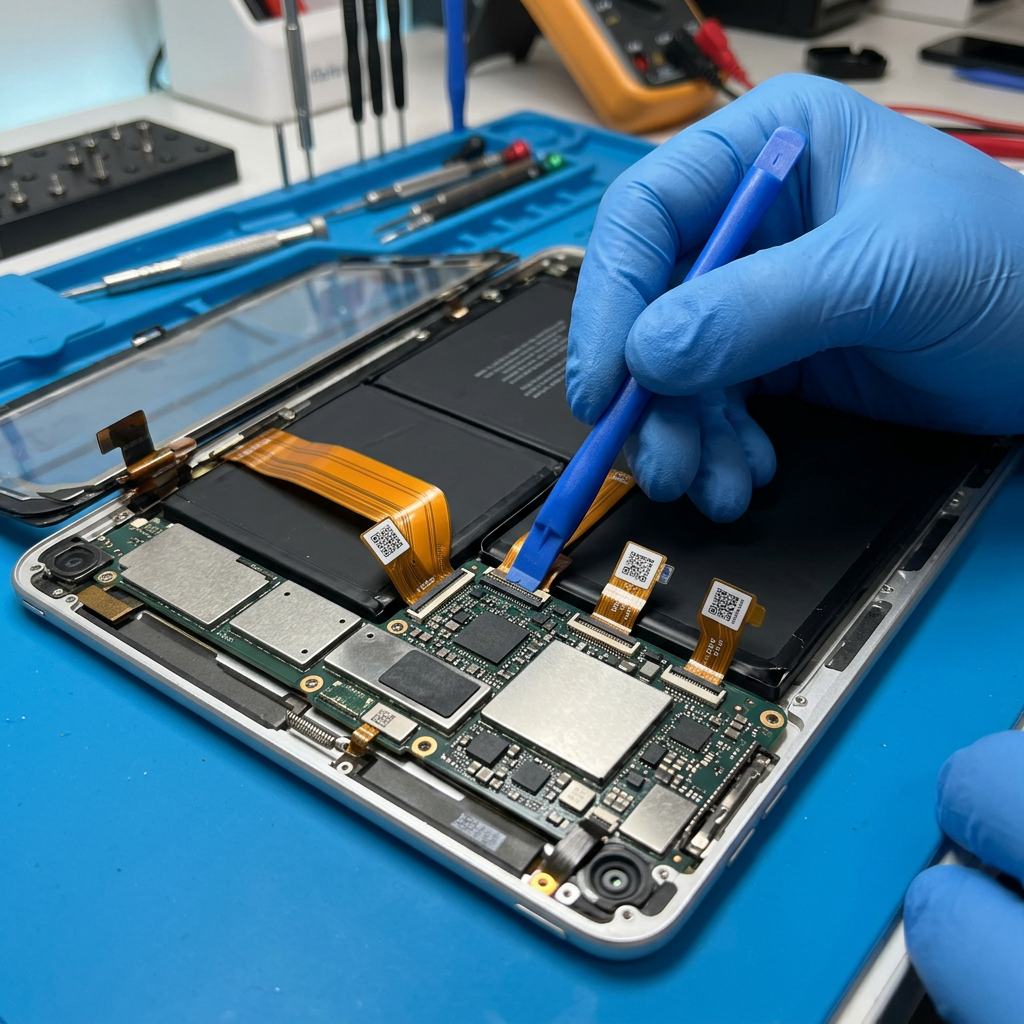
Disconnect the LCD & Digitizer Cables
Once the glass is separated, you'll find 2–4 ribbon cable connectors on the right side. Use a spudger to gently flip up the locking tabs and disconnect each cable carefully before fully removing the old screen.
These connectors are fragile. Pulling the cable sideways instead of straight up will tear it — and that's another $50–$100 part.
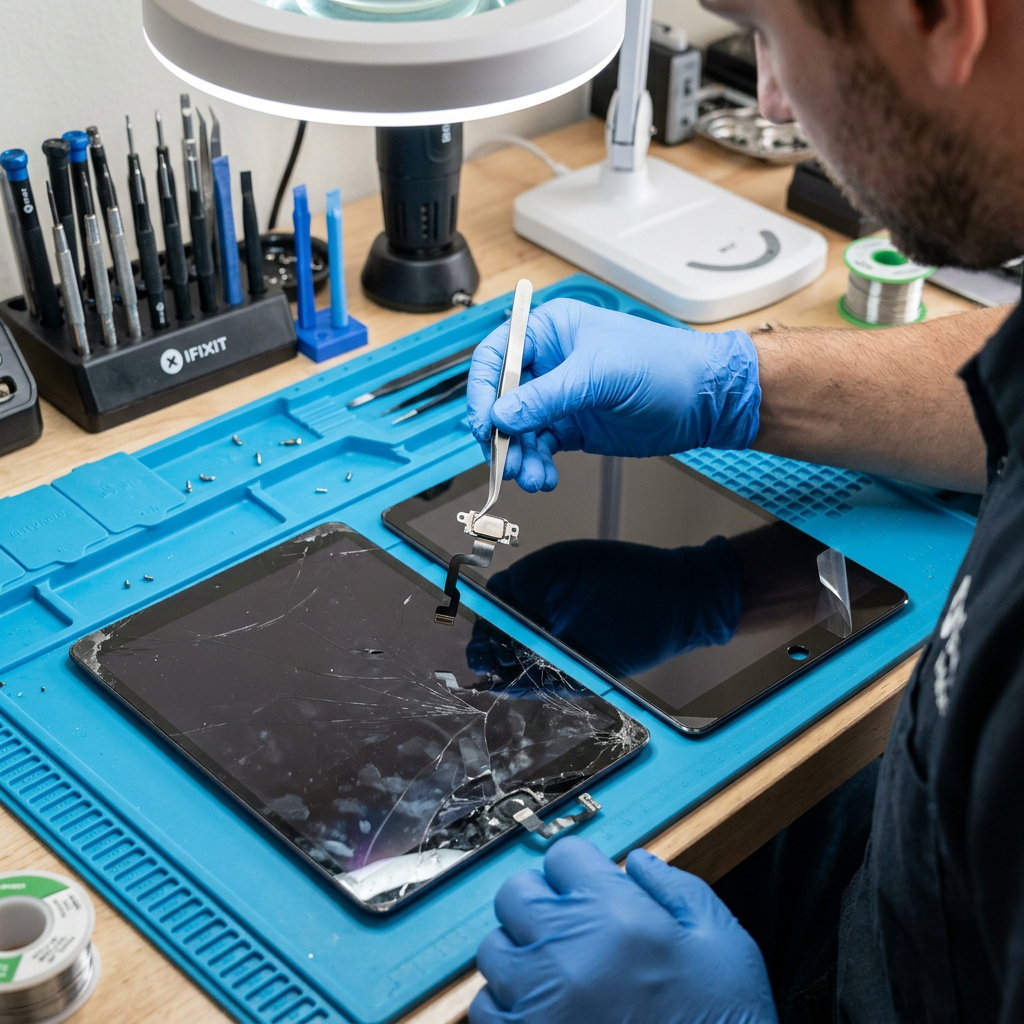
Transfer the Home Button (If Applicable)
For iPads with a home button (most models except newer iPad Pro), you must carefully transfer the original home button bracket to the new screen. The home button is paired to the device — a replacement won't work for Touch ID.
If you damage the home button flex cable, Touch ID is permanently disabled. Apple charges $299+ to fix this.
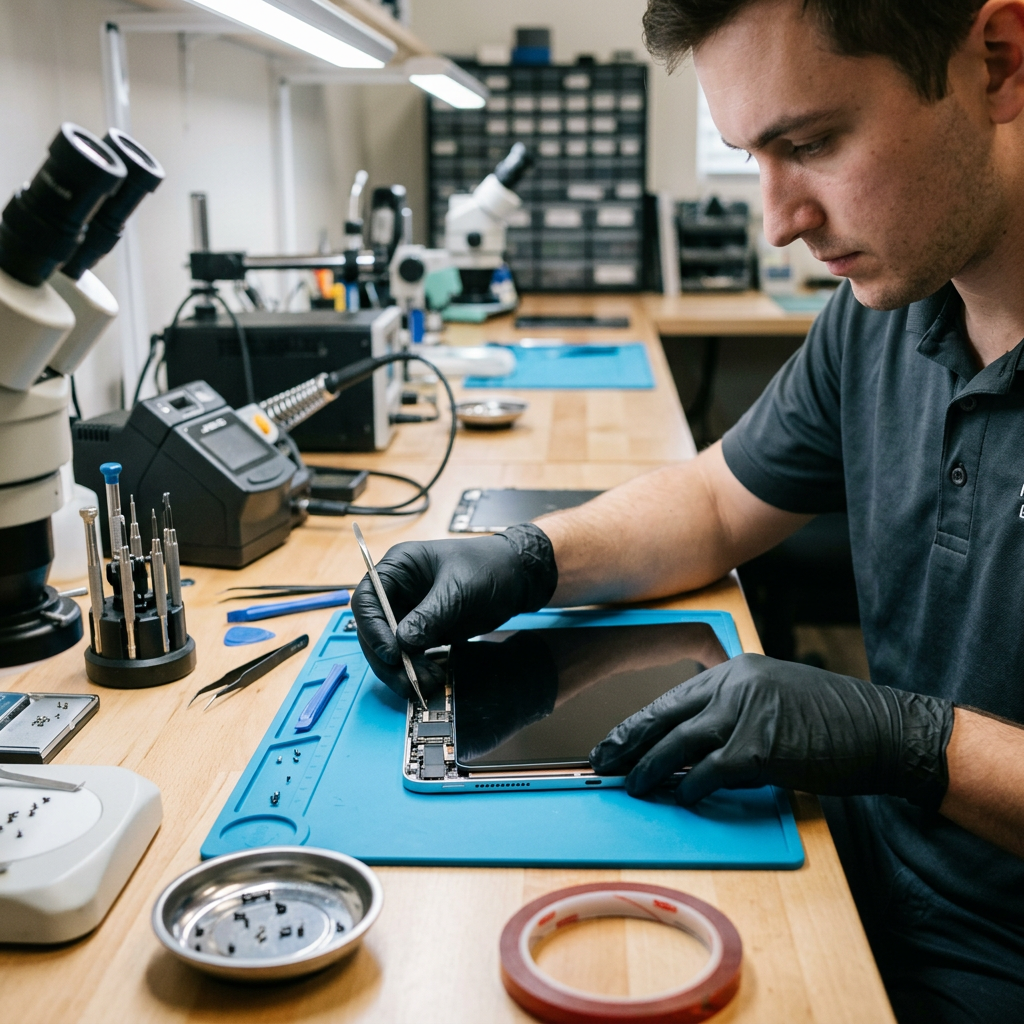
Install New Screen & Re-Adhere
Connect the new LCD and digitizer cables, snap the connectors in, and test before sealing. Once confirmed working, apply new adhesive strips around the perimeter and carefully press the glass down evenly.
Skipping the test before sealing means you have to re-open everything if there's a problem — double the work, double the risk.
DIY vs. Professional Repair: Honest Comparison
🔧 DIY Pros
- Save $50–100 on labor
- Can be done at home on your schedule
- Learning experience for tech enthusiasts
⚠️ DIY Cons
- High risk of damaging Touch ID or Face ID permanently
- One wrong move can break the LCD ($80–150 more in parts)
- Heat damage to battery voids any future repair warranty
- Kits are model-specific — wrong kit = wasted money
- Re-sealing is difficult; poor adhesion causes dust under glass
- No warranty — if something goes wrong, you're on your own
- iPad Pro repairs involve micro-soldering — not a DIY project
🏆 Professional Repair at RepairRama
- 90-day warranty on all repairs
- No risk to Touch ID or Face ID
- Expert technicians — same-day service
- Quality replacement LCD assemblies
- Free diagnostic before any charges
- Re-sealed properly — no dust under glass
- iPad Pro? We handle it — no problem
Cost Comparison by iPad Model
| iPad Model | DIY Kit Cost | RepairRama Pro |
|---|---|---|
| iPad (6th–10th Gen) | $40–75 (kit) | $99–129 + 90-day warranty |
| iPad mini (4th–6th Gen) | $45–80 (kit) | $79–119 + 90-day warranty |
| iPad Air (3rd–5th Gen) | $55–90 (kit) | $129–169 + 90-day warranty |
| iPad Pro 11" / 12.9" | Not recommended | $179–249 + 90-day warranty |
* DIY kit cost doesn't include the risk of damaging Touch ID, LCD, or needing to buy a second kit if the first attempt fails.
Skip the Risk — We'll Fix It Right
RepairRama has repaired thousands of iPads in the Bronx. Walk in with a cracked screen, leave with a perfect display — same day, backed by a 90-day warranty.
Also see: Tablet Repair Services → | iPad Screen Repair Prices → | iPad Battery Guide → | iPad Charging Port Guide →
More Repair Guides
DIY iPad Screen Repair:
Step-by-Step Guide + Honest Risk Breakdown
Cracked your iPad screen and thinking about fixing it yourself? This guide walks you through every step — the tools you'll need, the process, the real risks, and an honest cost comparison so you can decide whether DIY or professional repair is the right call for you.
What You'll Need (Full Tools List)
Before purchasing anything, make sure you get a kit specifically for your iPad model. A kit for an iPad Air 5 will NOT work on an iPad Pro 11".
Replacement Screen Assembly
Glass + digitizer (touch), LCD panel — model-specific
Heat Gun or iOpener Pad
To soften the adhesive without cracking the glass
Plastic Opening Picks (5–10)
For separating the glass from the frame
Suction Cup Handle
To lift the glass once the adhesive softens
Plastic Spudger
For disconnecting ribbon cables safely
Phillips #000 Screwdriver
For home button bracket screws
Tweezers (anti-static)
For small screws and cable connectors
New Adhesive Strips
Pre-cut for your iPad model — critical for re-sealing
Step-by-Step iPad Screen Repair Process
These steps apply to most standard iPad and iPad mini models. iPad Pro repair is significantly more complex and is not recommended as a DIY project.
Power Off & Remove the SIM Tray
Hold the power button and slide to power off completely. Use a SIM ejector pin to remove the SIM tray so it doesn't get damaged during heating.
Never attempt the repair with the iPad powered on — you risk short-circuiting the board.
Heat the Adhesive Around the Edges
iPad screens are sealed with strong adhesive. You need a heat gun or iOpener heated pad to warm all four edges for 2–3 minutes at a time. The glass must reach ~75°C to soften the adhesive without cracking.
Too much heat damages the LCD, battery, or logic board. Too little heat means the glass will snap when you try to open it.
Insert Picks & Slowly Separate the Glass
Carefully slide a thin plastic opening pick under the heated edge. Work slowly around the perimeter — iPad screens are fused tightly and require patience. On iPads with home buttons, be extra careful at the bottom edge.
Forcing the pick or going too deep can sever the digitizer cable or home button ribbon — instant Touch ID failure.
Disconnect the LCD & Digitizer Cables
Once the glass is separated, you'll find 2–4 ribbon cable connectors on the right side. Use a spudger to gently flip up the locking tabs and disconnect each cable carefully before fully removing the old screen.
These connectors are fragile. Pulling the cable sideways instead of straight up will tear it — and that's another $50–$100 part.
Transfer the Home Button (If Applicable)
For iPads with a home button (most models except newer iPad Pro), you must carefully transfer the original home button bracket to the new screen. The home button is paired to the device — a replacement won't work for Touch ID.
If you damage the home button flex cable, Touch ID is permanently disabled. Apple charges $299+ to fix this.
Install New Screen & Re-Adhere
Connect the new LCD and digitizer cables, snap the connectors in, and test before sealing. Once confirmed working, apply new adhesive strips around the perimeter and carefully press the glass down evenly.
Skipping the test before sealing means you have to re-open everything if there's a problem — double the work, double the risk.
DIY vs. Professional Repair: Honest Comparison
🔧 DIY Pros
- Save $50–100 on labor
- Can be done at home on your schedule
- Learning experience for tech enthusiasts
⚠️ DIY Cons
- High risk of damaging Touch ID or Face ID permanently
- One wrong move can break the LCD ($80–150 more in parts)
- Heat damage to battery voids any future repair warranty
- Kits are model-specific — wrong kit = wasted money
- Re-sealing is difficult; poor adhesion causes dust under glass
- No warranty — if something goes wrong, you're on your own
- iPad Pro repairs involve micro-soldering — not a DIY project
🏆 Professional Repair at RepairRama
- 90-day warranty on all repairs
- No risk to Touch ID or Face ID
- Expert technicians — same-day service
- Quality replacement LCD assemblies
- Free diagnostic before any charges
- Re-sealed properly — no dust under glass
- iPad Pro? We handle it — no problem
Cost Comparison by iPad Model
| iPad Model | DIY Kit Cost | RepairRama Pro |
|---|---|---|
| iPad (6th–10th Gen) | $40–75 (kit) | $99–129 + 90-day warranty |
| iPad mini (4th–6th Gen) | $45–80 (kit) | $79–119 + 90-day warranty |
| iPad Air (3rd–5th Gen) | $55–90 (kit) | $129–169 + 90-day warranty |
| iPad Pro 11" / 12.9" | Not recommended | $179–249 + 90-day warranty |
* DIY kit cost doesn't include the risk of damaging Touch ID, LCD, or needing to buy a second kit if the first attempt fails.
Skip the Risk — We'll Fix It Right
RepairRama has repaired thousands of iPads in the Bronx. Walk in with a cracked screen, leave with a perfect display — same day, backed by a 90-day warranty.
Also see: Tablet Repair Services → | iPad Screen Repair Prices → | iPad Battery Guide → | iPad Charging Port Guide →