DIY iPad Charging Port Repair:
Step-by-Step Guide + Diagnosis
iPad not charging or only charging intermittently? This guide covers how to diagnose the issue, whether DIY is feasible for your iPad model, and the full repair steps if you decide to proceed.
iPad Pro USB-C Charging Port = Not a DIY Repair
On iPad Pro models, the USB-C port is soldered directly to the logic board. This requires micro-soldering equipment and expertise. If you have an iPad Pro with a damaged charging port, please bring it to us — attempting this at home will damage the logic board.
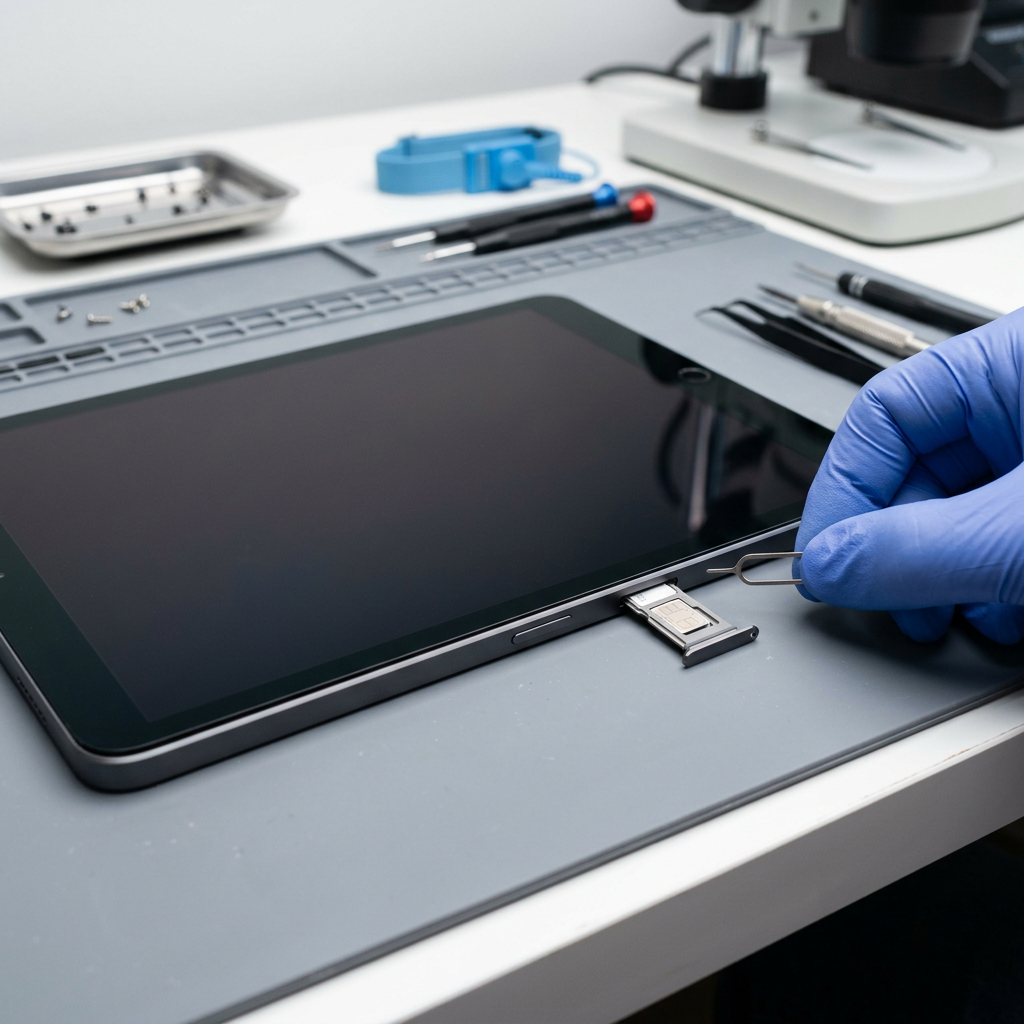
Tools You'll Need
Replacement Charging Port Flex
Lightning models only — iPad Pro USB-C is soldered
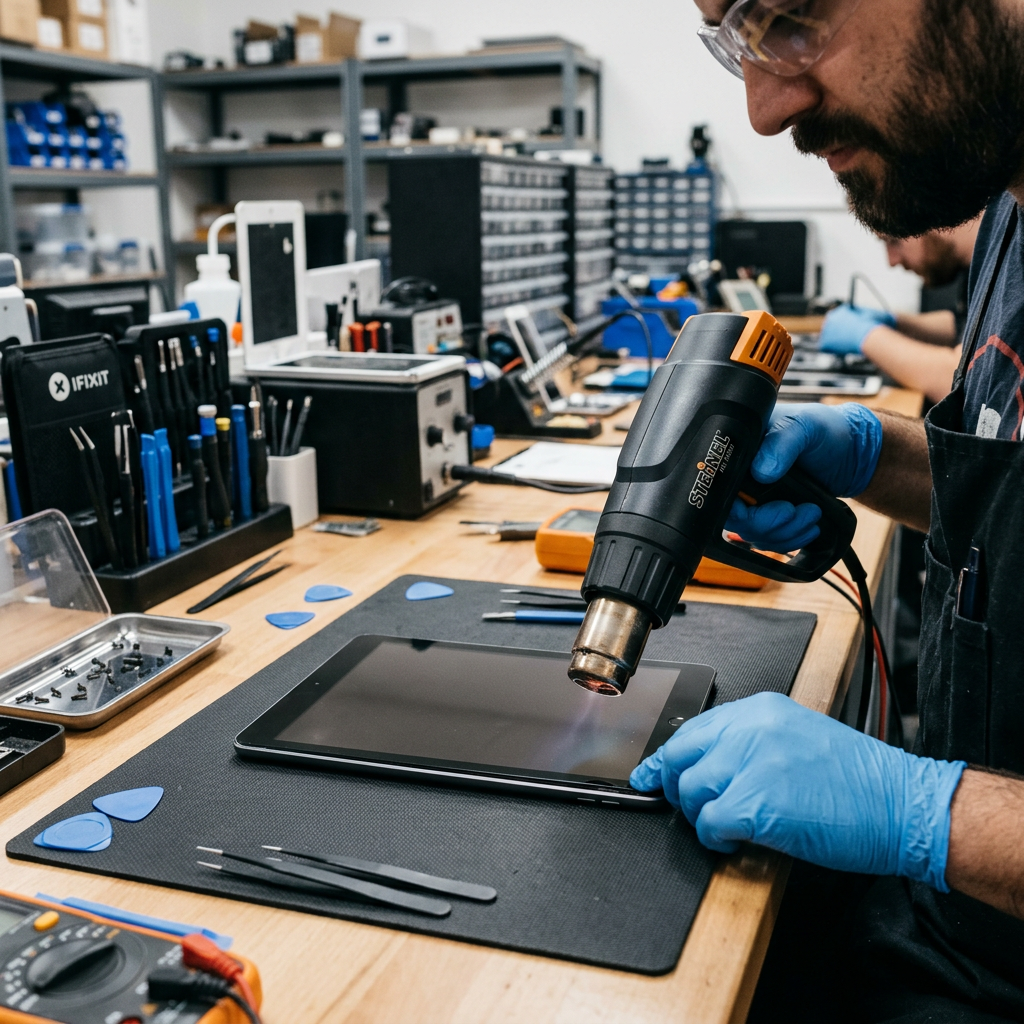
Heat Gun or iOpener
For screen removal (required before port access)
Plastic Opening Picks
For separating the adhesive-sealed screen
Phillips & Tri-point Screwdrivers
For internal brackets and components
Isopropyl Alcohol (90%+)
To remove the battery adhesive during teardown
New Screen & Battery Adhesive
Everything needs to be re-sealed after repair
Step-by-Step Repair Process
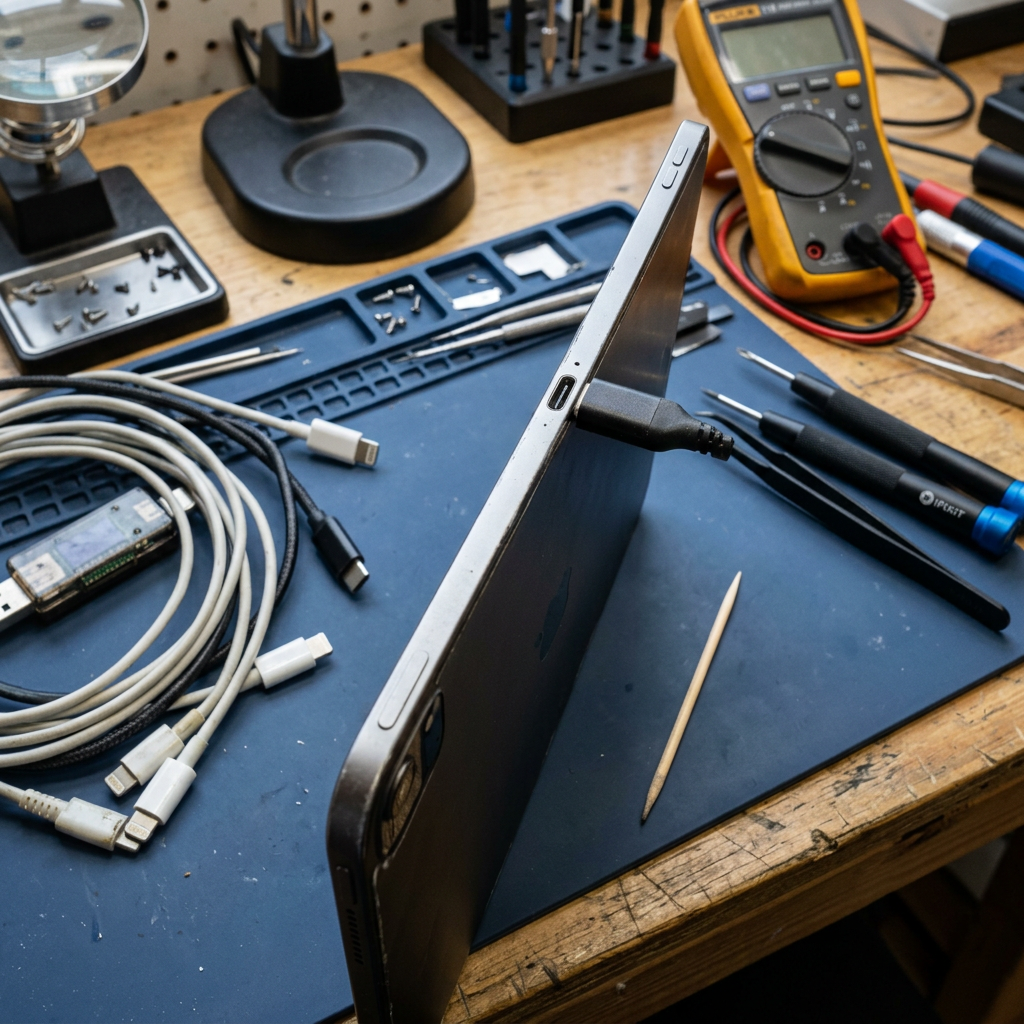
Diagnose: Is It the Port or the Cable?
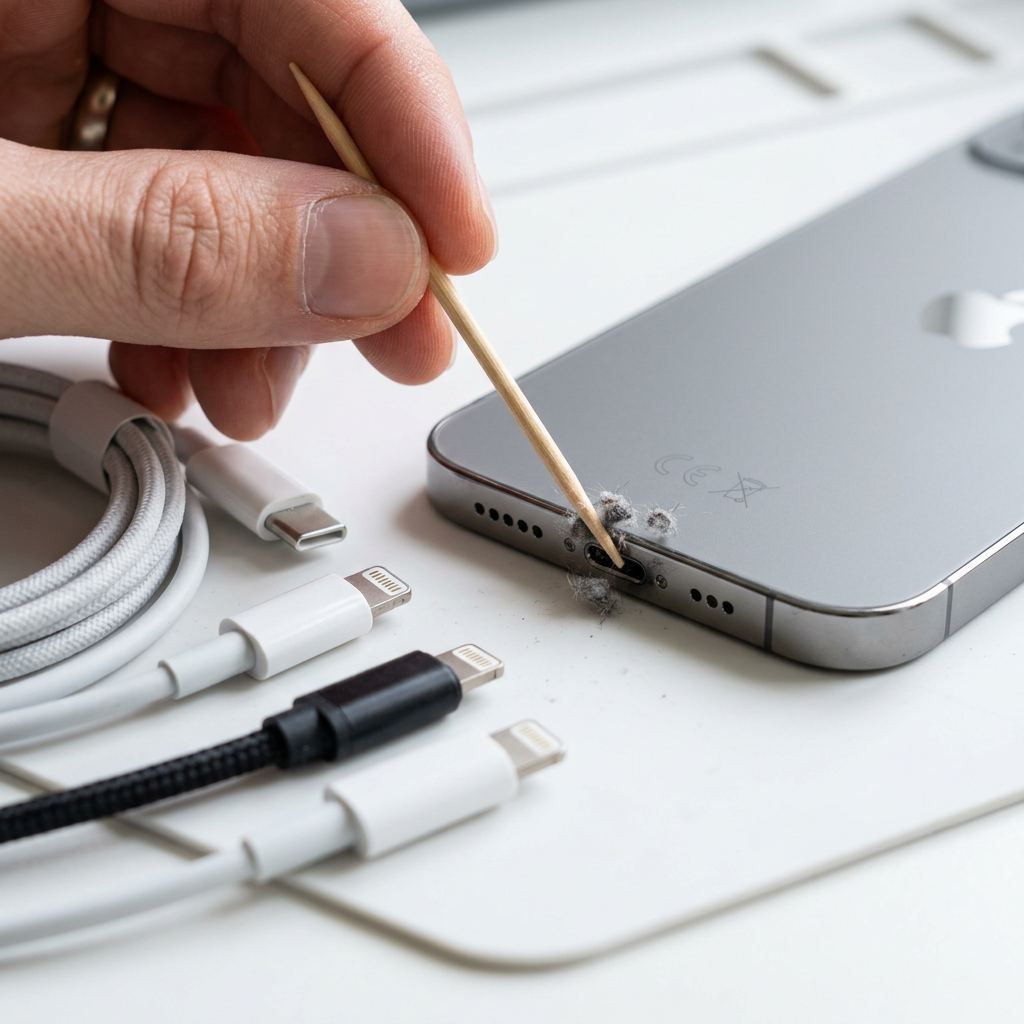
Test with 3 different cables and chargers. Use a wooden toothpick to check for lint inside the port. Try a wireless charger if your iPad model supports it (iPad Pro with USB-C). If multiple cables fail and cleaning doesn't help, the port needs replacement.
Never use metal objects to clean an iPad charging port — you can bend the internal pins, turning a simple lint issue into a $100+ repair.
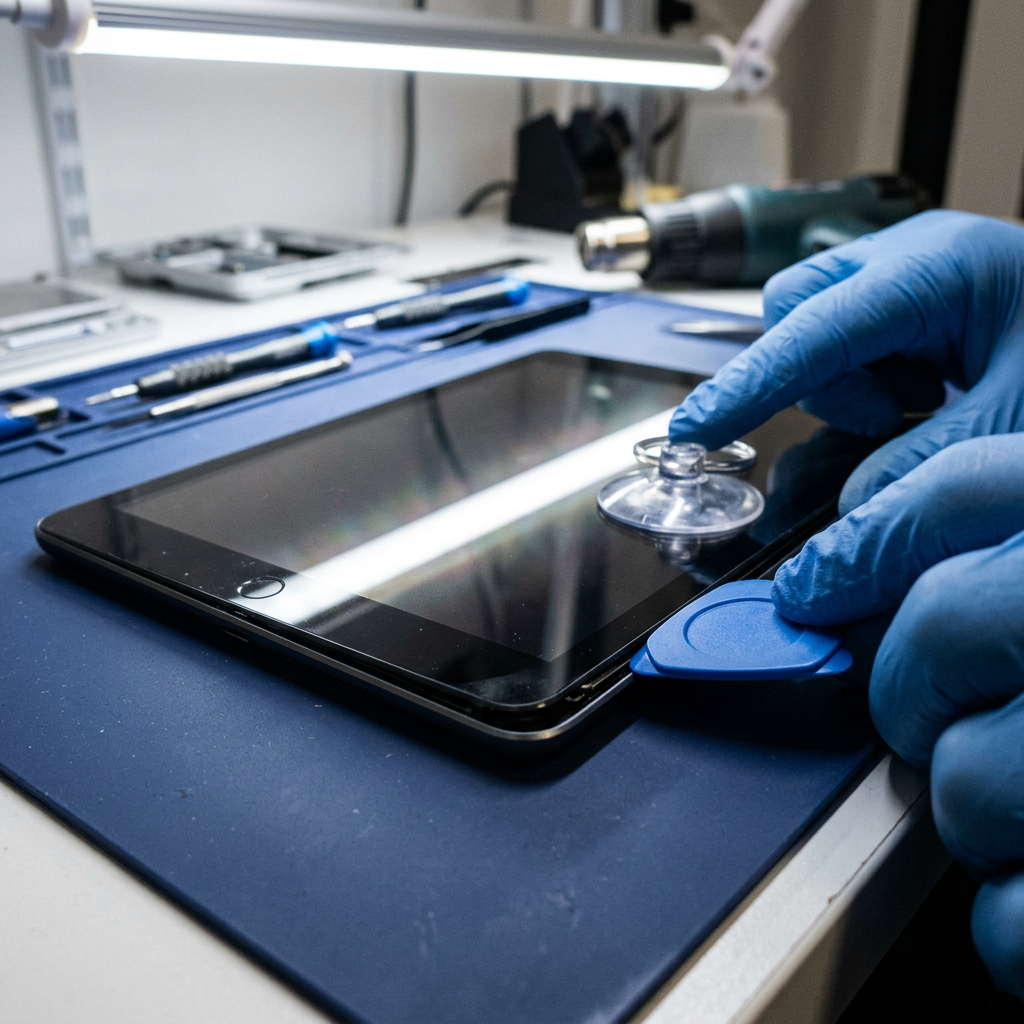
Full Screen Removal (Required)
The charging port on all iPad models is accessible only after full screen removal. Heat all four edges, use picks to separate the glass, and carefully disconnect the display cables. The screen removal process for iPad charging port repair is identical to iPad battery replacement.
Charging port repair on an iPad involves removing the screen, multiple internal components, and sometimes the battery. This is a 60–90 minute repair even for experienced technicians. Budget 2–3 hours for your first attempt.
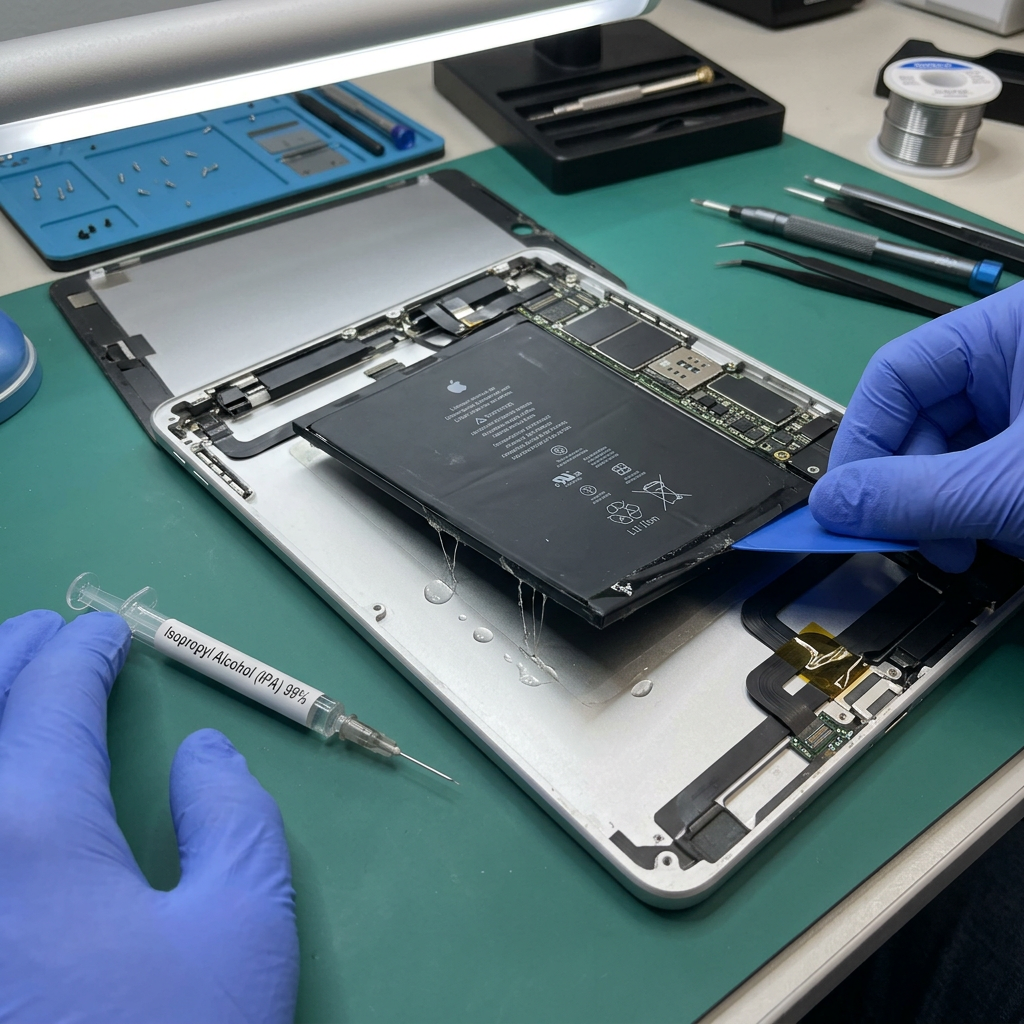
Remove Battery & Internal Shielding
On most iPad models, reaching the charging port requires removing the battery first. Follow the battery removal steps (applying isopropyl alcohol to soften adhesive). The charging port sits at the bottom of the iPad, often under a logic board shield.
On iPad Pro models with USB-C, the charging port repair involves micro-soldering in many cases — the port is soldered directly to the logic board, not on a flex cable. This cannot be done at home without professional equipment.
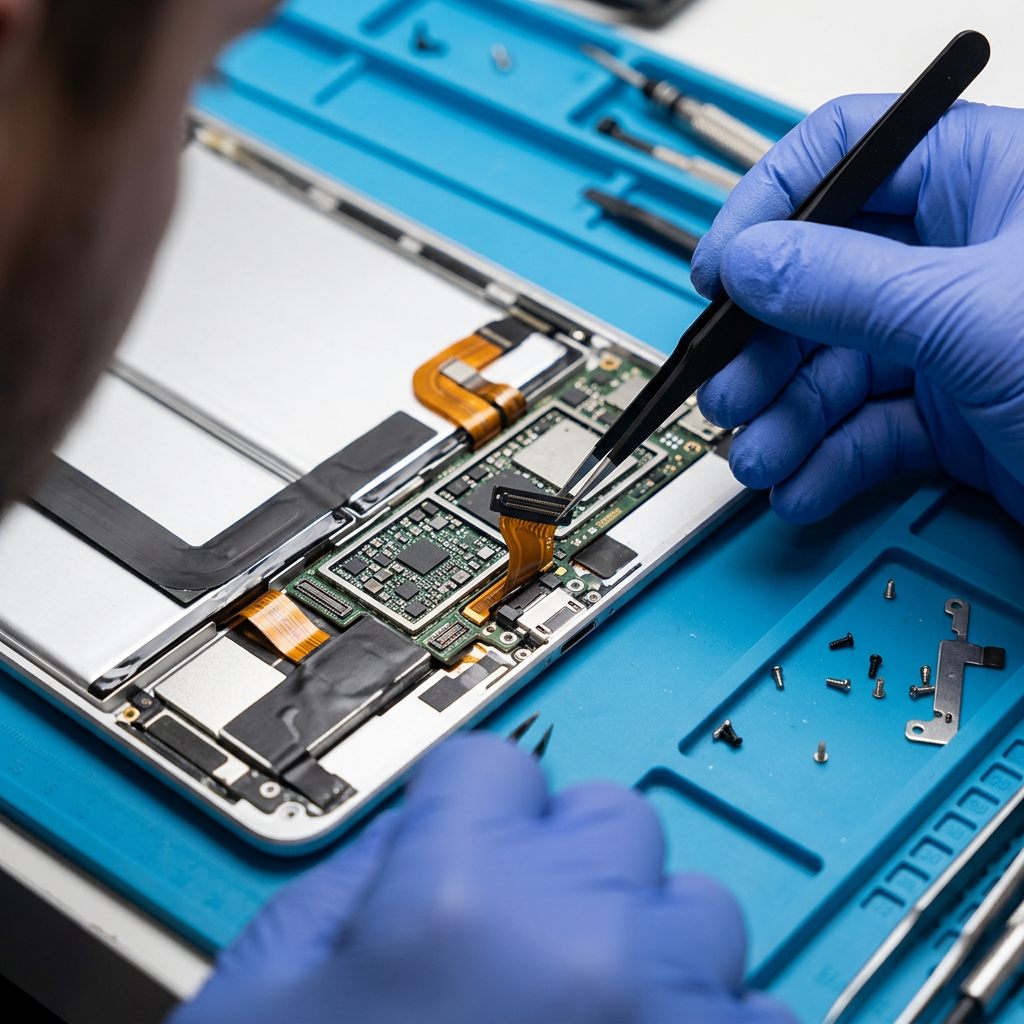
Replace the Charging Port Flex Assembly
On Lightning iPads (iPad mini, standard iPad, iPad Air), the charging port is on a replaceable flex cable assembly. Disconnect it, remove any retaining screws, and install the new flex. iPad Pro USB-C ports that are physically damaged may need soldering — if so, bring it to a professional.
iPad Pro charging port repair that requires soldering is beyond typical DIY capability. Attempting it without the right tools and training will likely damage the logic board permanently.
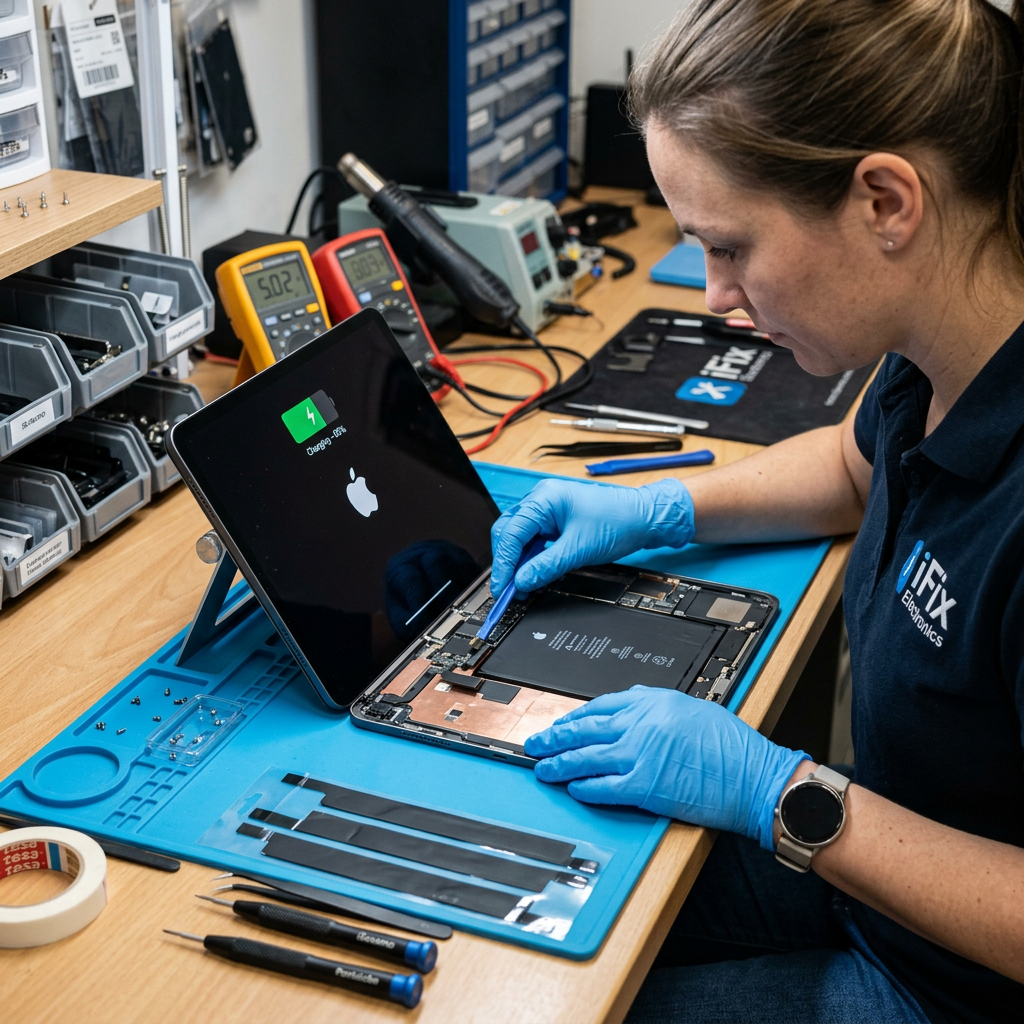
Reassemble, Test, Re-seal
Reinstall the battery (with fresh adhesive), reconnect all cables, and test charging before sealing the screen. Verify the charge indicator appears immediately when plugged in. If it works, re-seal the screen with new adhesive strips.
Test before sealing — always. If charging doesn't work with the new port, the problem may have been the logic board charging circuit, not the port itself. This scenario requires micro-soldering repair.
Cost Comparison
| iPad Model | DIY Parts Cost | RepairRama Pro |
|---|---|---|
| iPad (Lightning) 6th–10th Gen | $15–35 (flex cable) | $79–109 + 90-day warranty |
| iPad mini (Lightning) 4th–6th Gen | $20–40 (flex cable) | $79–109 + 90-day warranty |
| iPad Air (Lightning / USB-C) | $20–45 (flex cable) | $99–129 + 90-day warranty |
| iPad Pro (USB-C — soldered) | Not DIY-able | $129–179 + 90-day warranty |
Too Complex? We've Got You Covered
iPad charging port repair is one of the most involved tablet repairs out there. Let our technicians handle it — same day, 90-day warranty.
Also see: Tablet Repair Services → | Charging Port Prices → | iPad Screen Guide → | iPad Battery Guide →
More Repair Guides
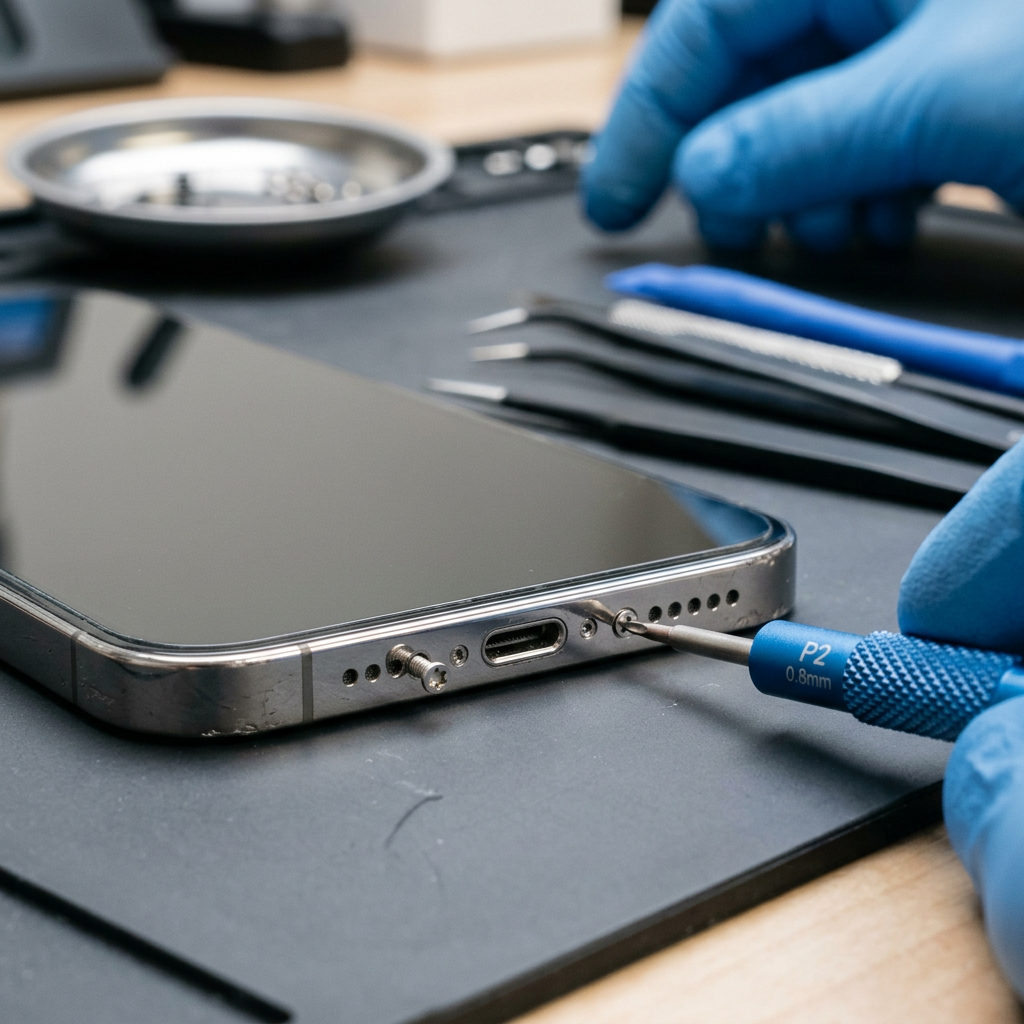
DIY iPad Charging Port Repair:
Step-by-Step Guide + Diagnosis
iPad not charging or only charging intermittently? This guide covers how to diagnose the issue, whether DIY is feasible for your iPad model, and the full repair steps if you decide to proceed.
iPad Pro USB-C Charging Port = Not a DIY Repair
On iPad Pro models, the USB-C port is soldered directly to the logic board. This requires micro-soldering equipment and expertise. If you have an iPad Pro with a damaged charging port, please bring it to us — attempting this at home will damage the logic board.
Tools You'll Need
Replacement Charging Port Flex
Lightning models only — iPad Pro USB-C is soldered
Heat Gun or iOpener
For screen removal (required before port access)
Plastic Opening Picks
For separating the adhesive-sealed screen
Phillips & Tri-point Screwdrivers
For internal brackets and components
Isopropyl Alcohol (90%+)
To remove the battery adhesive during teardown
New Screen & Battery Adhesive
Everything needs to be re-sealed after repair
Step-by-Step Repair Process
Diagnose: Is It the Port or the Cable?
Test with 3 different cables and chargers. Use a wooden toothpick to check for lint inside the port. Try a wireless charger if your iPad model supports it (iPad Pro with USB-C). If multiple cables fail and cleaning doesn't help, the port needs replacement.
Never use metal objects to clean an iPad charging port — you can bend the internal pins, turning a simple lint issue into a $100+ repair.
Full Screen Removal (Required)
The charging port on all iPad models is accessible only after full screen removal. Heat all four edges, use picks to separate the glass, and carefully disconnect the display cables. The screen removal process for iPad charging port repair is identical to iPad battery replacement.
Charging port repair on an iPad involves removing the screen, multiple internal components, and sometimes the battery. This is a 60–90 minute repair even for experienced technicians. Budget 2–3 hours for your first attempt.
Remove Battery & Internal Shielding
On most iPad models, reaching the charging port requires removing the battery first. Follow the battery removal steps (applying isopropyl alcohol to soften adhesive). The charging port sits at the bottom of the iPad, often under a logic board shield.
On iPad Pro models with USB-C, the charging port repair involves micro-soldering in many cases — the port is soldered directly to the logic board, not on a flex cable. This cannot be done at home without professional equipment.
Replace the Charging Port Flex Assembly
On Lightning iPads (iPad mini, standard iPad, iPad Air), the charging port is on a replaceable flex cable assembly. Disconnect it, remove any retaining screws, and install the new flex. iPad Pro USB-C ports that are physically damaged may need soldering — if so, bring it to a professional.
iPad Pro charging port repair that requires soldering is beyond typical DIY capability. Attempting it without the right tools and training will likely damage the logic board permanently.
Reassemble, Test, Re-seal
Reinstall the battery (with fresh adhesive), reconnect all cables, and test charging before sealing the screen. Verify the charge indicator appears immediately when plugged in. If it works, re-seal the screen with new adhesive strips.
Test before sealing — always. If charging doesn't work with the new port, the problem may have been the logic board charging circuit, not the port itself. This scenario requires micro-soldering repair.
Cost Comparison
| iPad Model | DIY Parts Cost | RepairRama Pro |
|---|---|---|
| iPad (Lightning) 6th–10th Gen | $15–35 (flex cable) | $79–109 + 90-day warranty |
| iPad mini (Lightning) 4th–6th Gen | $20–40 (flex cable) | $79–109 + 90-day warranty |
| iPad Air (Lightning / USB-C) | $20–45 (flex cable) | $99–129 + 90-day warranty |
| iPad Pro (USB-C — soldered) | Not DIY-able | $129–179 + 90-day warranty |
Too Complex? We've Got You Covered
iPad charging port repair is one of the most involved tablet repairs out there. Let our technicians handle it — same day, 90-day warranty.
Also see: Tablet Repair Services → | Charging Port Prices → | iPad Screen Guide → | iPad Battery Guide →