DIY iPhone Charging Port Repair:
Step-by-Step Guide + Diagnosis Tips
iPhone won't charge or only charges at a certain angle? Before you tear it apart, we'll help you diagnose whether it's actually the port — and if it is, walk you through the full repair process with honest risk warnings.
Try This Before Opening Your iPhone
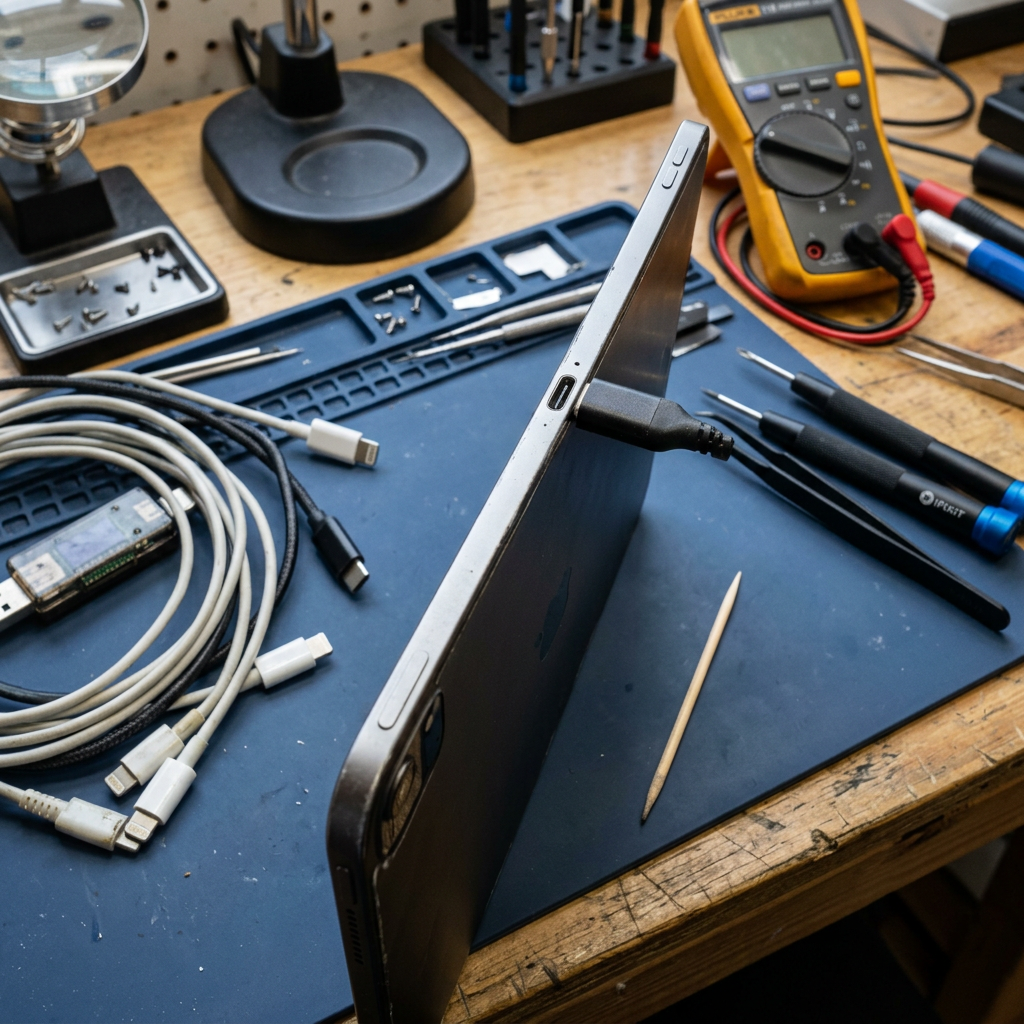
iPhone charging ports accumulate lint from pockets. Use a wooden toothpick to gently dig out compressed lint — this fixes the problem in roughly 40% of cases. Try this before any repair. Also test with 2–3 different cables.
Tools You'll Need
Replacement Charging Port Flex
Model-specific — includes microphone and antenna wires
P2 Pentalobe Screwdriver
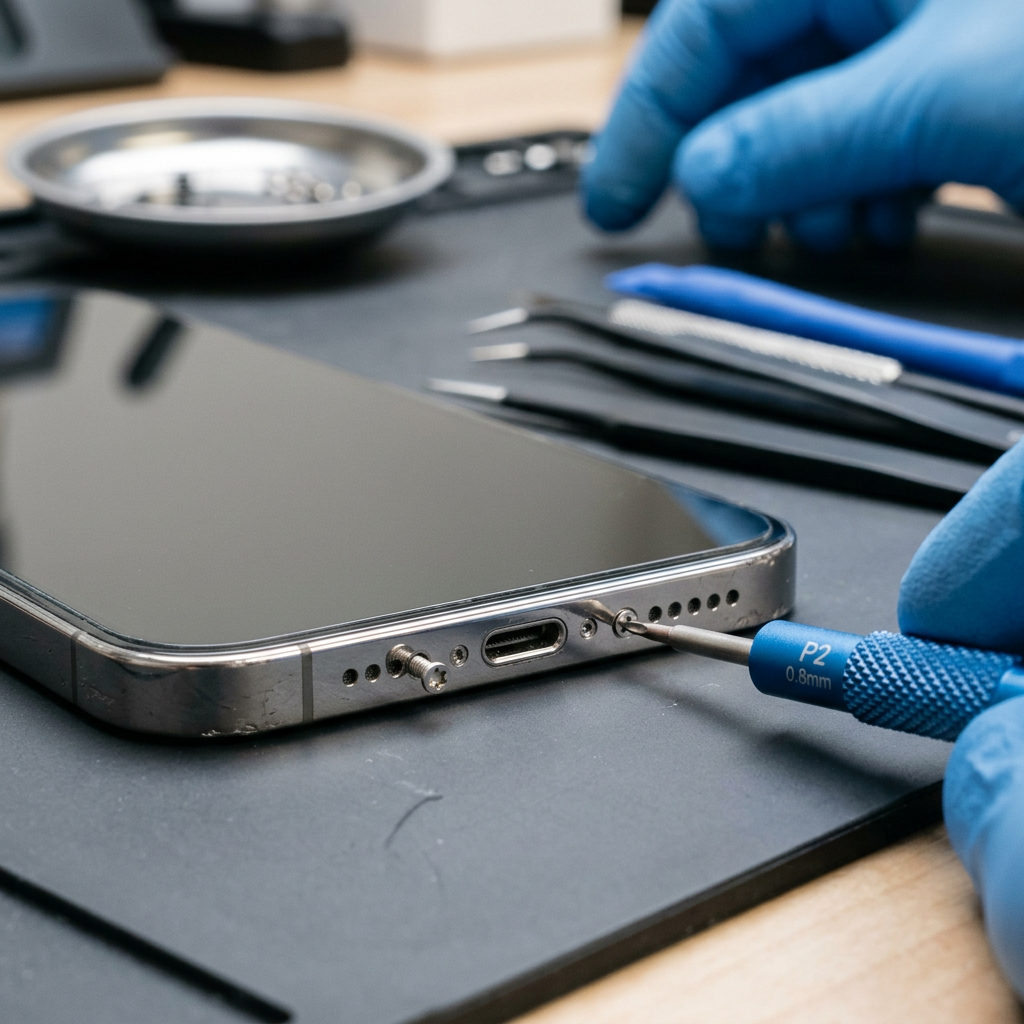
Bottom screws to open the phone
Phillips #000 Screwdriver
Internal brackets and component screws
Plastic Spudger & Tweezers
For flex cable connectors
Magnetic Parts Mat
Critical — there are 8–15 small screws to track
iOpener or Heat Gun
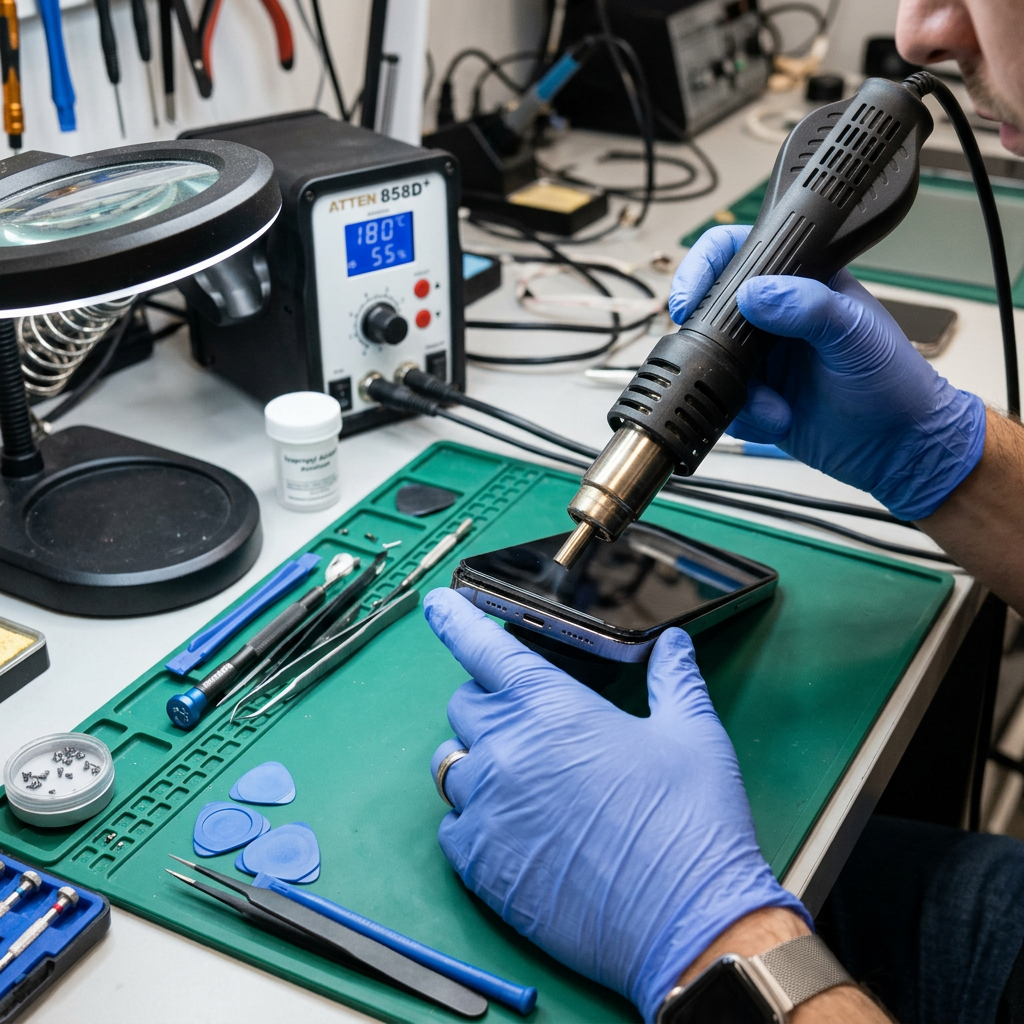
To open the display adhesive
Step-by-Step Repair Process
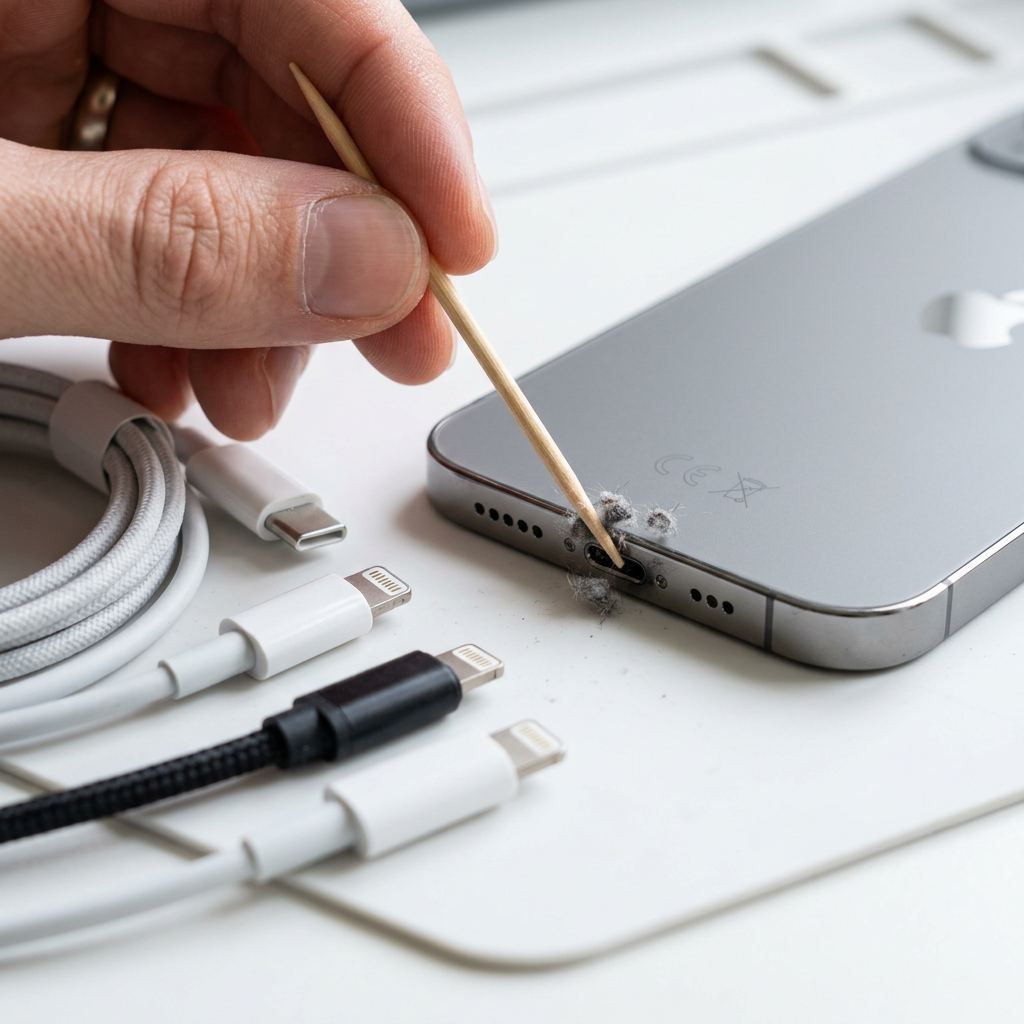
Diagnose: Is It Really the Charging Port?
Before replacing the port, try cleaning it first. Use a toothpick or wooden stick (never metal) to gently remove lint from the Lightning or USB-C port. Also test with 2–3 different cables and chargers. 40% of 'charging port issues' are actually cable or adapter failures.
Using metal tools (pins, paperclips) inside the charging port can bend the internal contacts permanently or cause a short circuit. Always use non-conductive tools for cleaning.
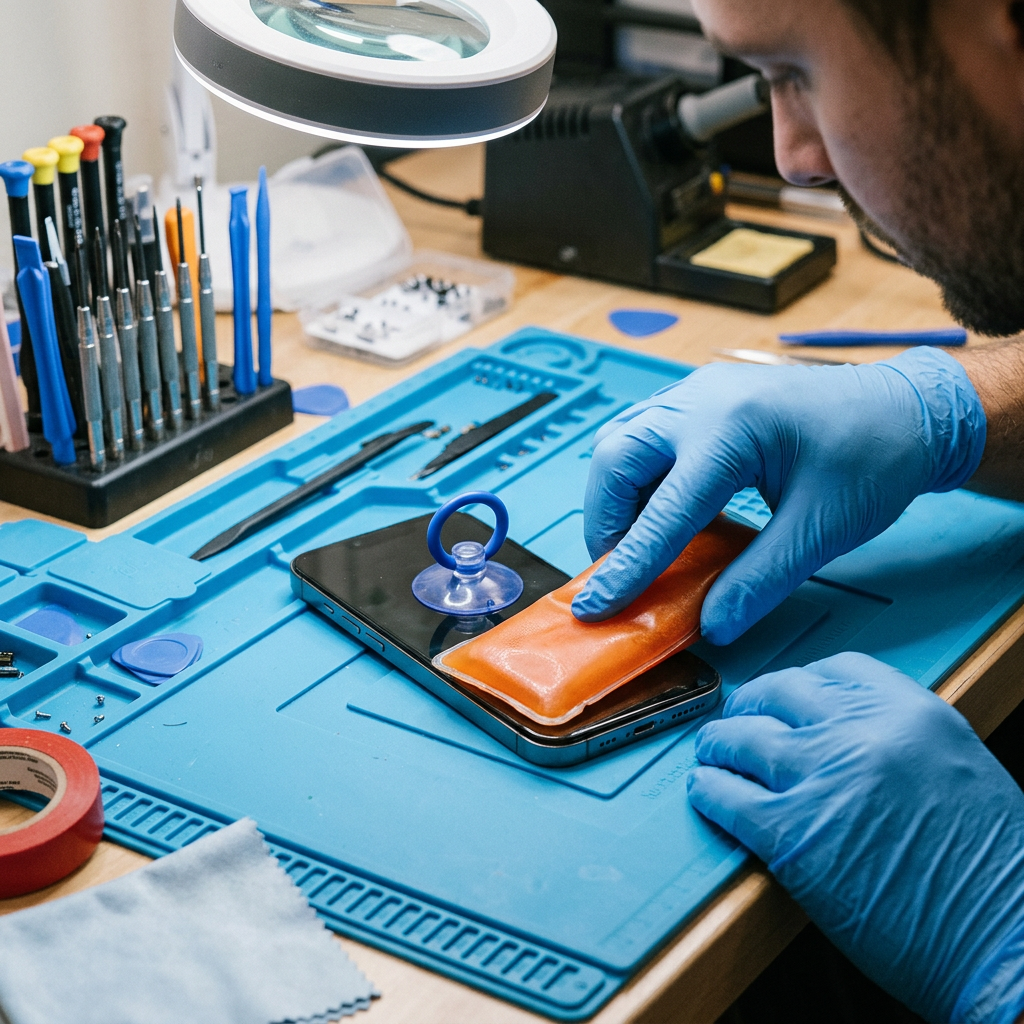
Open the iPhone (Pentalobe Screws + Screen)
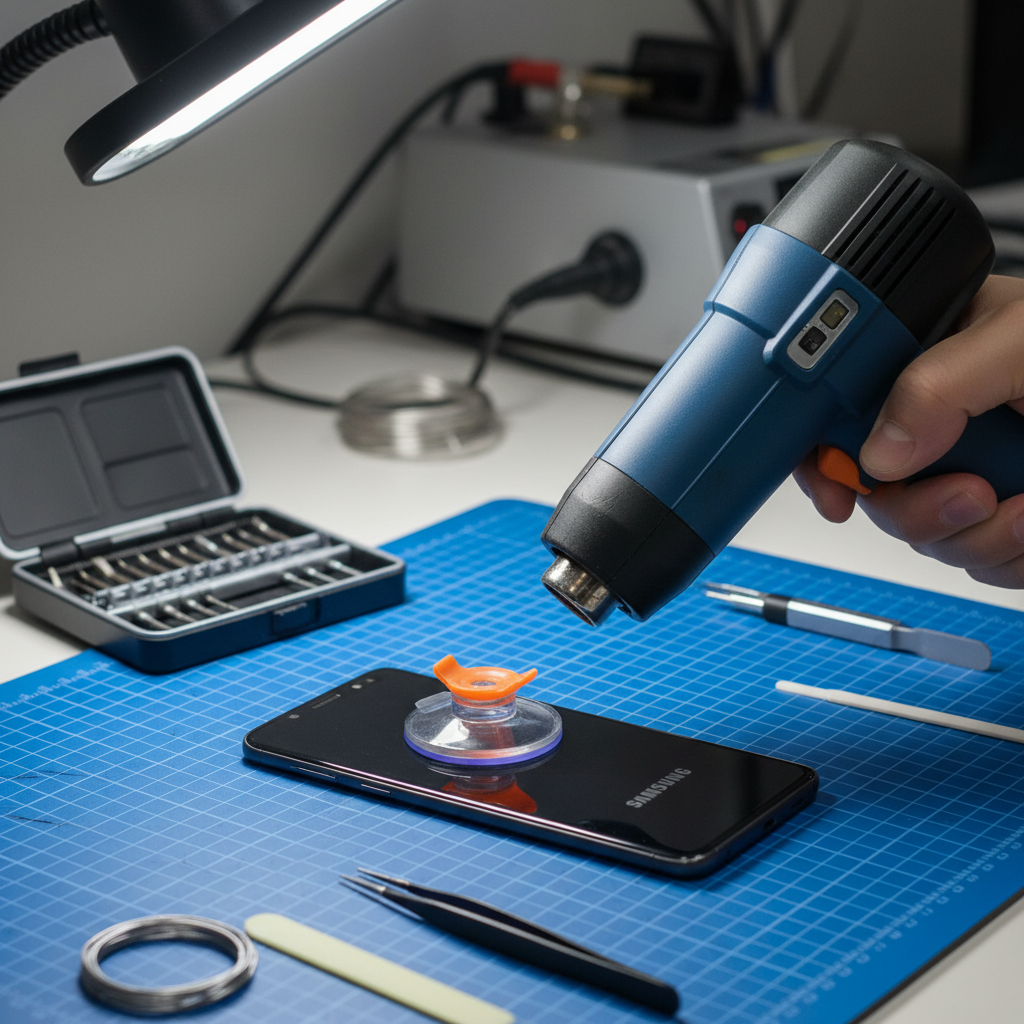
Power off. Remove the two P2 pentalobe screws. Heat the bottom edge and use a suction cup to open the display like a book. Disconnect the battery connector before proceeding — this is critical.
If you haven't done an iPhone teardown before, the charging port repair is NOT a good first project. The display removal step alone has risks covered in our iPhone screen repair guide.
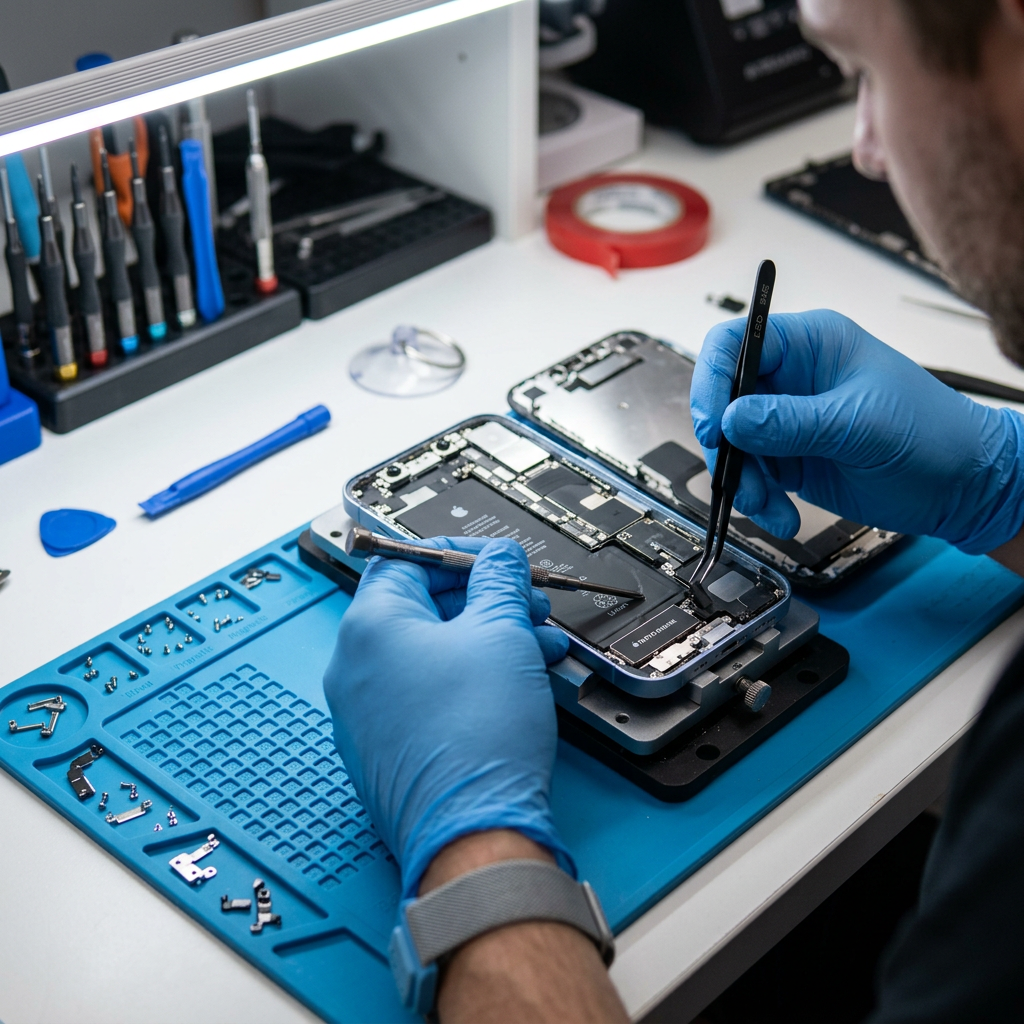
Remove Internal Components Blocking the Port
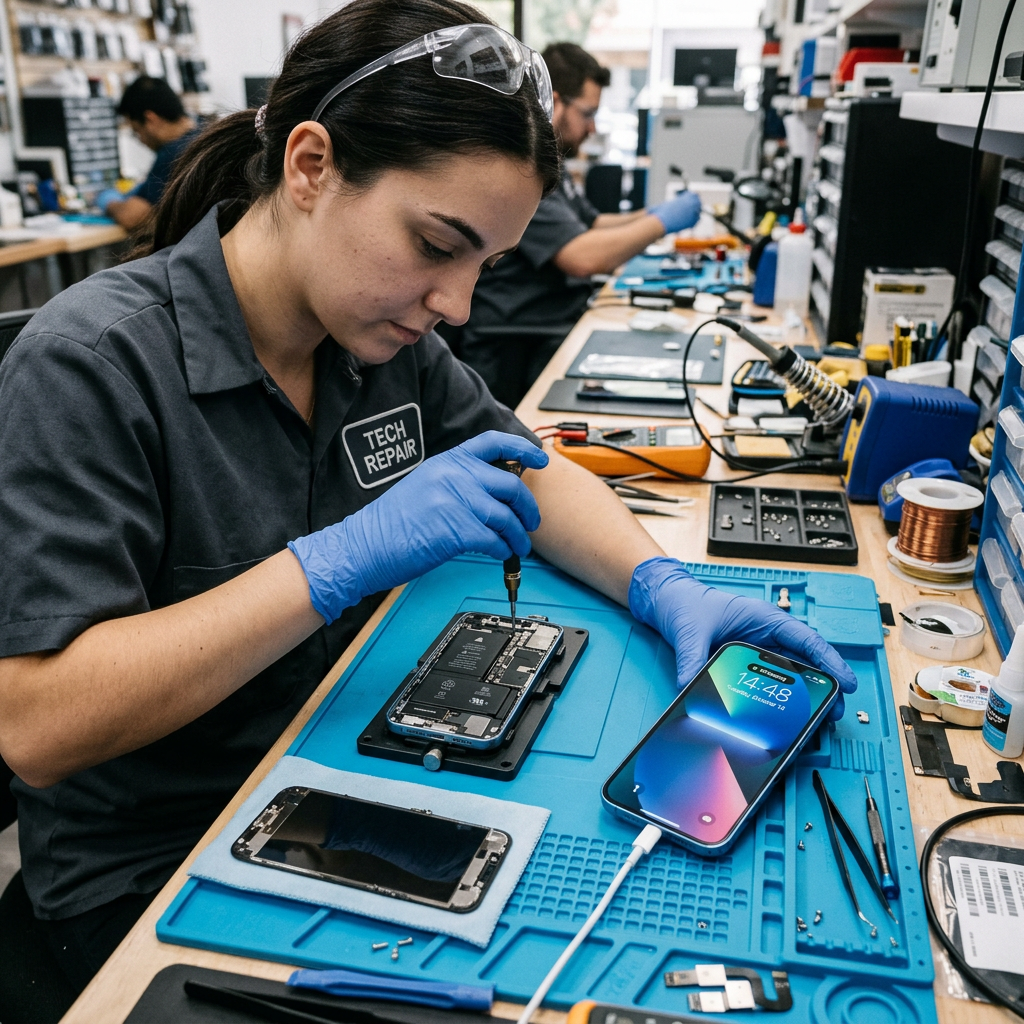
On most iPhones, accessing the charging port requires removing the loudspeaker assembly, Taptic Engine (vibration motor), and several bracket screws. Each model differs — some require 8–12 screws and multiple cable disconnections before you reach the port.
The Taptic Engine and speaker assembly have small screws that are easy to strip or lose. Use a magnetic parts mat and photograph each step — you'll need the reference when reassembling.
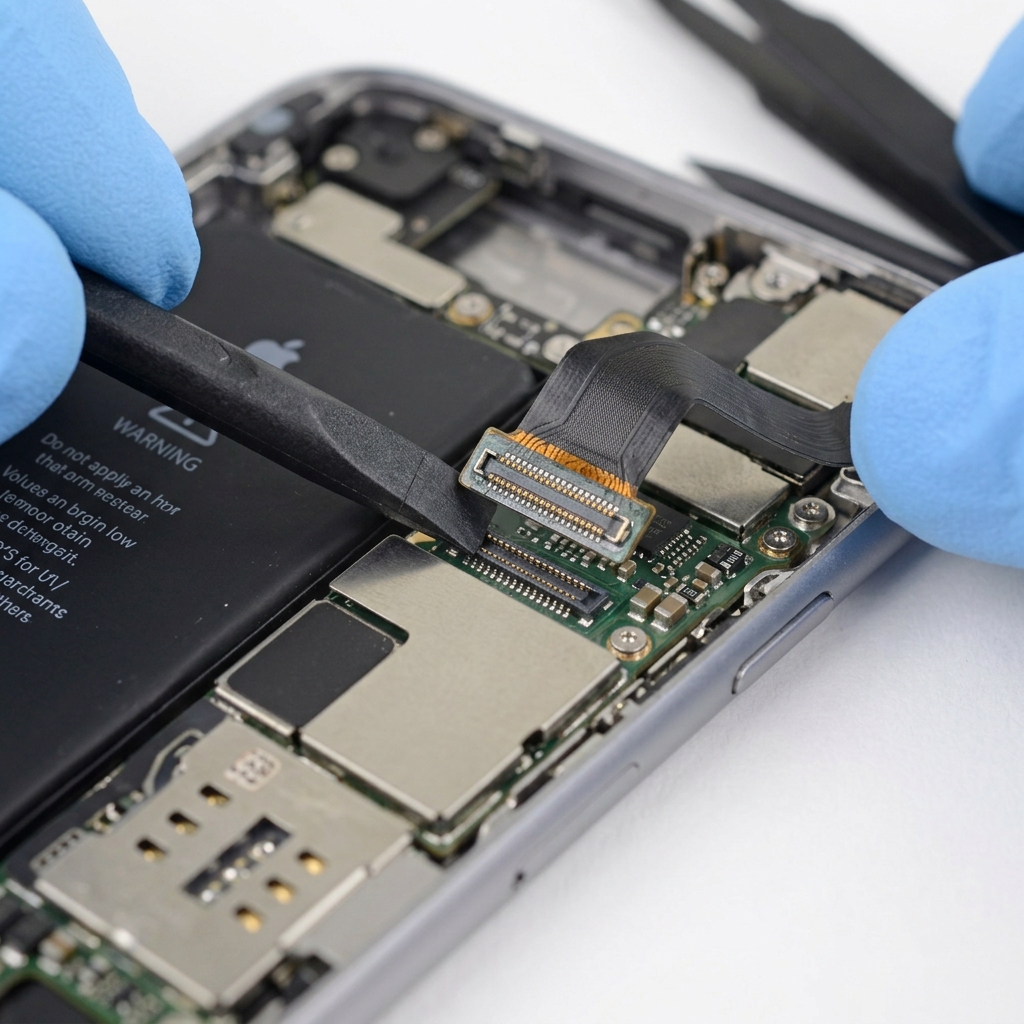
Disconnect & Remove the Charging Port Flex
The charging port is part of a flex cable assembly that also carries the microphone, antenna contacts, and sometimes the Taptic Engine connection. Carefully disconnect it from its connector on the logic board and remove any retaining screws.
On iPhone 12 and newer, the charging port assembly is more integrated and tightly packed. Forcing connectors or using the wrong tool angle can tear the flex — making a $79 repair into a $150+ repair.
Install New Port & Reassemble in Reverse
Place the new charging port flex in position, secure all screws, and reconnect all cables in reverse order. Reconnect the battery last. Test charging before sealing the screen. If working, press the screen in and reinstall the pentalobe screws.
Test charging AND audio (the microphone is on this flex) before sealing. A bad microphone connection means the other person can't hear you on calls — and you'd need to re-open the phone.
Cost Comparison
| iPhone Model | DIY Parts Cost | RepairRama Pro |
|---|---|---|
| iPhone 6s / 7 / 8 | $15–35 (flex cable) | $59–79 + 90-day warranty |
| iPhone X / XR / XS / 11 | $25–50 (flex cable) | $79–99 + 90-day warranty |
| iPhone 12 / 13 | $30–60 (flex cable) | $89–119 + 90-day warranty |
| iPhone 14 / 15 (USB-C) | Very difficult — not recommended | $99–139 + 90-day warranty |
Not Comfortable Doing This Yourself?
Charging port repair is one of the trickier iPhone fixes. Our techs handle it all day — same-day service, 90-day warranty, no risk.
Also see: iPhone Repair Services → | Charging Port Repair Prices → | iPhone Screen Guide → | iPhone Battery Guide →
More iPhone Repair Guides
DIY iPhone Charging Port Repair:
Step-by-Step Guide + Diagnosis Tips
iPhone won't charge or only charges at a certain angle? Before you tear it apart, we'll help you diagnose whether it's actually the port — and if it is, walk you through the full repair process with honest risk warnings.
Try This Before Opening Your iPhone
iPhone charging ports accumulate lint from pockets. Use a wooden toothpick to gently dig out compressed lint — this fixes the problem in roughly 40% of cases. Try this before any repair. Also test with 2–3 different cables.
Tools You'll Need
Replacement Charging Port Flex
Model-specific — includes microphone and antenna wires
P2 Pentalobe Screwdriver
Bottom screws to open the phone
Phillips #000 Screwdriver
Internal brackets and component screws
Plastic Spudger & Tweezers
For flex cable connectors
Magnetic Parts Mat
Critical — there are 8–15 small screws to track
iOpener or Heat Gun
To open the display adhesive
Step-by-Step Repair Process
Diagnose: Is It Really the Charging Port?
Before replacing the port, try cleaning it first. Use a toothpick or wooden stick (never metal) to gently remove lint from the Lightning or USB-C port. Also test with 2–3 different cables and chargers. 40% of 'charging port issues' are actually cable or adapter failures.
Using metal tools (pins, paperclips) inside the charging port can bend the internal contacts permanently or cause a short circuit. Always use non-conductive tools for cleaning.
Open the iPhone (Pentalobe Screws + Screen)
Power off. Remove the two P2 pentalobe screws. Heat the bottom edge and use a suction cup to open the display like a book. Disconnect the battery connector before proceeding — this is critical.
If you haven't done an iPhone teardown before, the charging port repair is NOT a good first project. The display removal step alone has risks covered in our iPhone screen repair guide.
Remove Internal Components Blocking the Port
On most iPhones, accessing the charging port requires removing the loudspeaker assembly, Taptic Engine (vibration motor), and several bracket screws. Each model differs — some require 8–12 screws and multiple cable disconnections before you reach the port.
The Taptic Engine and speaker assembly have small screws that are easy to strip or lose. Use a magnetic parts mat and photograph each step — you'll need the reference when reassembling.
Disconnect & Remove the Charging Port Flex
The charging port is part of a flex cable assembly that also carries the microphone, antenna contacts, and sometimes the Taptic Engine connection. Carefully disconnect it from its connector on the logic board and remove any retaining screws.
On iPhone 12 and newer, the charging port assembly is more integrated and tightly packed. Forcing connectors or using the wrong tool angle can tear the flex — making a $79 repair into a $150+ repair.
Install New Port & Reassemble in Reverse
Place the new charging port flex in position, secure all screws, and reconnect all cables in reverse order. Reconnect the battery last. Test charging before sealing the screen. If working, press the screen in and reinstall the pentalobe screws.
Test charging AND audio (the microphone is on this flex) before sealing. A bad microphone connection means the other person can't hear you on calls — and you'd need to re-open the phone.
Cost Comparison
| iPhone Model | DIY Parts Cost | RepairRama Pro |
|---|---|---|
| iPhone 6s / 7 / 8 | $15–35 (flex cable) | $59–79 + 90-day warranty |
| iPhone X / XR / XS / 11 | $25–50 (flex cable) | $79–99 + 90-day warranty |
| iPhone 12 / 13 | $30–60 (flex cable) | $89–119 + 90-day warranty |
| iPhone 14 / 15 (USB-C) | Very difficult — not recommended | $99–139 + 90-day warranty |
Not Comfortable Doing This Yourself?
Charging port repair is one of the trickier iPhone fixes. Our techs handle it all day — same-day service, 90-day warranty, no risk.
Also see: iPhone Repair Services → | Charging Port Repair Prices → | iPhone Screen Guide → | iPhone Battery Guide →