DIY iPhone Screen Repair:
Step-by-Step Guide + Honest Risk Breakdown
Cracked iPhone screen and considering fixing it yourself? This guide walks you through every step — the exact tools you'll need, the full repair process, the real risks (especially for Face ID), and an honest cost comparison so you can make the right decision.
What You'll Need (Full Tools List)
Make sure your kit is model-specific — an iPhone 13 screen is completely different from an iPhone 11. Getting the wrong screen means starting over.
Replacement Screen Assembly
Display + digitizer, model-specific. OLED for iPhone X and newer.
P2 Pentalobe Screwdriver
Apple's proprietary screws at the bottom of the device
Phillips #000 Screwdriver
For the display bracket and internal screws
Tri-point Y000 Driver
Required for iPhone 7, 8, and newer internal screws
iOpener Pad or Heat Gun
To soften the adhesive seal around the display
Suction Cup Handle
For lifting the screen away from the frame
Plastic Opening Picks
For sliding around the edges to cut the adhesive
Plastic Spudger & Tweezers
For ribbon cable connectors and small components
Step-by-Step iPhone Screen Repair Process
These steps apply to iPhone 7 through iPhone 15. The newer the model, the more complex and risky the repair — especially for Face ID iPhones.
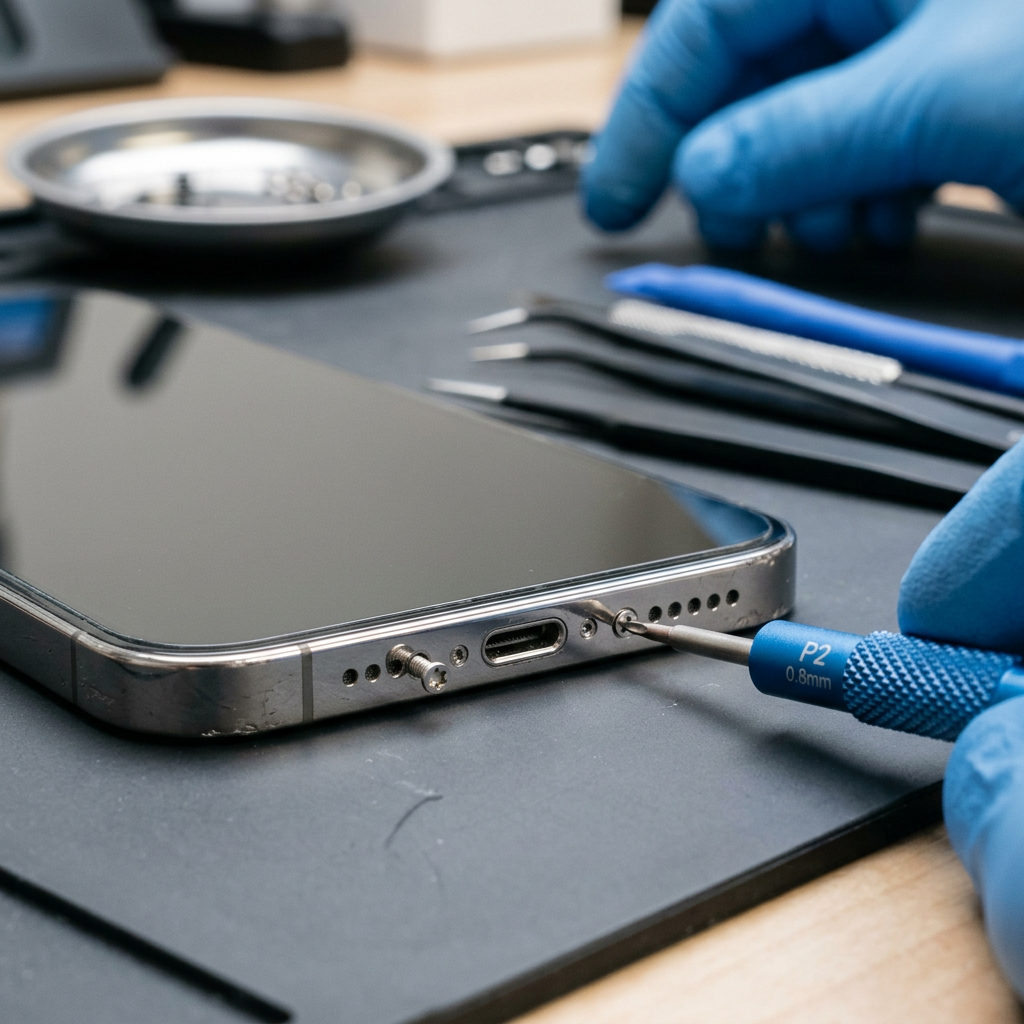
Power Off & Remove the Two Pentalobe Screws
Completely power off your iPhone before anything else. At the bottom of the device, remove the two tiny pentalobe screws on either side of the Lightning or USB-C port. These are Apple's proprietary screws — a standard screwdriver won't work.
Stripping these screws is extremely easy. Use a proper P2 pentalobe driver with the correct bit size for your model. A stripped screw can add $20–40 to your repair cost.
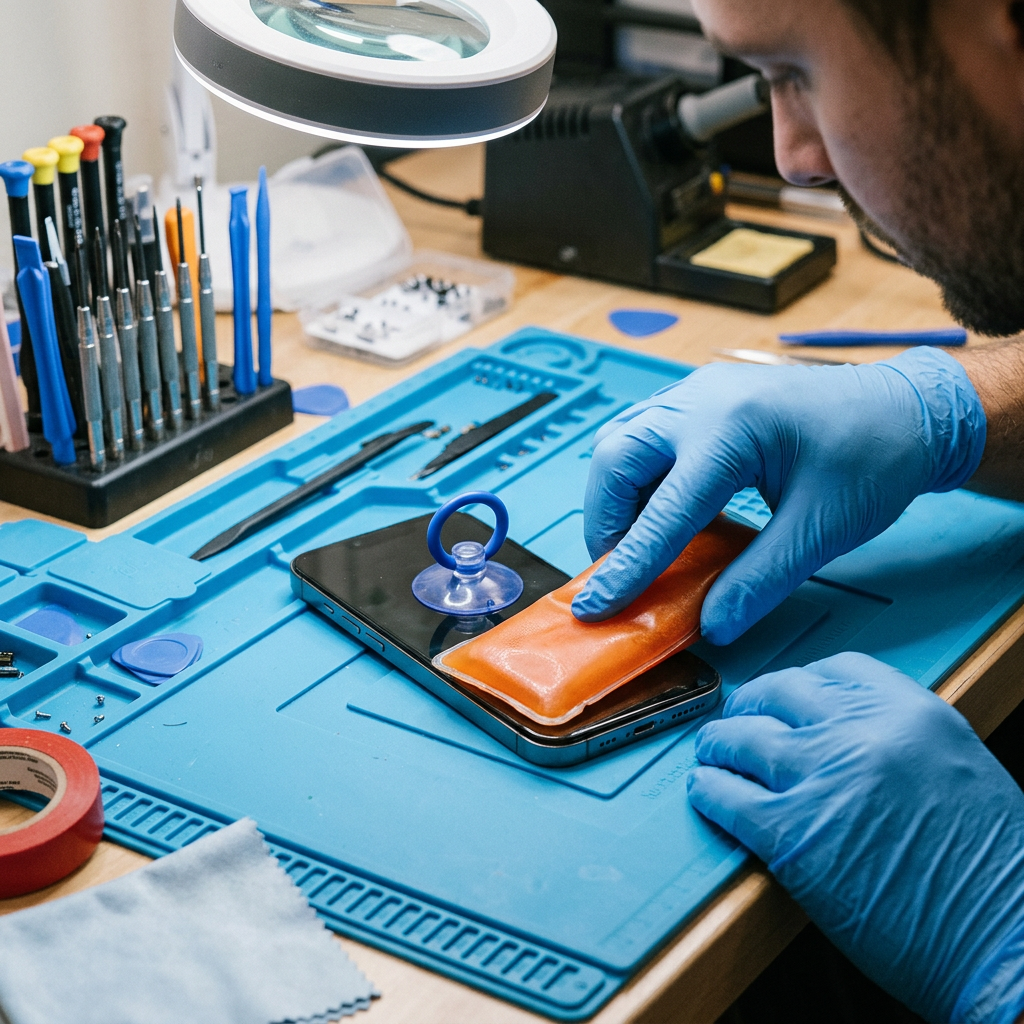
Heat the Bottom Edge & Use a Suction Cup
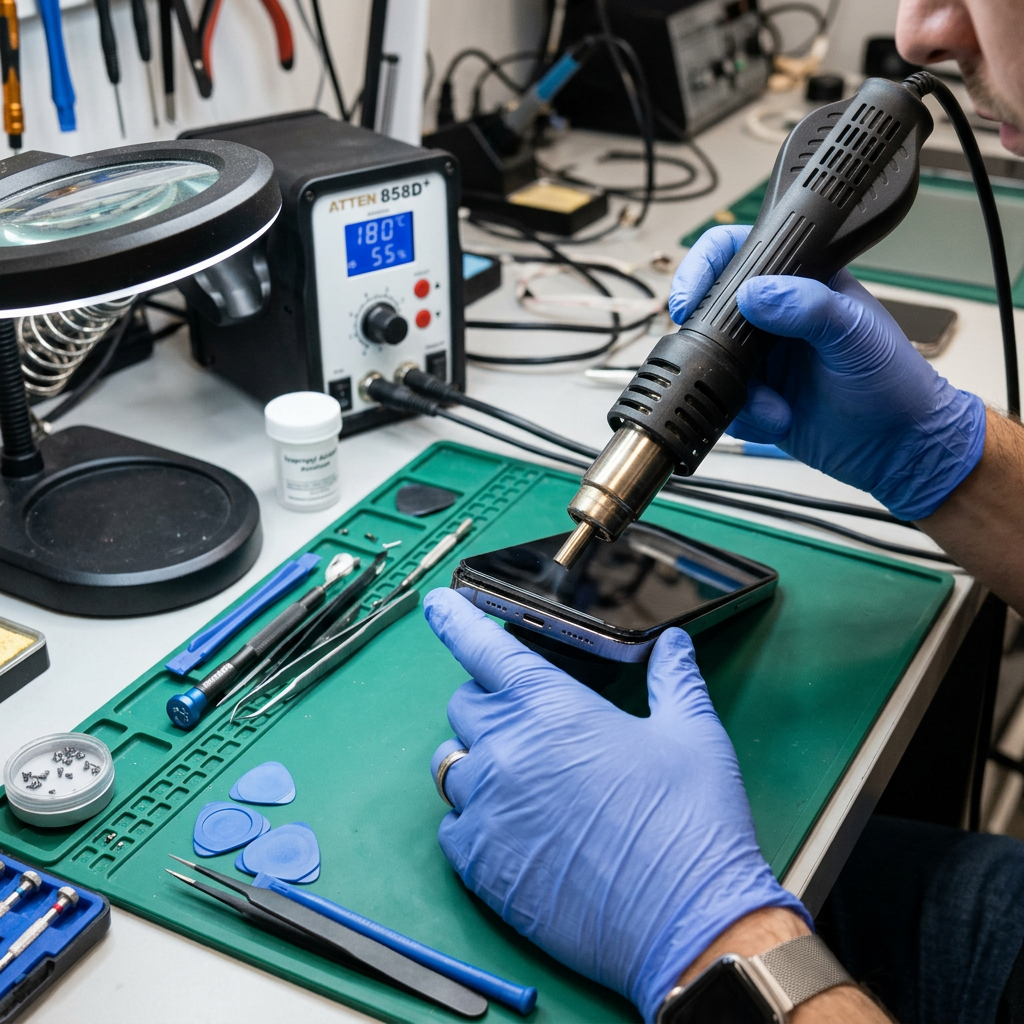
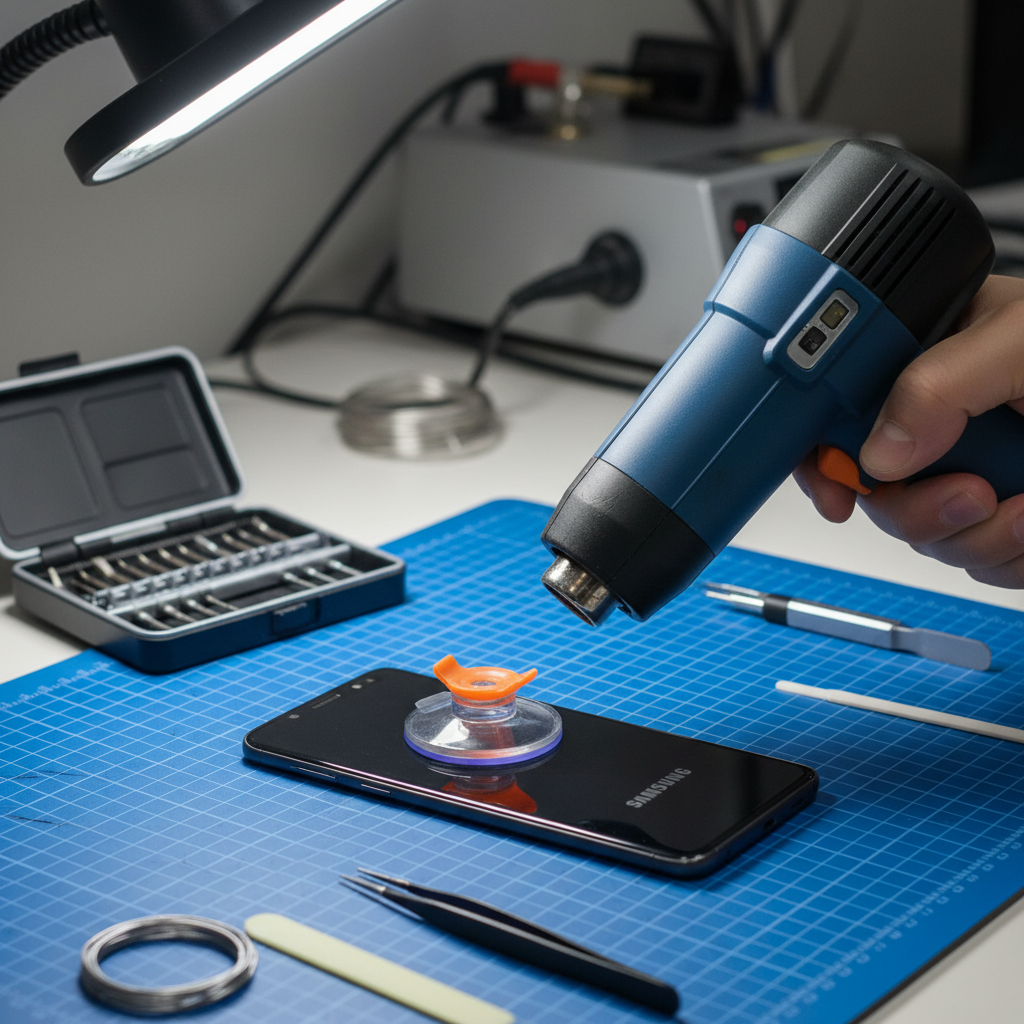
Apply a heated iOpener or heat gun briefly to the bottom edge of the iPhone to soften the waterproof adhesive. Attach a suction cup handle just above the home button (or bottom center on Face ID models) and pull upward while pressing the frame down.
iPhones from iPhone 7 onward have water-resistance gaskets. Heating too long (over 60°C) degrades this seal permanently — your phone will no longer be water resistant.
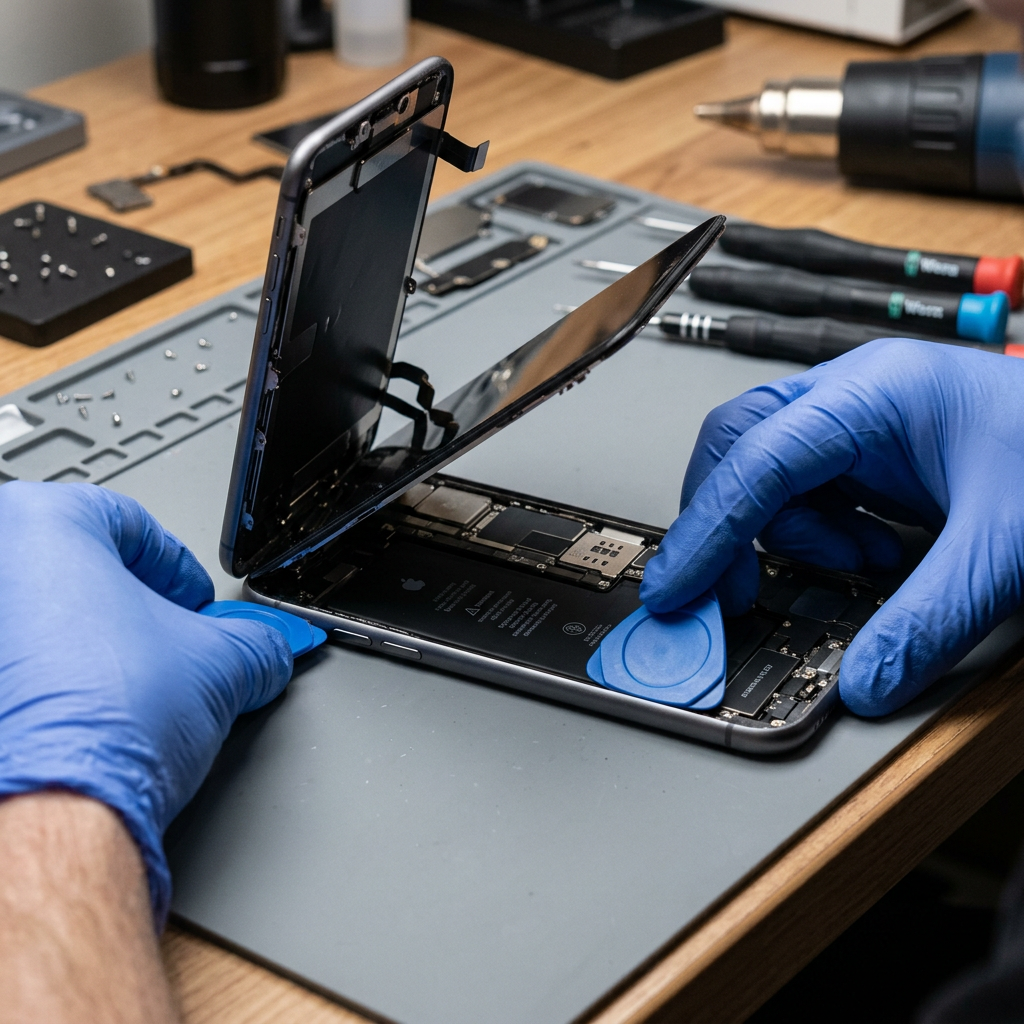
Slide in Picks & Open the Screen Like a Book
Once you have a small gap at the bottom, insert a plastic pick and slide it along the left and right sides. The screen opens upward from the bottom like a book — NEVER pull it straight up. The display cables run along the right side near the top.
Pulling the screen straight up will immediately sever the display cable. The screen must swing open sideways, rotating on the top edge like a hinge.
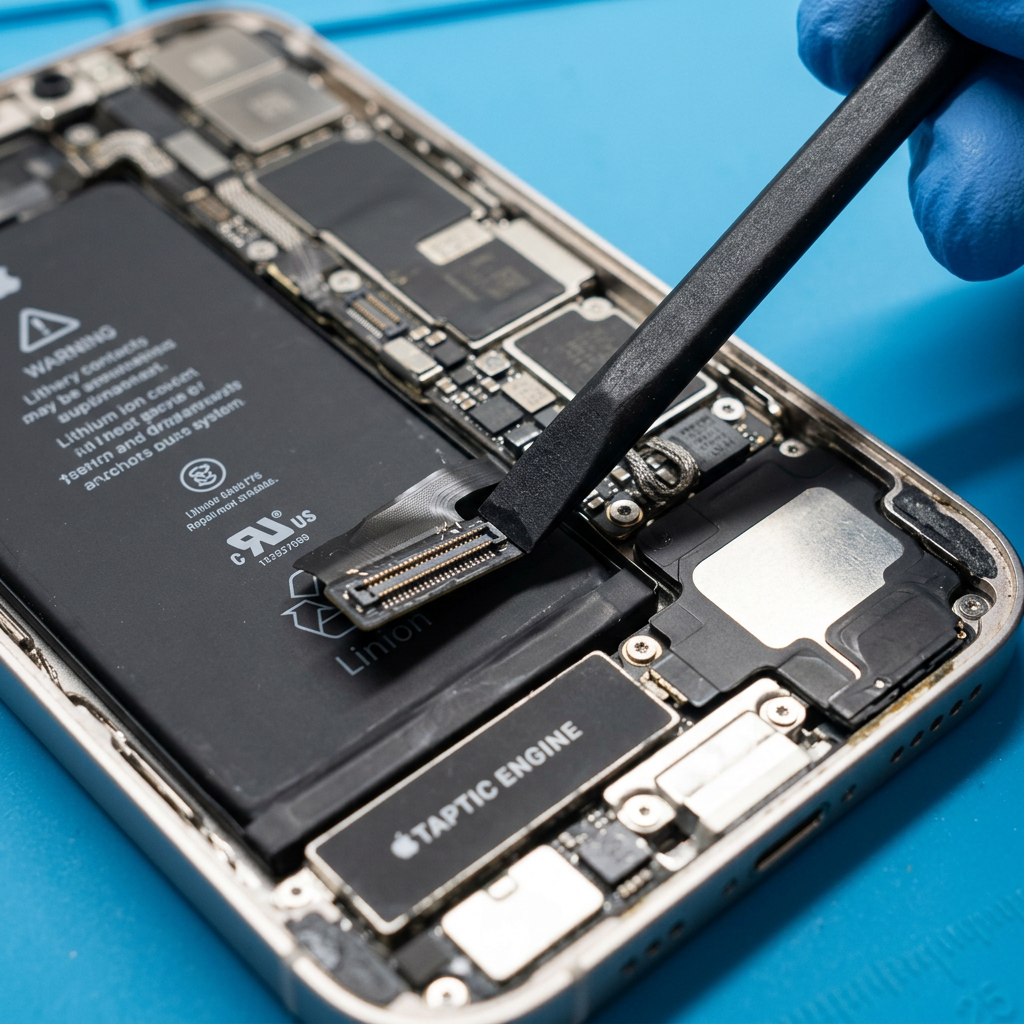
Remove the Logic Board Shield & Disconnect Cables
Remove the small bracket over the display connectors (usually 2–3 screws). Then use a spudger to disconnect the battery connector first, then the display cable, digitizer cable, and front camera assembly cable one at a time.
Always disconnect the battery connector BEFORE touching any other cables. Skipping this step can cause a short circuit that permanently damages the logic board — the most expensive component in the phone.
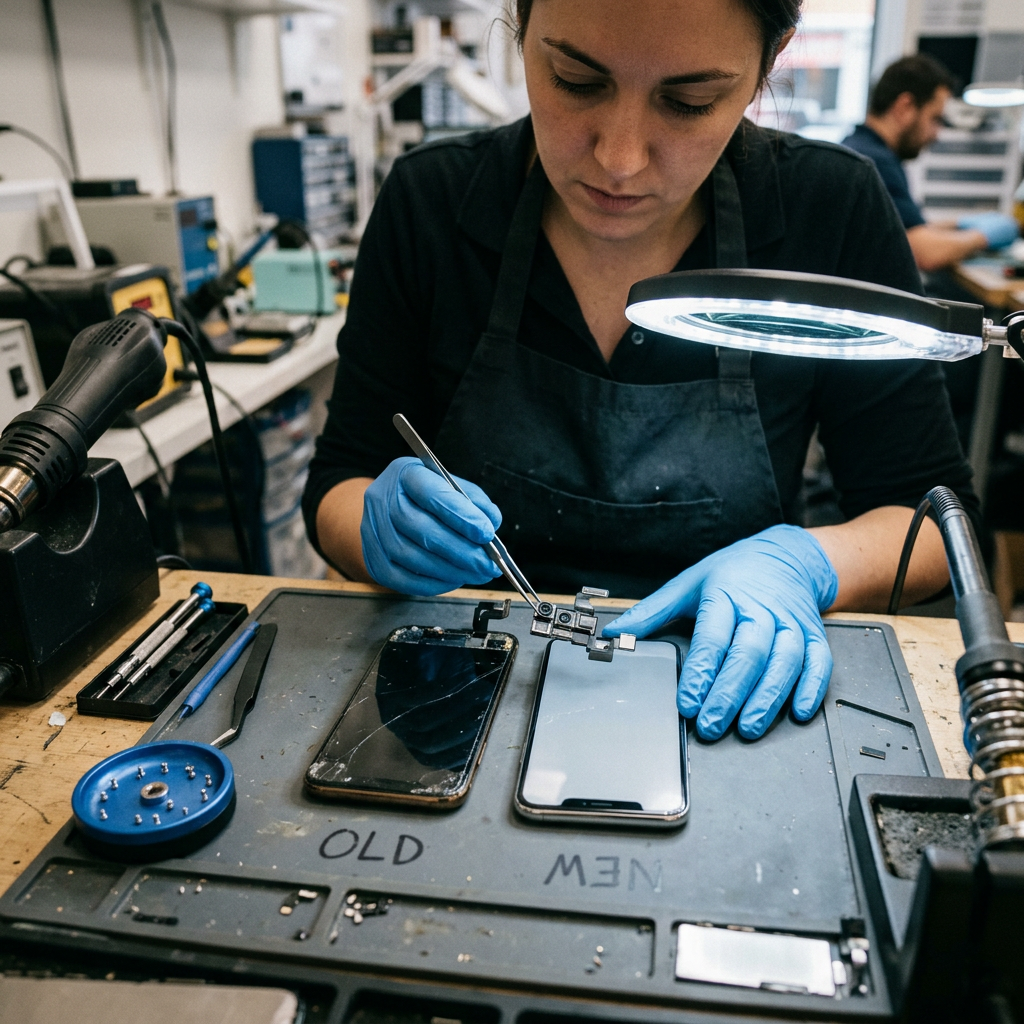
Transfer Face ID / Earpiece Components
The earpiece speaker, front camera, and Face ID / Touch ID components must be transferred from the old screen to the new one. On iPhone X and newer, the Face ID dot projector is serialized to your device — it cannot be replaced without Apple's software tools.
If the Face ID flood illuminator or dot projector is damaged during transfer, Face ID is permanently disabled. This requires an Apple Store visit with no guaranteed fix on older models.
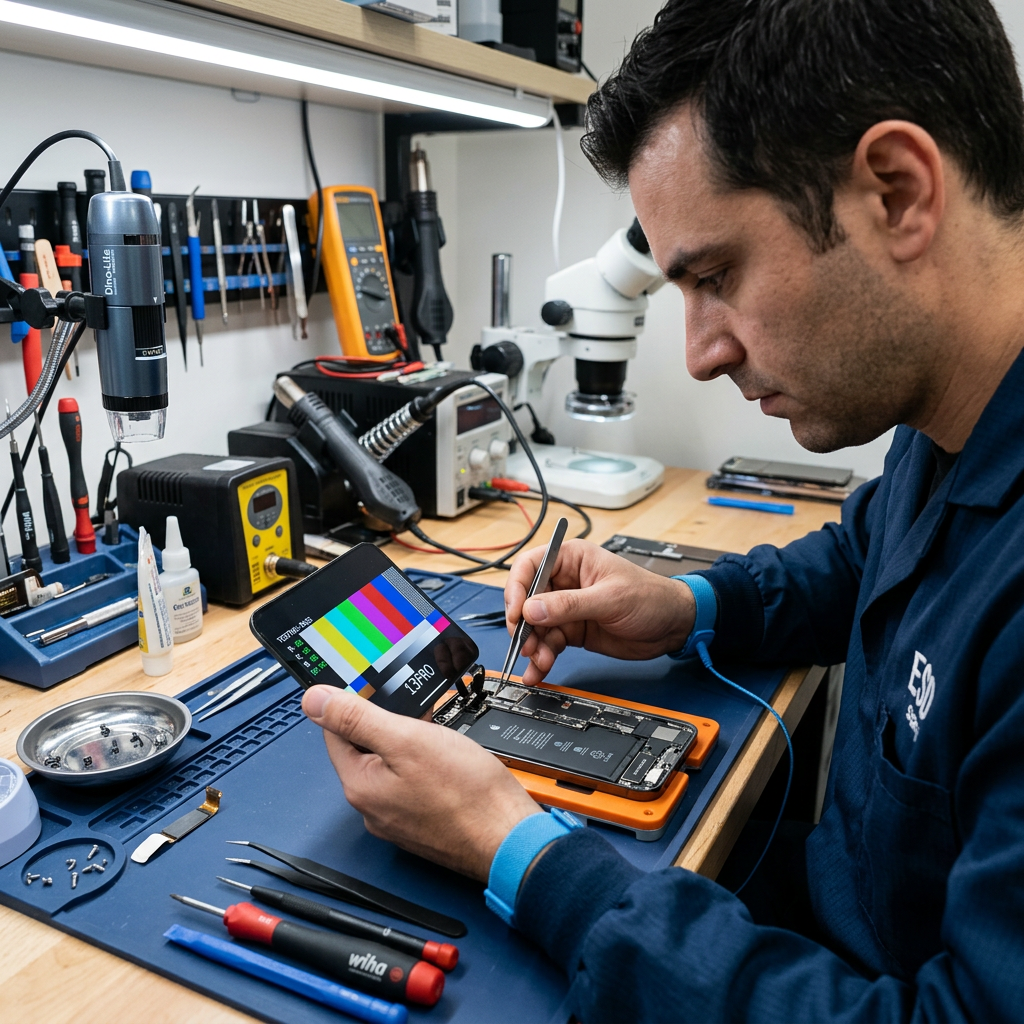
Install New Screen, Test, Then Re-seal
Connect the new screen's cables in reverse order — display, digitizer, front camera — then reconnect the battery and power on to test. Check touch, display quality, and Face ID/Touch ID before pressing the screen into the adhesive and reinstalling the pentalobe screws.
Always test with the screen unglued first. If you seal it and something doesn't work, you'll need to re-open it — risking damage to the new adhesive or screen.
DIY vs. Professional Repair: Honest Comparison
🔧 DIY Pros
- Save $40–80 on labor costs
- Immediate repair without leaving home
- Satisfying for tech-savvy individuals
⚠️ DIY Cons
- Face ID can be permanently disabled if components are mishandled
- Water resistance is eliminated even with new adhesive
- Logic board shorts from improper cable disconnection
- Touch ID home button is paired — a replacement disables the fingerprint sensor
- Wrong replacement screen = poor colors, ghost touch, or True Tone loss
- OLED screens (iPhone X+) are fragile — bend them slightly and they crack
- Apple's software pairing means genuine parts often show warnings in Settings
🏆 Professional Repair at RepairRama
- 90-day warranty on all repairs
- Face ID & Touch ID fully preserved
- Water resistance maintained with proper re-seal
- Quality OLED & LCD replacement screens
- Free diagnostic — no hidden fees
- Same-day service for most iPhone models
- Certified technicians — thousands of iPhones repaired
Cost Comparison by iPhone Model
| iPhone Model | DIY Kit Cost | RepairRama Pro |
|---|---|---|
| iPhone 6s / 7 / 8 | $20–45 (kit) | $69–89 + 90-day warranty |
| iPhone X / XR / XS | $50–85 (kit) | $99–139 + 90-day warranty |
| iPhone 11 / 12 / 13 | $55–95 (kit) | $109–159 + 90-day warranty |
| iPhone 14 / 15 / 15 Pro | Not recommended | $149–219 + 90-day warranty |
* DIY cost doesn't factor in the risk of disabling Face ID, damaging the OLED panel, or voiding water resistance — all of which can cost more than the original repair.
Skip the Risk — We'll Fix It Right
RepairRama has repaired thousands of iPhones in the Bronx. Walk in with a cracked screen — leave the same day with a perfect display and Face ID working flawlessly.
Also see: iPhone Repair Services → | iPhone Screen Repair Prices → | iPhone Battery Guide → | Charging Port Guide →
More iPhone Repair Guides
DIY iPhone Screen Repair:
Step-by-Step Guide + Honest Risk Breakdown
Cracked iPhone screen and considering fixing it yourself? This guide walks you through every step — the exact tools you'll need, the full repair process, the real risks (especially for Face ID), and an honest cost comparison so you can make the right decision.
What You'll Need (Full Tools List)
Make sure your kit is model-specific — an iPhone 13 screen is completely different from an iPhone 11. Getting the wrong screen means starting over.
Replacement Screen Assembly
Display + digitizer, model-specific. OLED for iPhone X and newer.
P2 Pentalobe Screwdriver
Apple's proprietary screws at the bottom of the device
Phillips #000 Screwdriver
For the display bracket and internal screws
Tri-point Y000 Driver
Required for iPhone 7, 8, and newer internal screws
iOpener Pad or Heat Gun
To soften the adhesive seal around the display
Suction Cup Handle
For lifting the screen away from the frame
Plastic Opening Picks
For sliding around the edges to cut the adhesive
Plastic Spudger & Tweezers
For ribbon cable connectors and small components
Step-by-Step iPhone Screen Repair Process
These steps apply to iPhone 7 through iPhone 15. The newer the model, the more complex and risky the repair — especially for Face ID iPhones.
Power Off & Remove the Two Pentalobe Screws
Completely power off your iPhone before anything else. At the bottom of the device, remove the two tiny pentalobe screws on either side of the Lightning or USB-C port. These are Apple's proprietary screws — a standard screwdriver won't work.
Stripping these screws is extremely easy. Use a proper P2 pentalobe driver with the correct bit size for your model. A stripped screw can add $20–40 to your repair cost.
Heat the Bottom Edge & Use a Suction Cup
Apply a heated iOpener or heat gun briefly to the bottom edge of the iPhone to soften the waterproof adhesive. Attach a suction cup handle just above the home button (or bottom center on Face ID models) and pull upward while pressing the frame down.
iPhones from iPhone 7 onward have water-resistance gaskets. Heating too long (over 60°C) degrades this seal permanently — your phone will no longer be water resistant.
Slide in Picks & Open the Screen Like a Book
Once you have a small gap at the bottom, insert a plastic pick and slide it along the left and right sides. The screen opens upward from the bottom like a book — NEVER pull it straight up. The display cables run along the right side near the top.
Pulling the screen straight up will immediately sever the display cable. The screen must swing open sideways, rotating on the top edge like a hinge.
Remove the Logic Board Shield & Disconnect Cables
Remove the small bracket over the display connectors (usually 2–3 screws). Then use a spudger to disconnect the battery connector first, then the display cable, digitizer cable, and front camera assembly cable one at a time.
Always disconnect the battery connector BEFORE touching any other cables. Skipping this step can cause a short circuit that permanently damages the logic board — the most expensive component in the phone.
Transfer Face ID / Earpiece Components
The earpiece speaker, front camera, and Face ID / Touch ID components must be transferred from the old screen to the new one. On iPhone X and newer, the Face ID dot projector is serialized to your device — it cannot be replaced without Apple's software tools.
If the Face ID flood illuminator or dot projector is damaged during transfer, Face ID is permanently disabled. This requires an Apple Store visit with no guaranteed fix on older models.
Install New Screen, Test, Then Re-seal
Connect the new screen's cables in reverse order — display, digitizer, front camera — then reconnect the battery and power on to test. Check touch, display quality, and Face ID/Touch ID before pressing the screen into the adhesive and reinstalling the pentalobe screws.
Always test with the screen unglued first. If you seal it and something doesn't work, you'll need to re-open it — risking damage to the new adhesive or screen.
DIY vs. Professional Repair: Honest Comparison
🔧 DIY Pros
- Save $40–80 on labor costs
- Immediate repair without leaving home
- Satisfying for tech-savvy individuals
⚠️ DIY Cons
- Face ID can be permanently disabled if components are mishandled
- Water resistance is eliminated even with new adhesive
- Logic board shorts from improper cable disconnection
- Touch ID home button is paired — a replacement disables the fingerprint sensor
- Wrong replacement screen = poor colors, ghost touch, or True Tone loss
- OLED screens (iPhone X+) are fragile — bend them slightly and they crack
- Apple's software pairing means genuine parts often show warnings in Settings
🏆 Professional Repair at RepairRama
- 90-day warranty on all repairs
- Face ID & Touch ID fully preserved
- Water resistance maintained with proper re-seal
- Quality OLED & LCD replacement screens
- Free diagnostic — no hidden fees
- Same-day service for most iPhone models
- Certified technicians — thousands of iPhones repaired
Cost Comparison by iPhone Model
| iPhone Model | DIY Kit Cost | RepairRama Pro |
|---|---|---|
| iPhone 6s / 7 / 8 | $20–45 (kit) | $69–89 + 90-day warranty |
| iPhone X / XR / XS | $50–85 (kit) | $99–139 + 90-day warranty |
| iPhone 11 / 12 / 13 | $55–95 (kit) | $109–159 + 90-day warranty |
| iPhone 14 / 15 / 15 Pro | Not recommended | $149–219 + 90-day warranty |
* DIY cost doesn't factor in the risk of disabling Face ID, damaging the OLED panel, or voiding water resistance — all of which can cost more than the original repair.
Skip the Risk — We'll Fix It Right
RepairRama has repaired thousands of iPhones in the Bronx. Walk in with a cracked screen — leave the same day with a perfect display and Face ID working flawlessly.
Also see: iPhone Repair Services → | iPhone Screen Repair Prices → | iPhone Battery Guide → | Charging Port Guide →